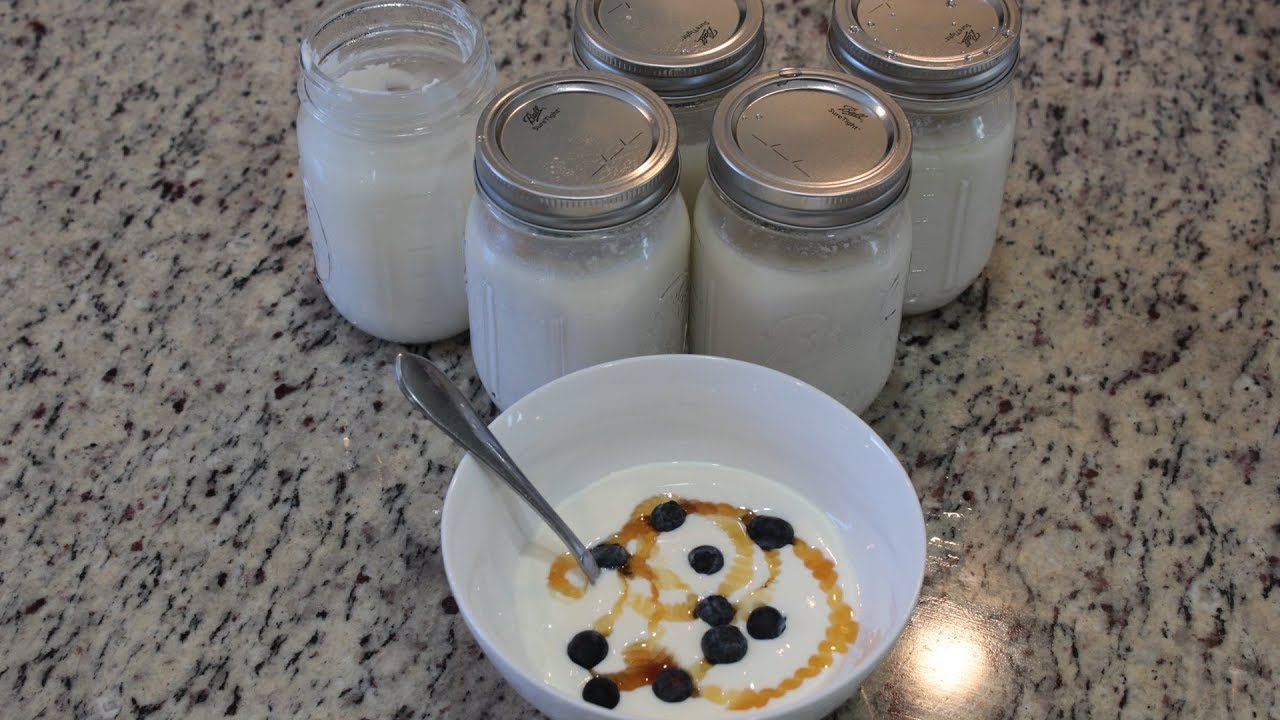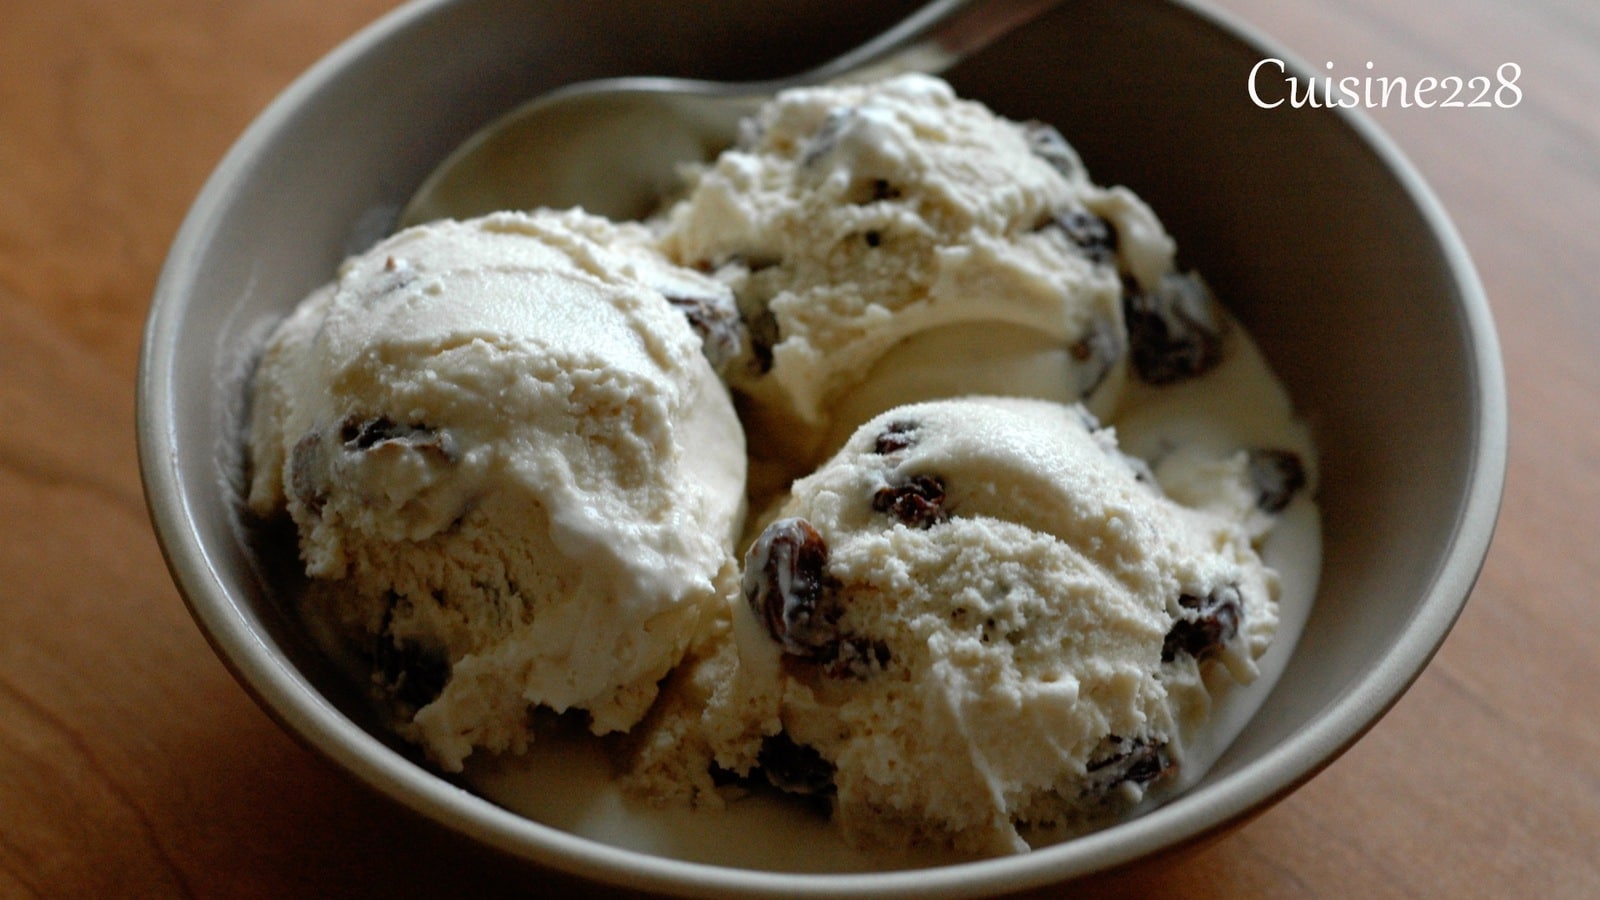
Original Yogurt Thiakry
Thiakry (also called dégué, thiacry or chakery) is a West African dessert that originated from Senegal. The Thiakry consist of millet semolina of the size of couscous. The millet is tasteless therefore, it soak up the taste of the yogurt. My Yogurt Thiakry is made with homemade yogurt, milk, sugar, sour cream and or heavy cream. I also added nutmeg or vanilla extra for aroma.
Unlike my husband, I prefer the “Thiakry Couscous” to the “Yogurt Thiakry”. What make the “Yogurt Thiakry” different from the “Milk Thiakry” is the difference in milk to yogurt to milk ratio. The Thiakry is sold on the street in West Africa and in some supermarket. You should also try my “Rum Thiakry”
The Thiakry can be cook in a saucepan on the stove but I take a shortcut and I add enough boiling water to cover the millet semolina, cover and let the millet absorb the water for about 20 mins and heat in the microwave for 3 mins. The cooked Thiakry should be fluffy and moist.
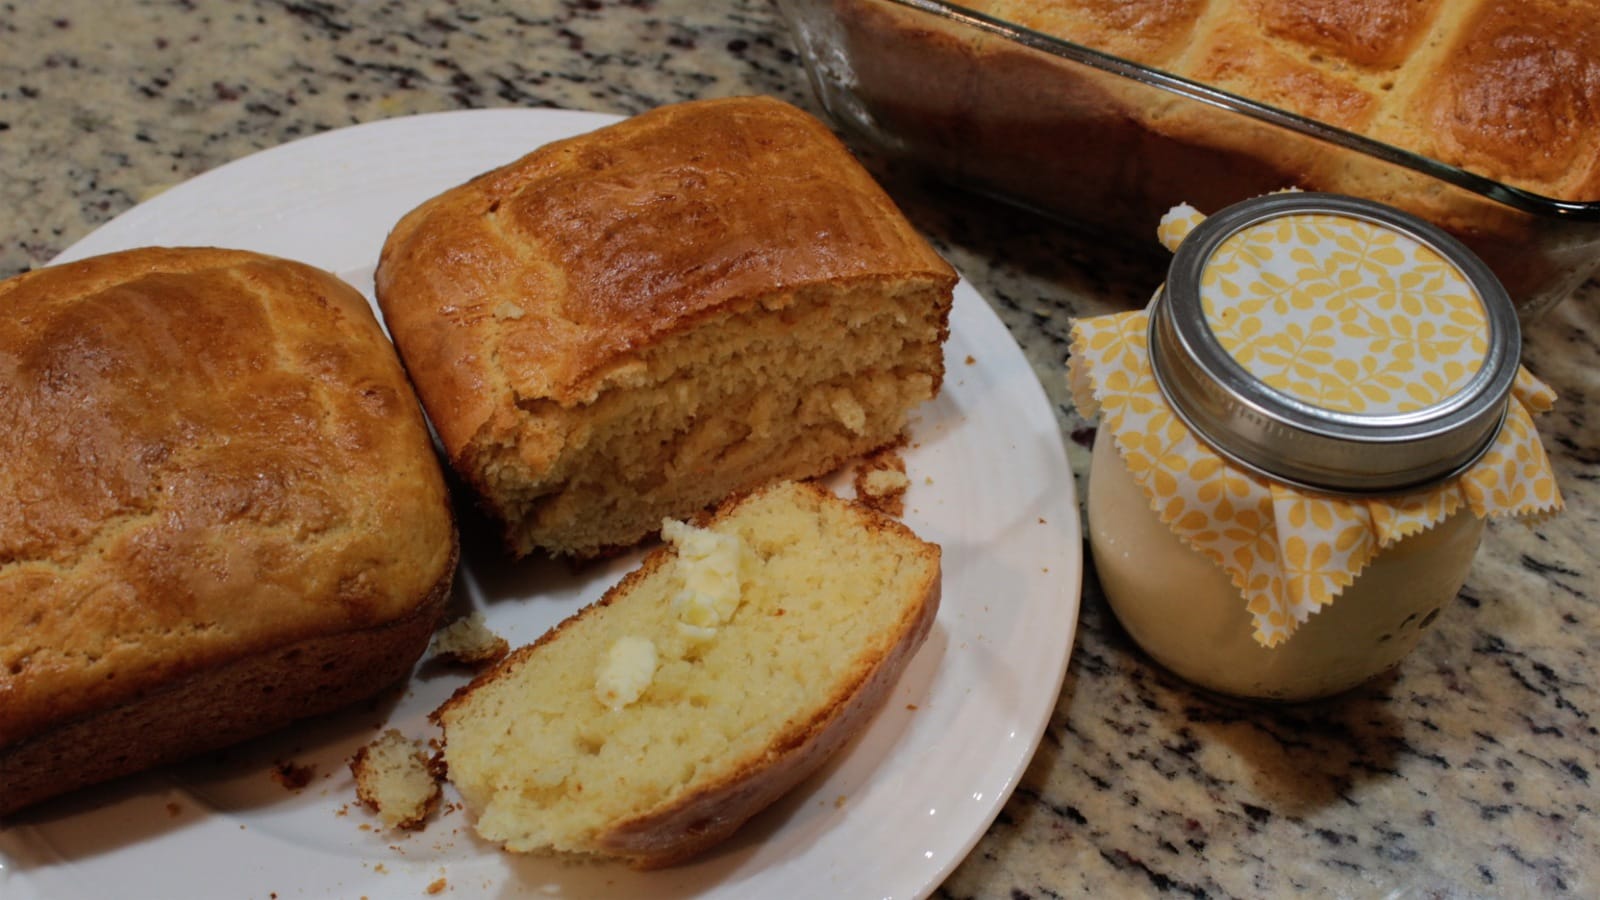
The Yogurt Thiakry should be served cold.
5 cup of milk
1 cup plain yogurt
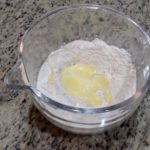
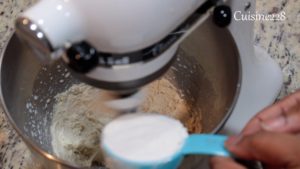
1 cup of powder milk
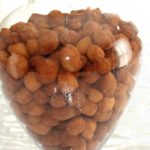
2 cup dèguè (Thiakry)
1/2 cup commercial plain yogurt
1 tablespoon vanilla extract
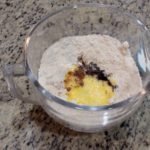
1 teaspoon nutmeg
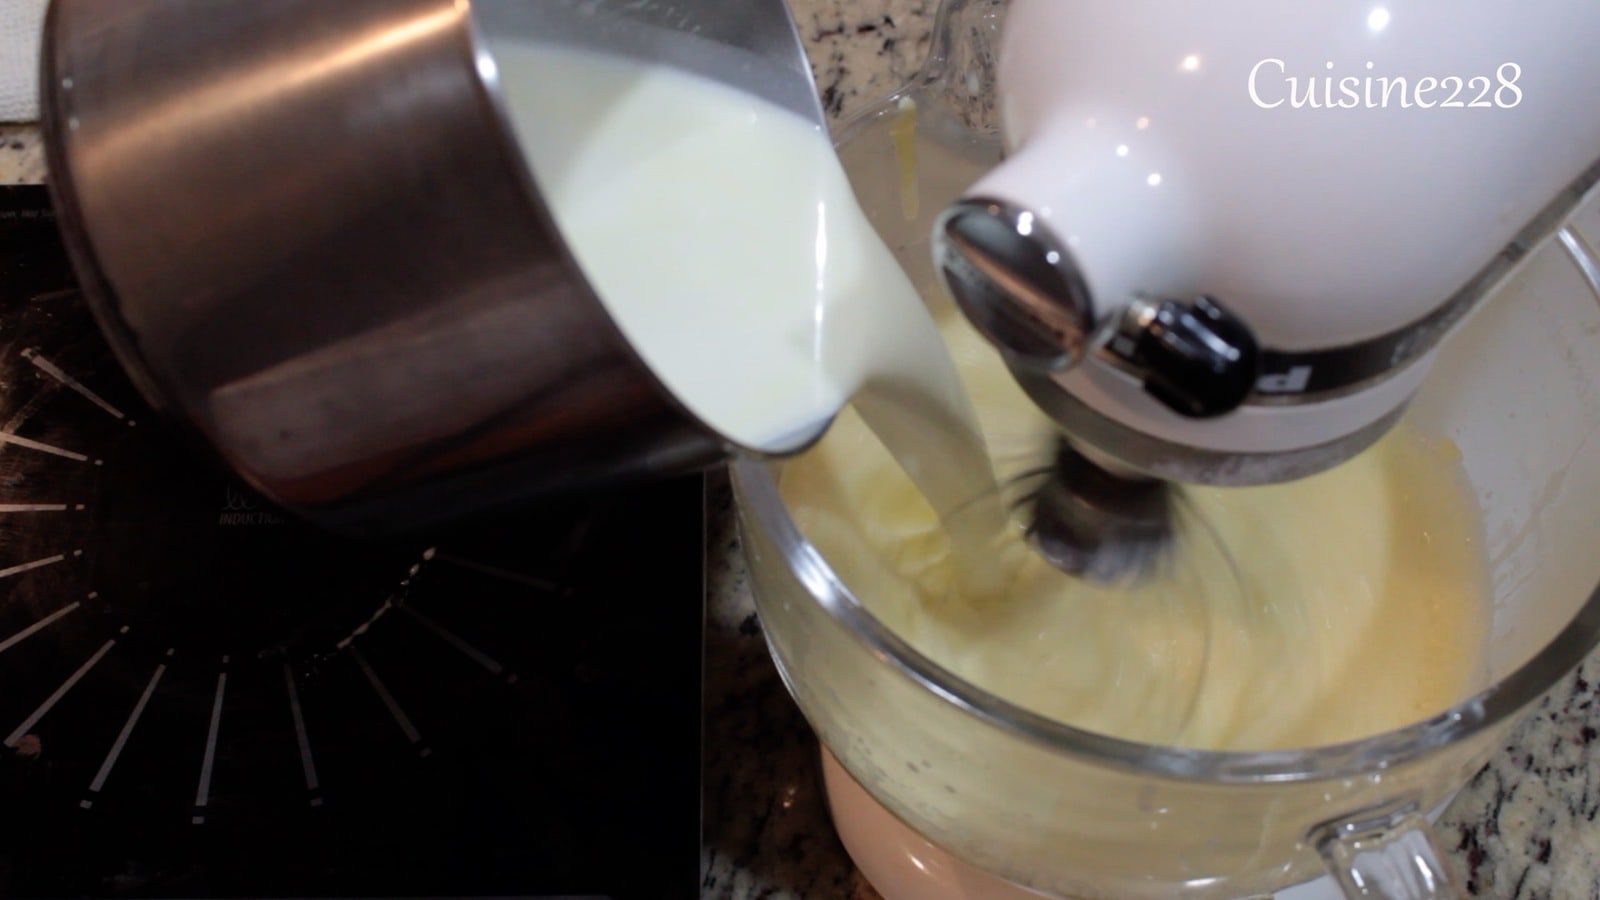
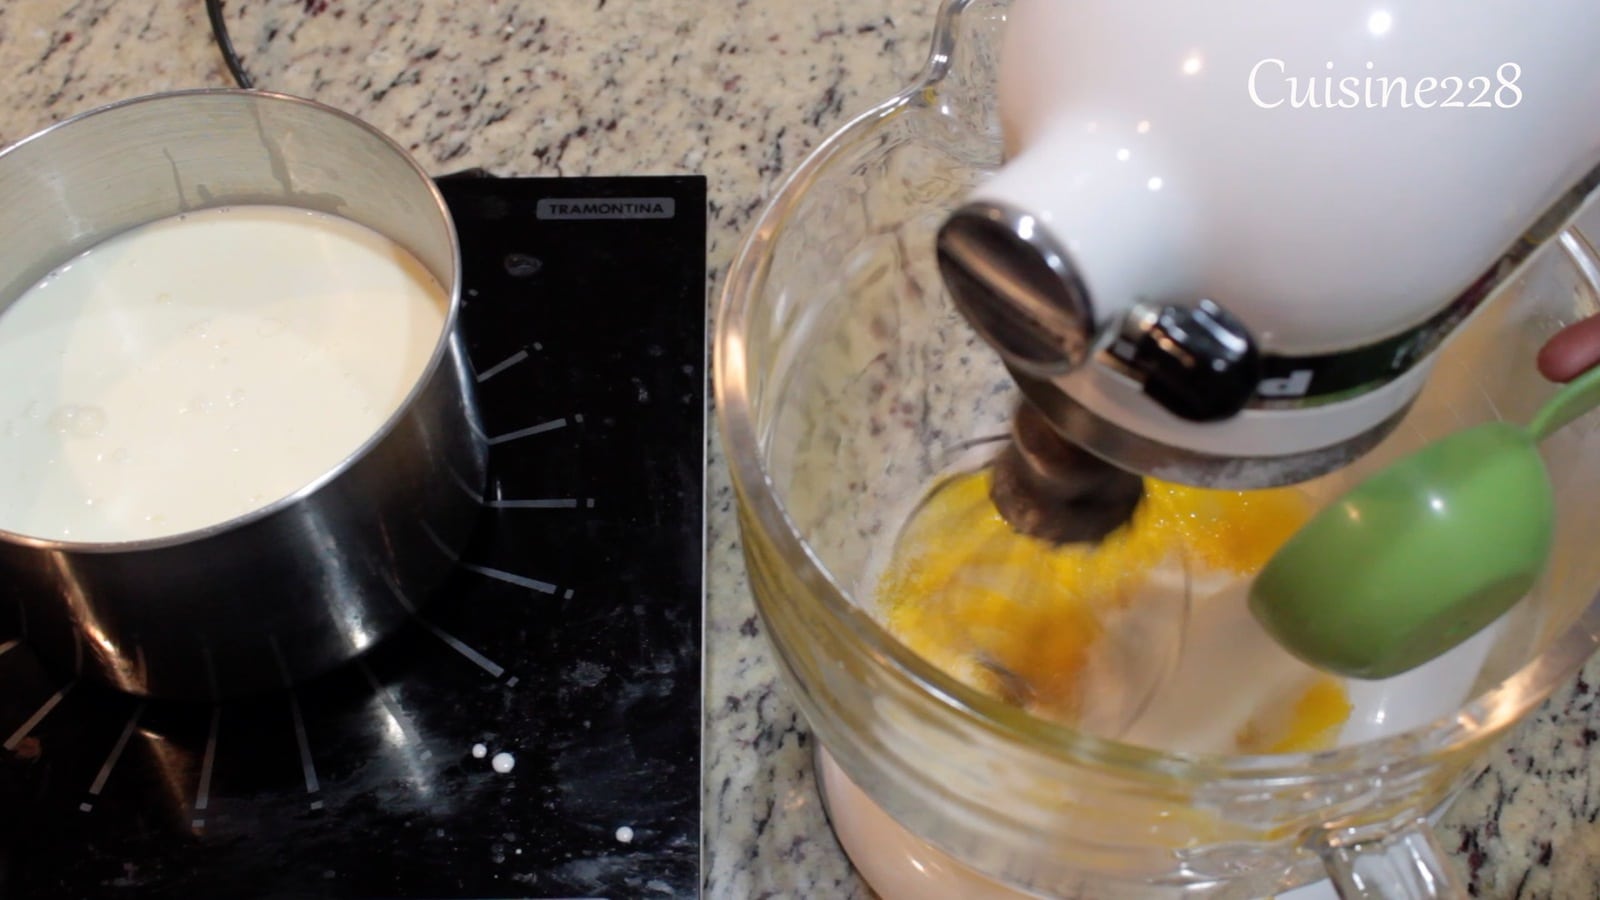
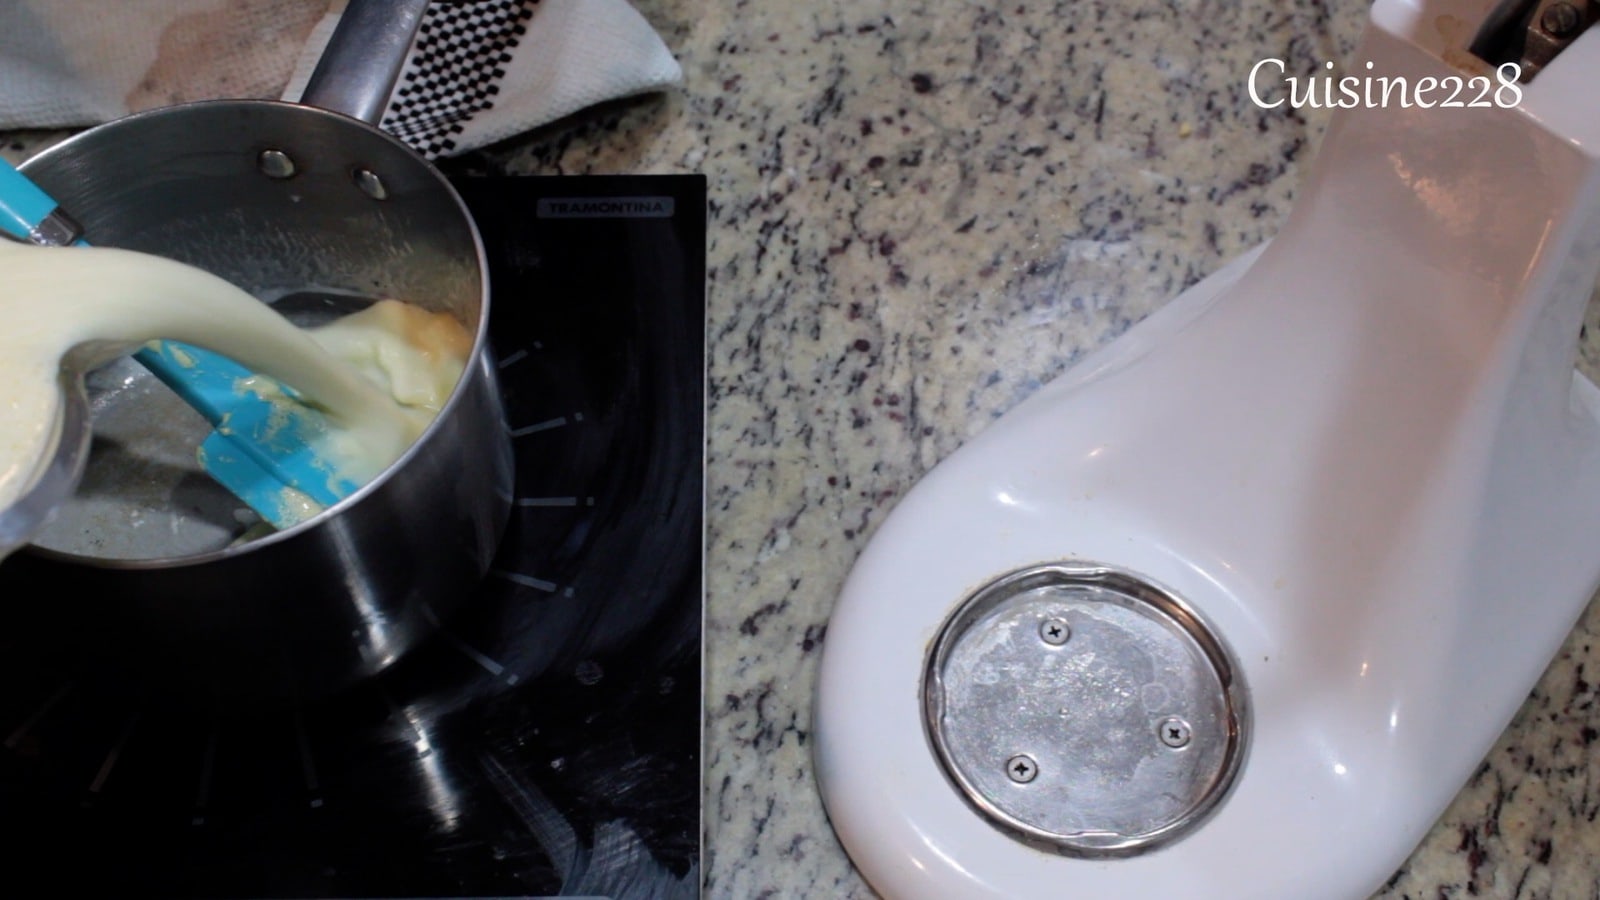
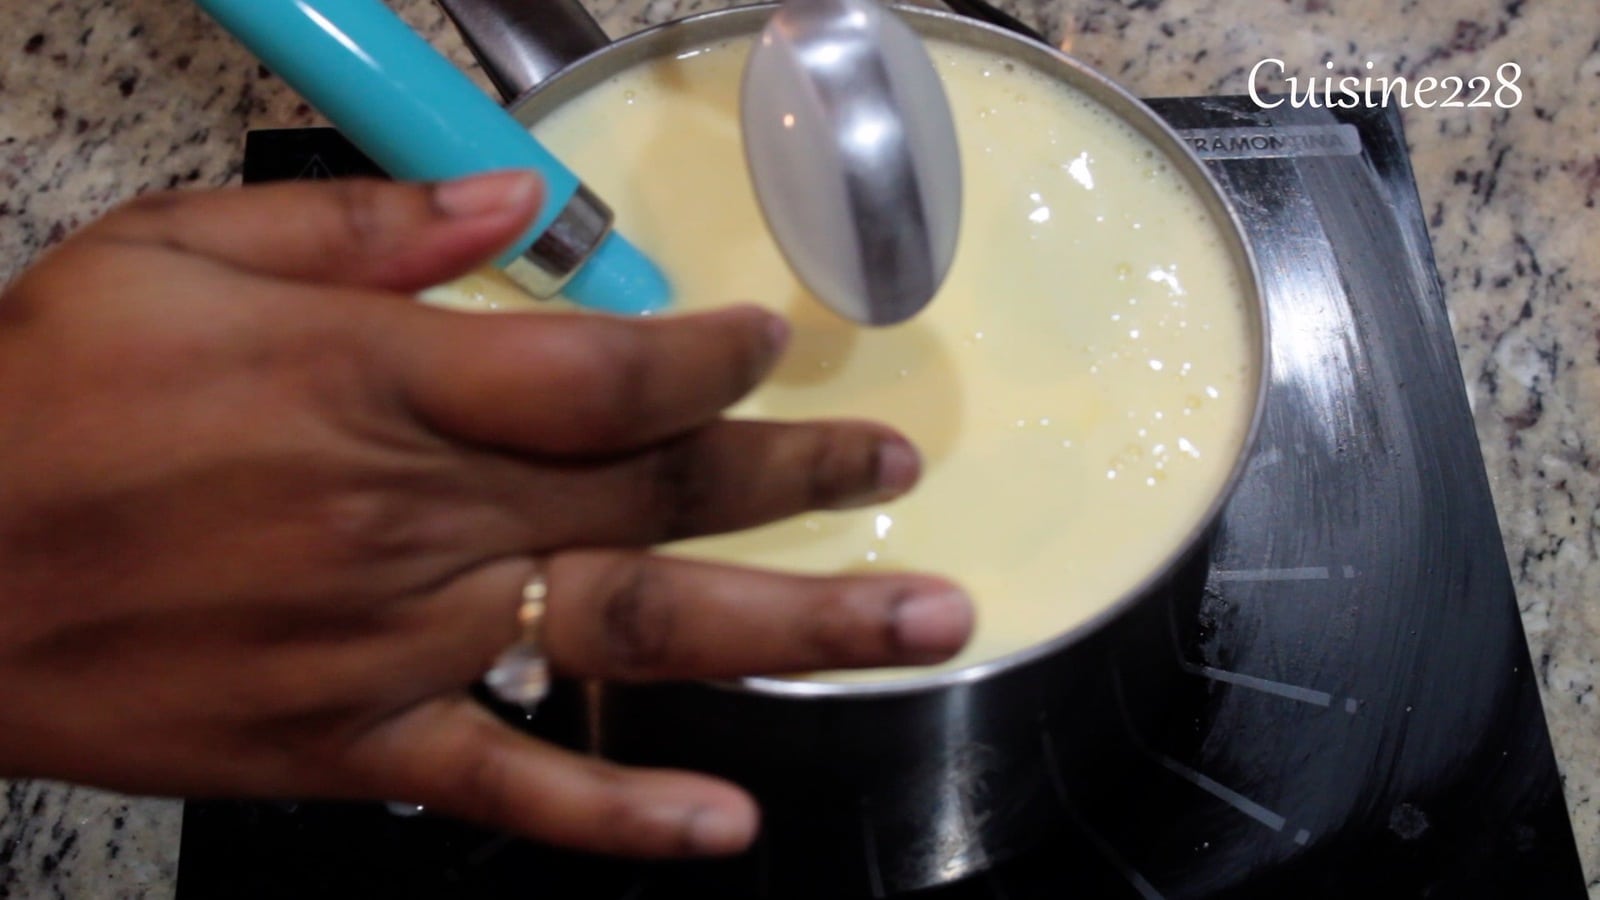
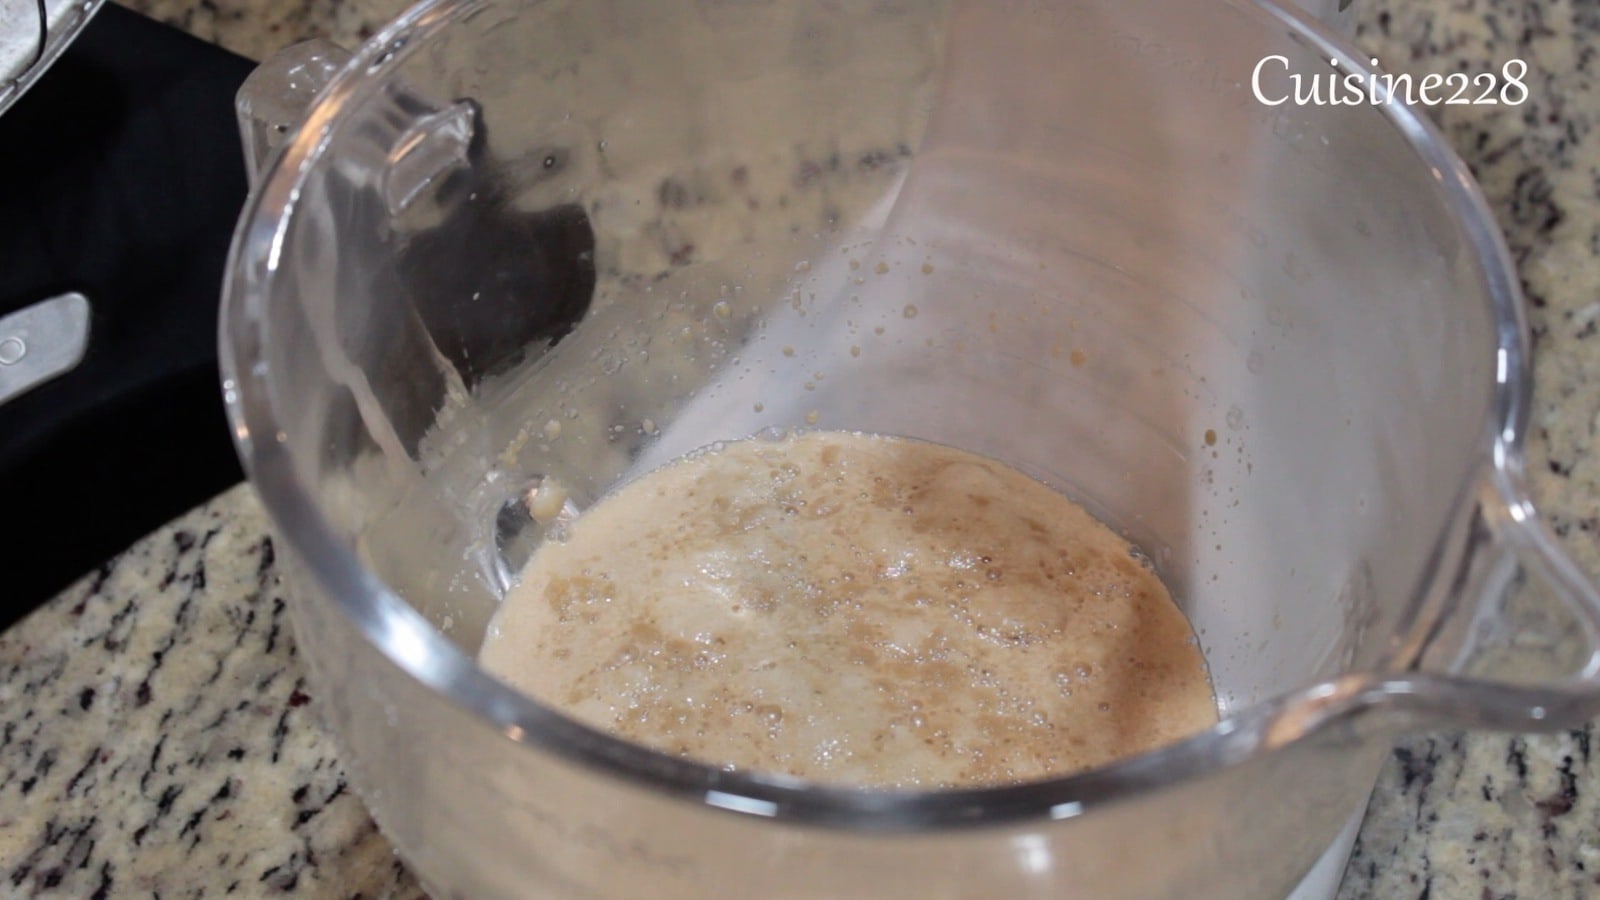
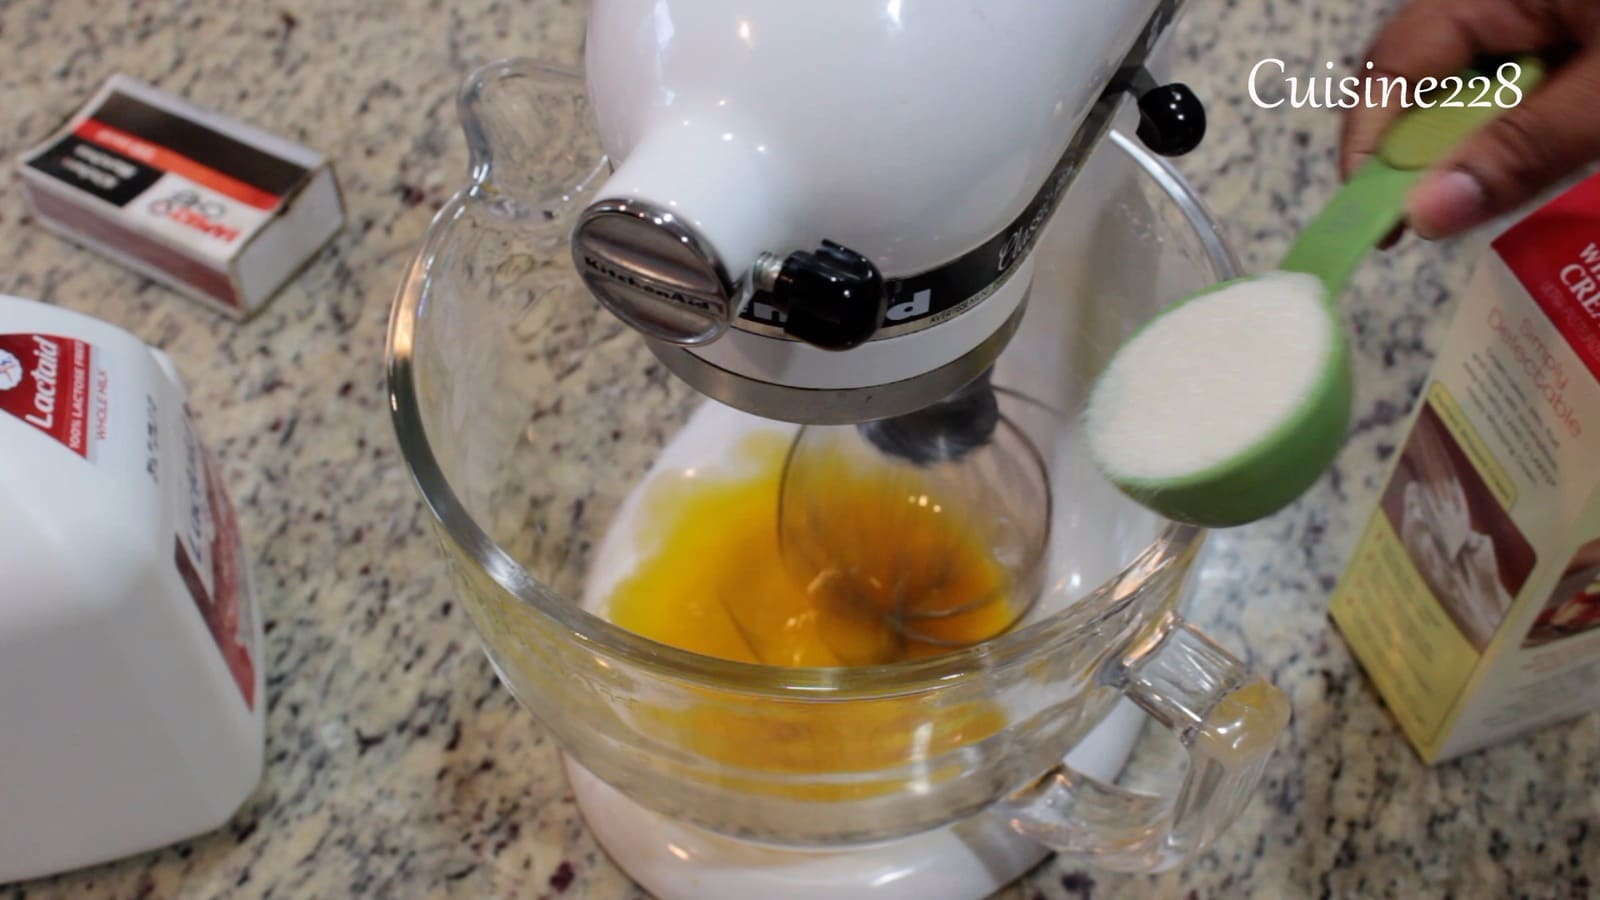
Warm the milk to right below boiling, about 200°F. Stir the milk gently as it heats to make sure the milk doesn’t boil over.
Cool the milk. Let the milk cool until it is just warm to the touch, 112°F to 115°F
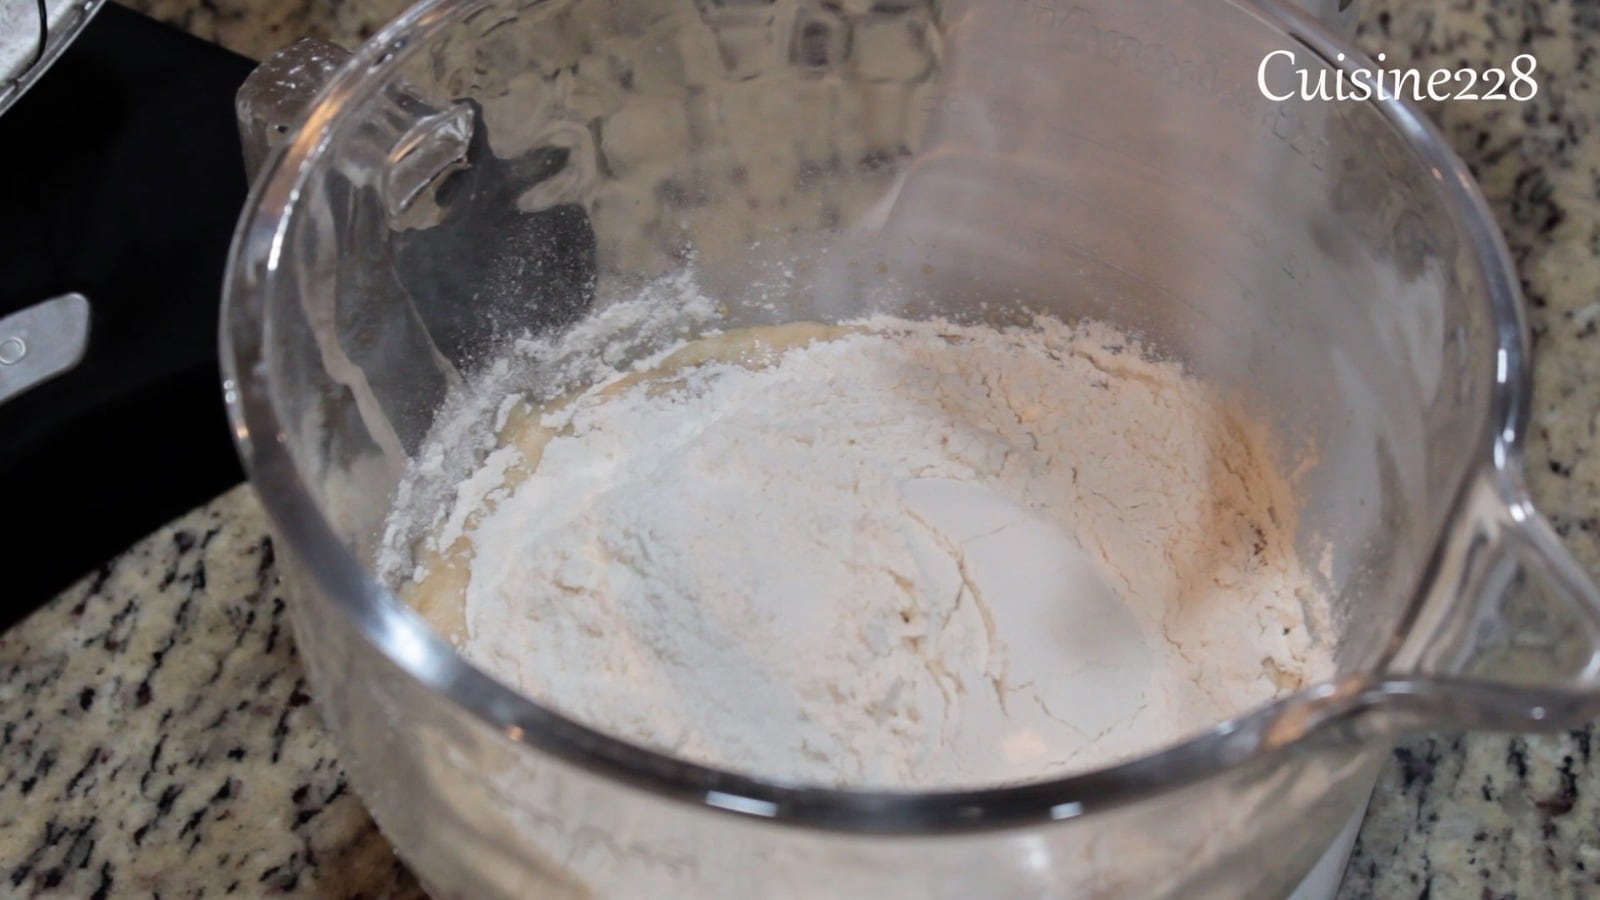
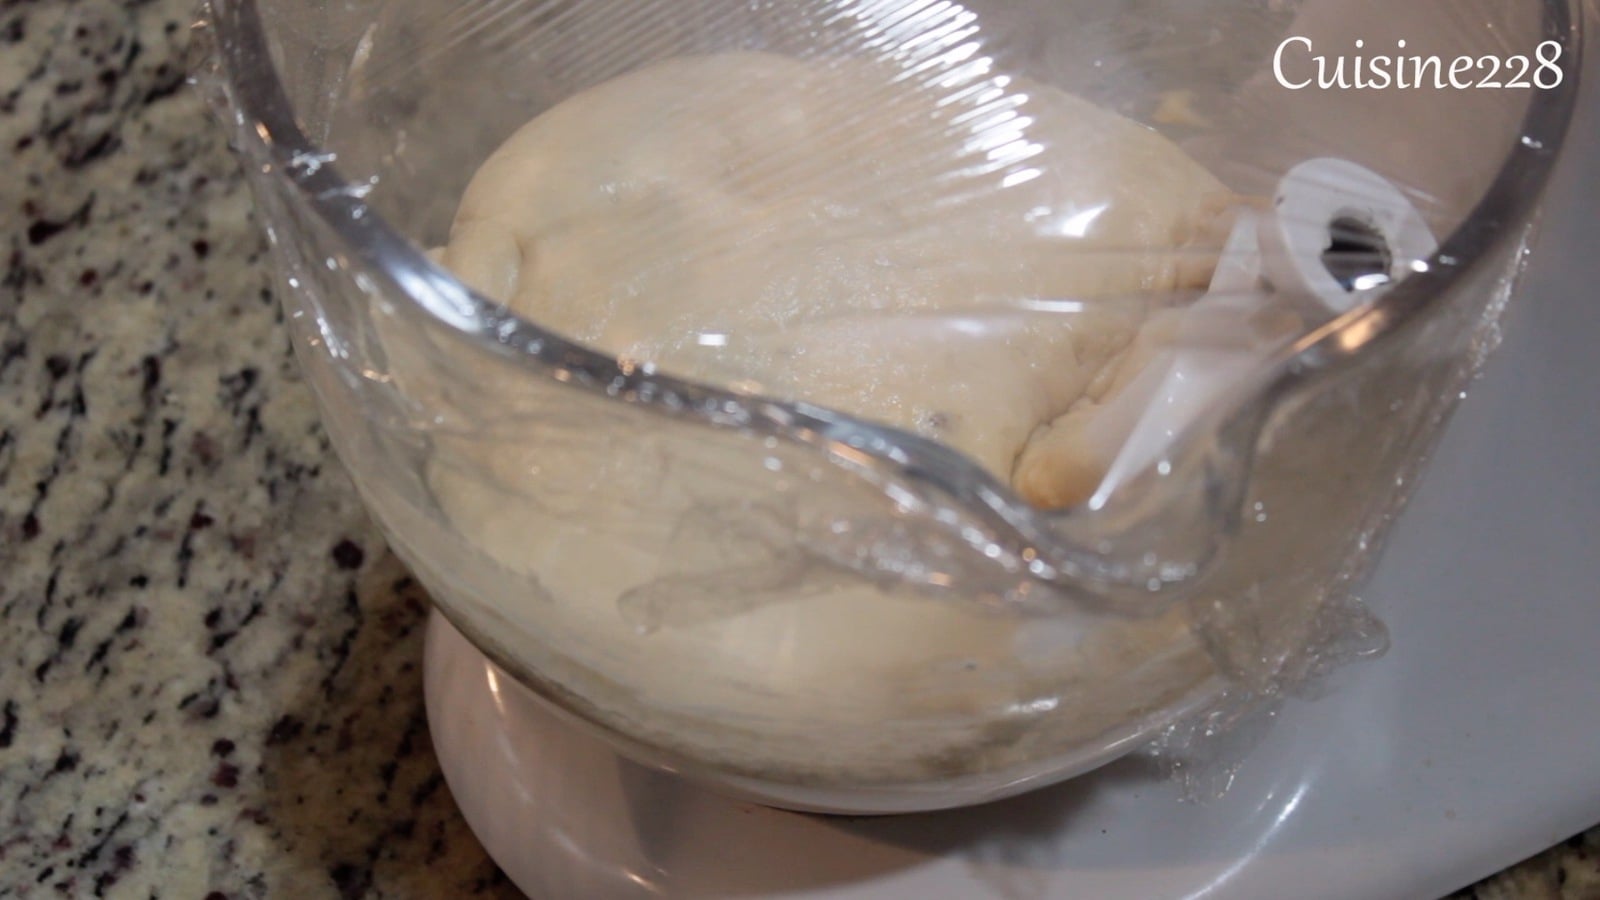
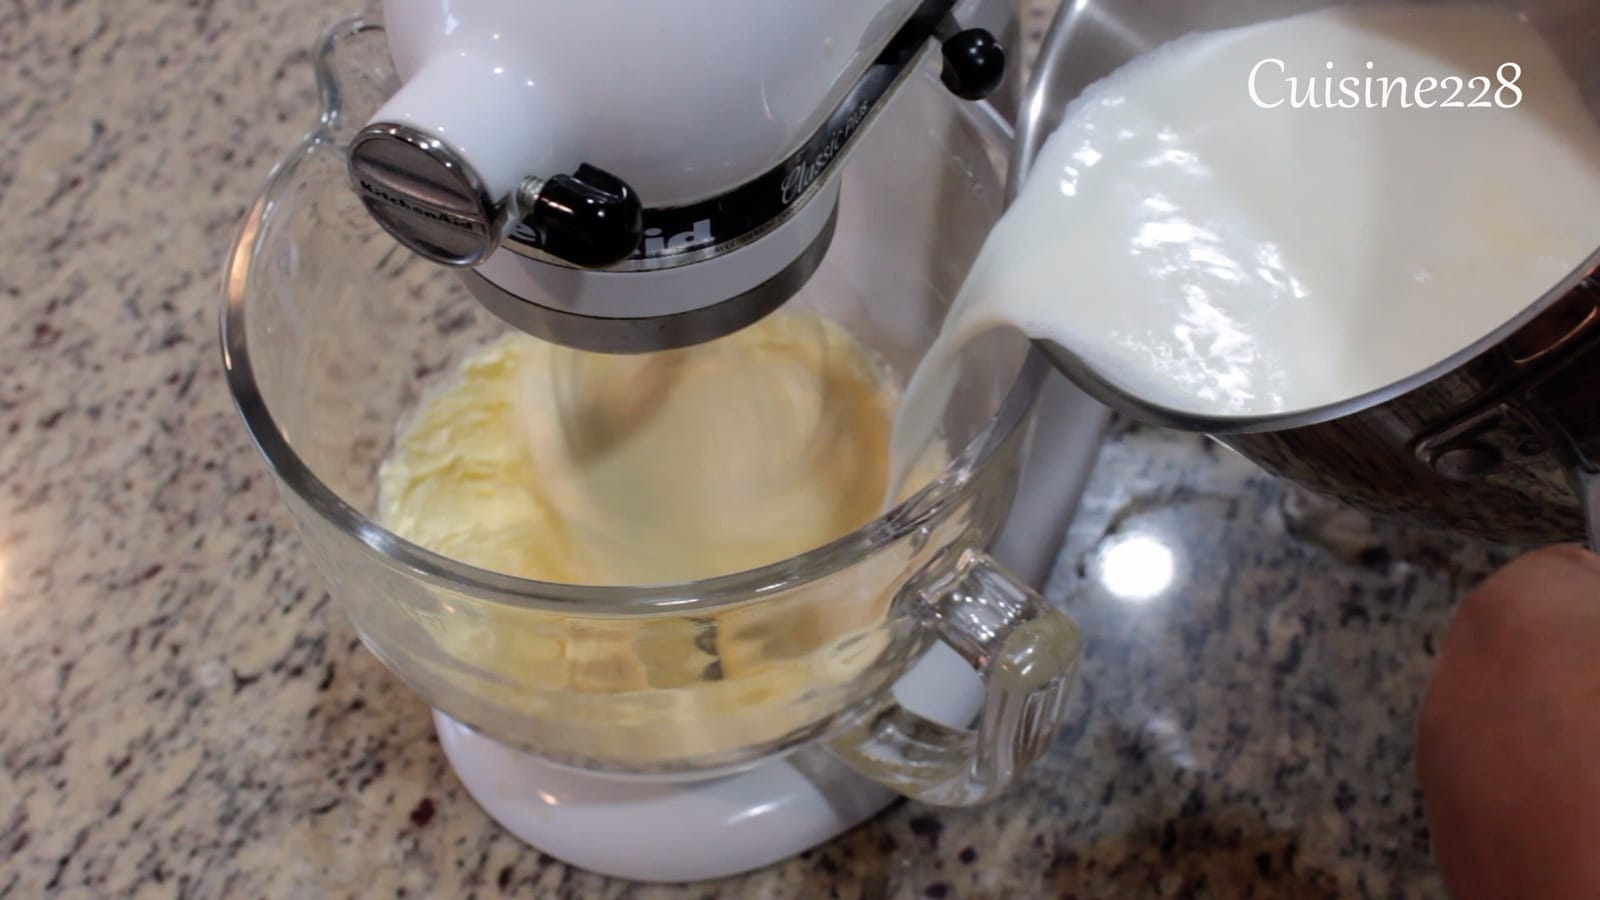
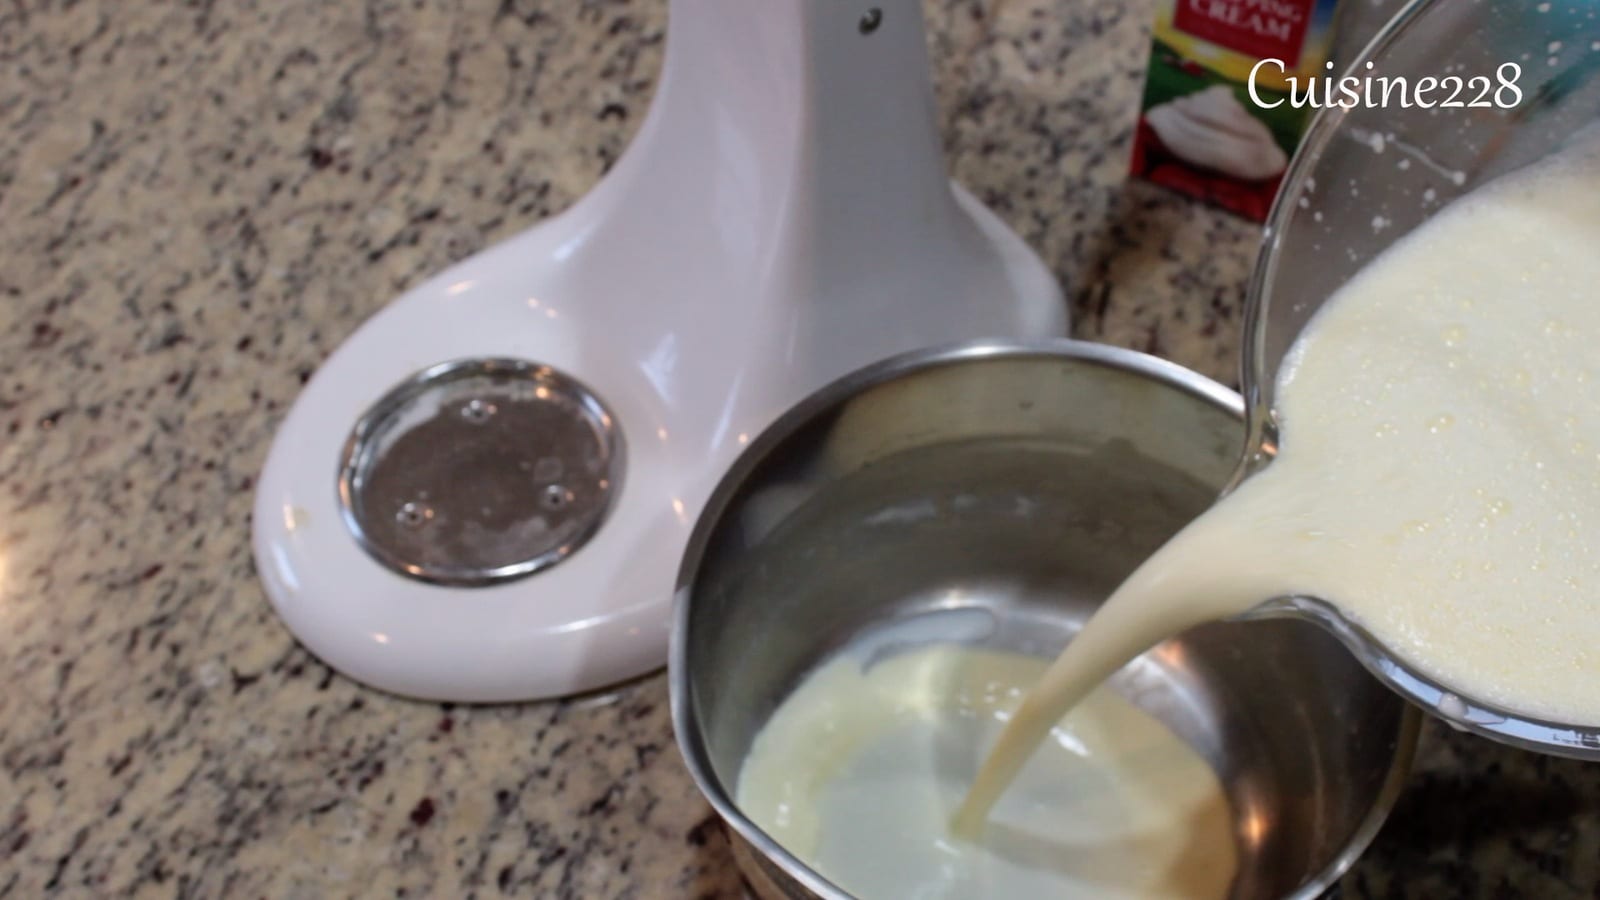
Add the yogurt and powder milk and whisking gently. Place in warm water overnight
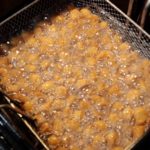
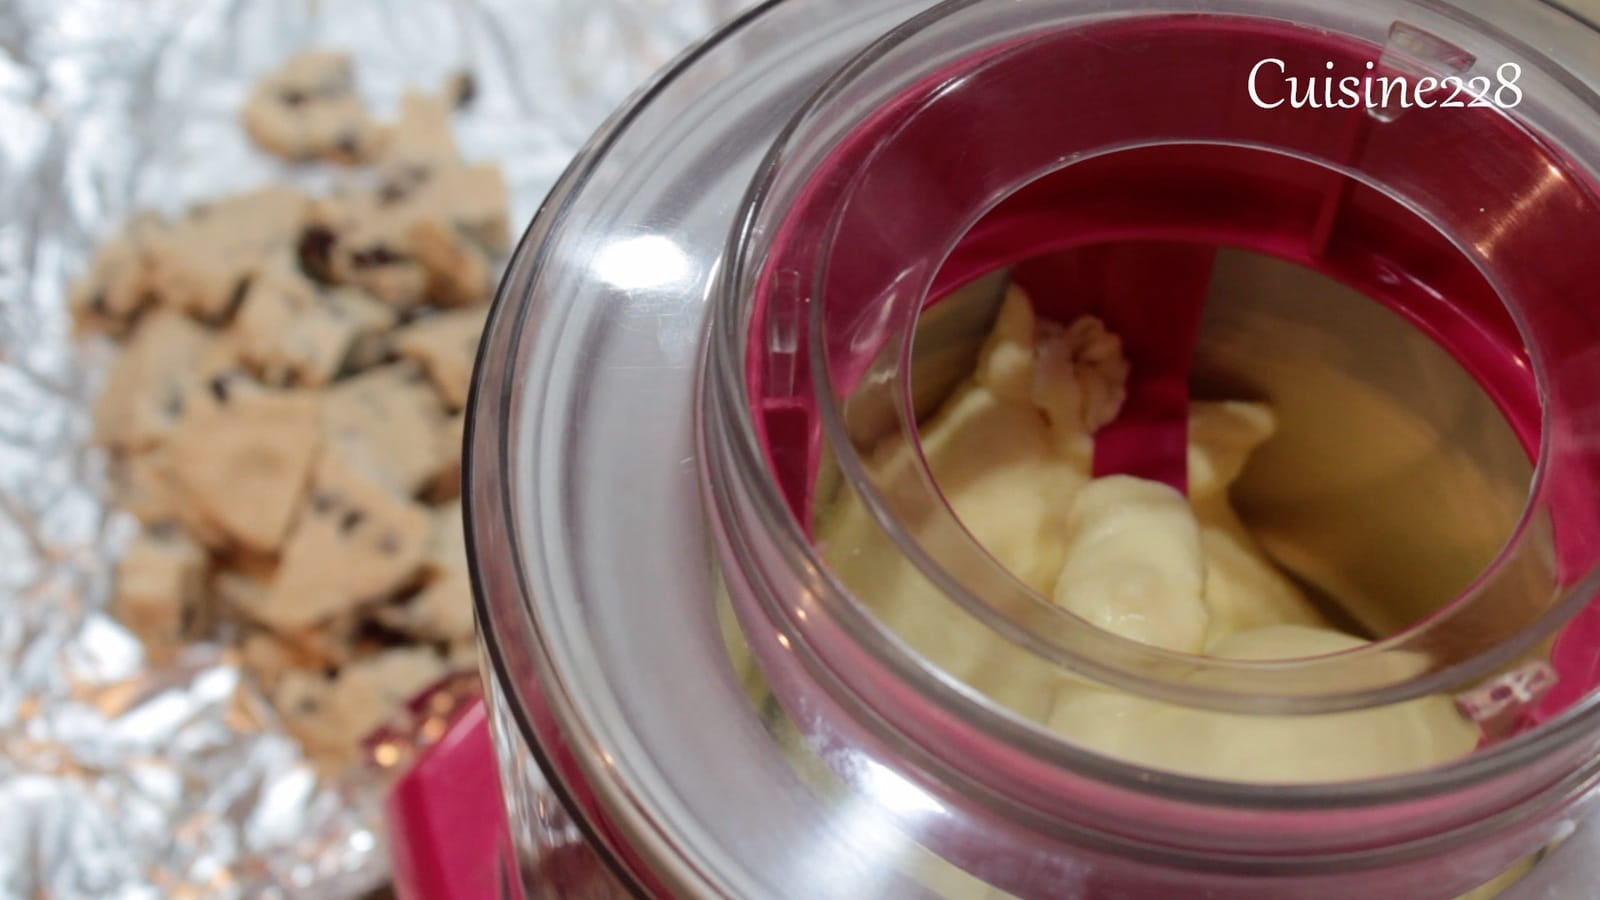
Cook the millet with steam or microwave
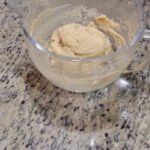
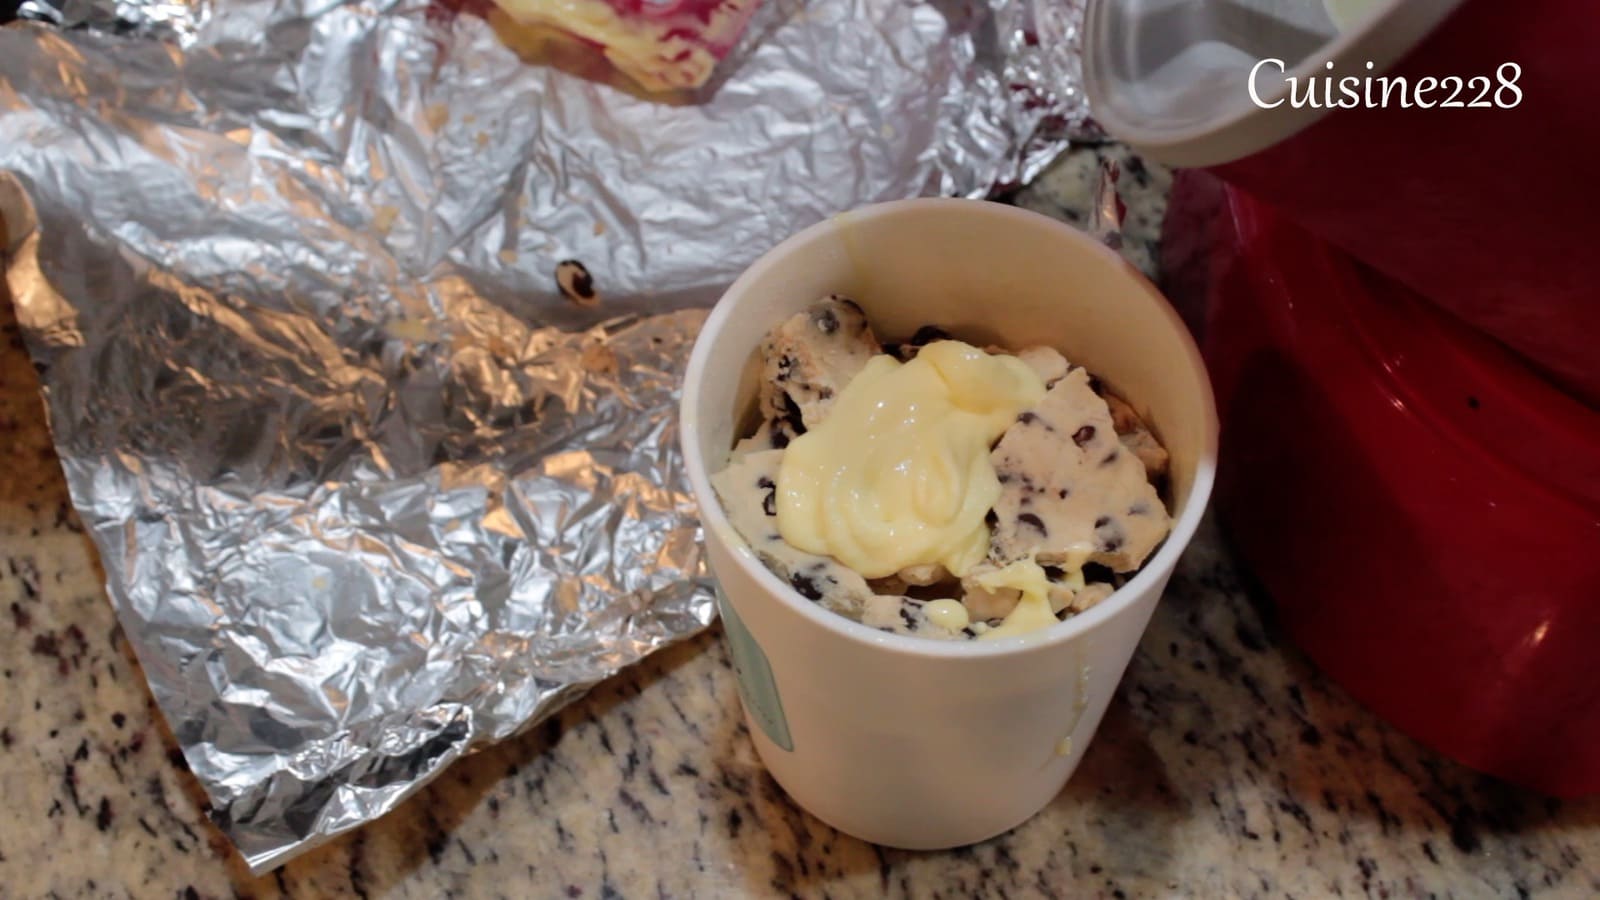
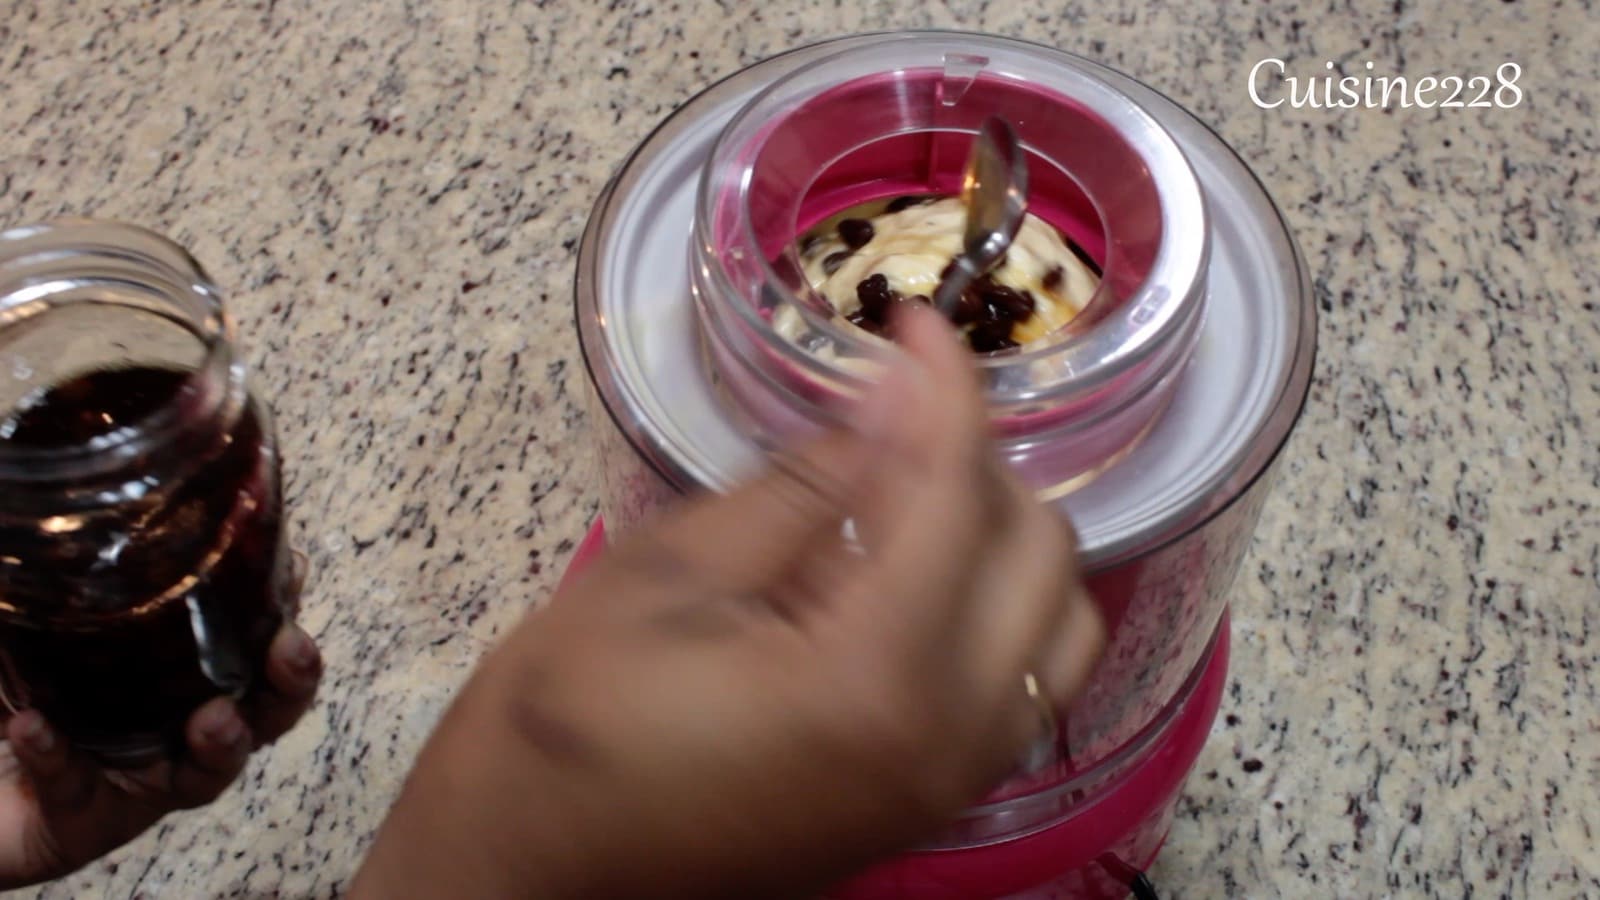
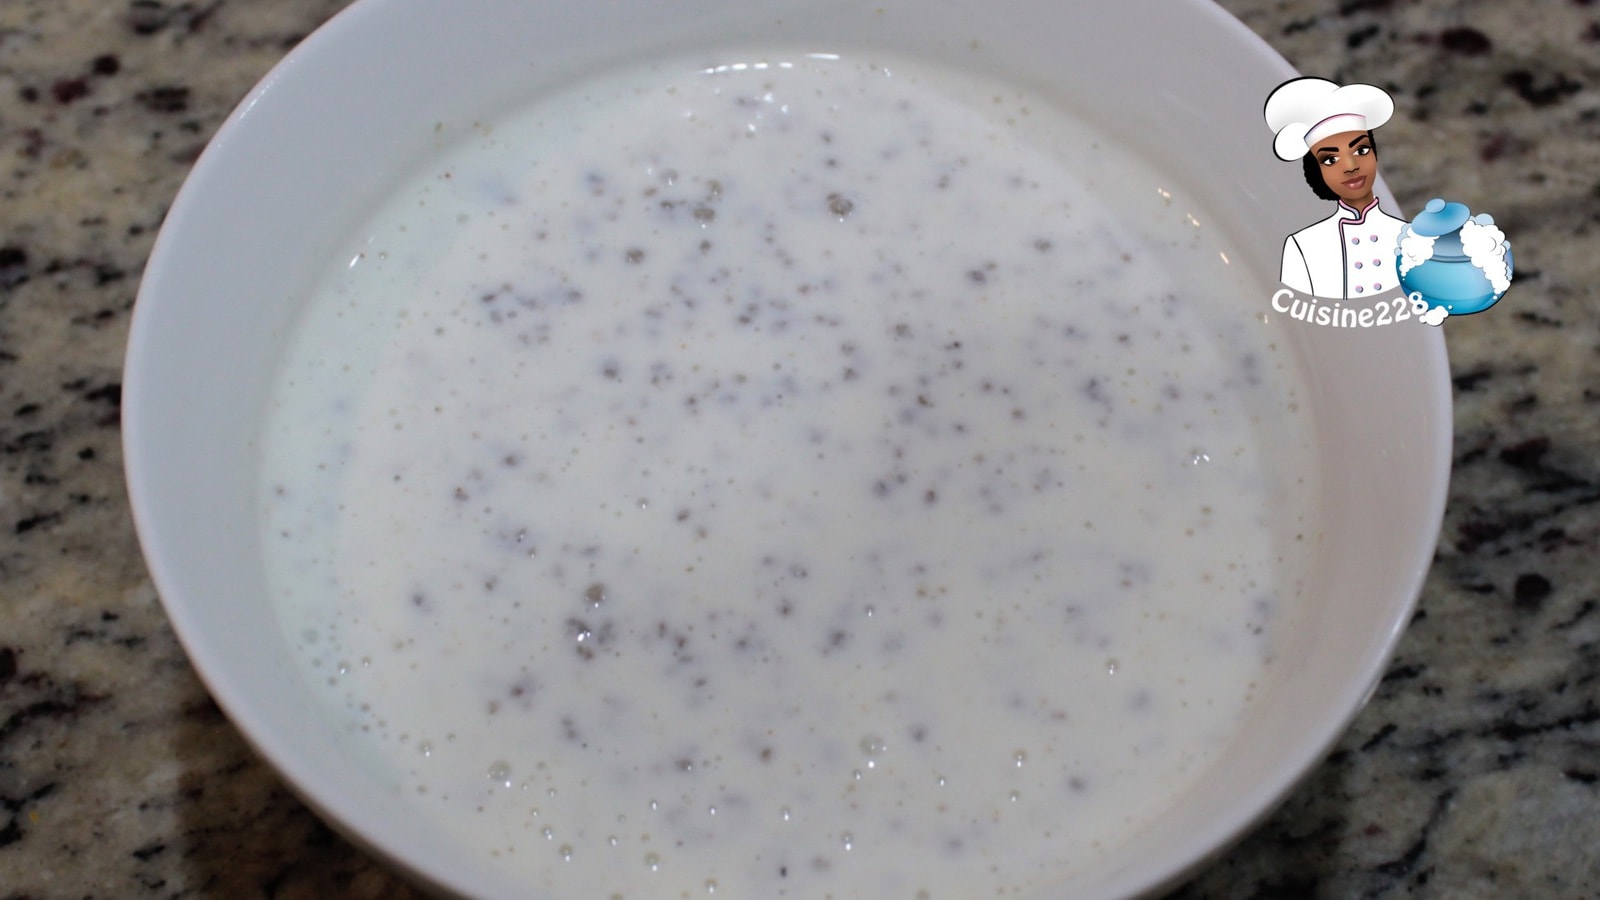
When it is well cooked, put in a calabash, crush, because the small grains form a single ball, work until the small balls are detached from each other.
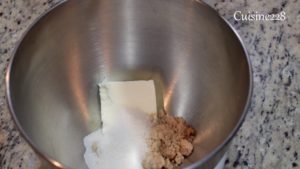
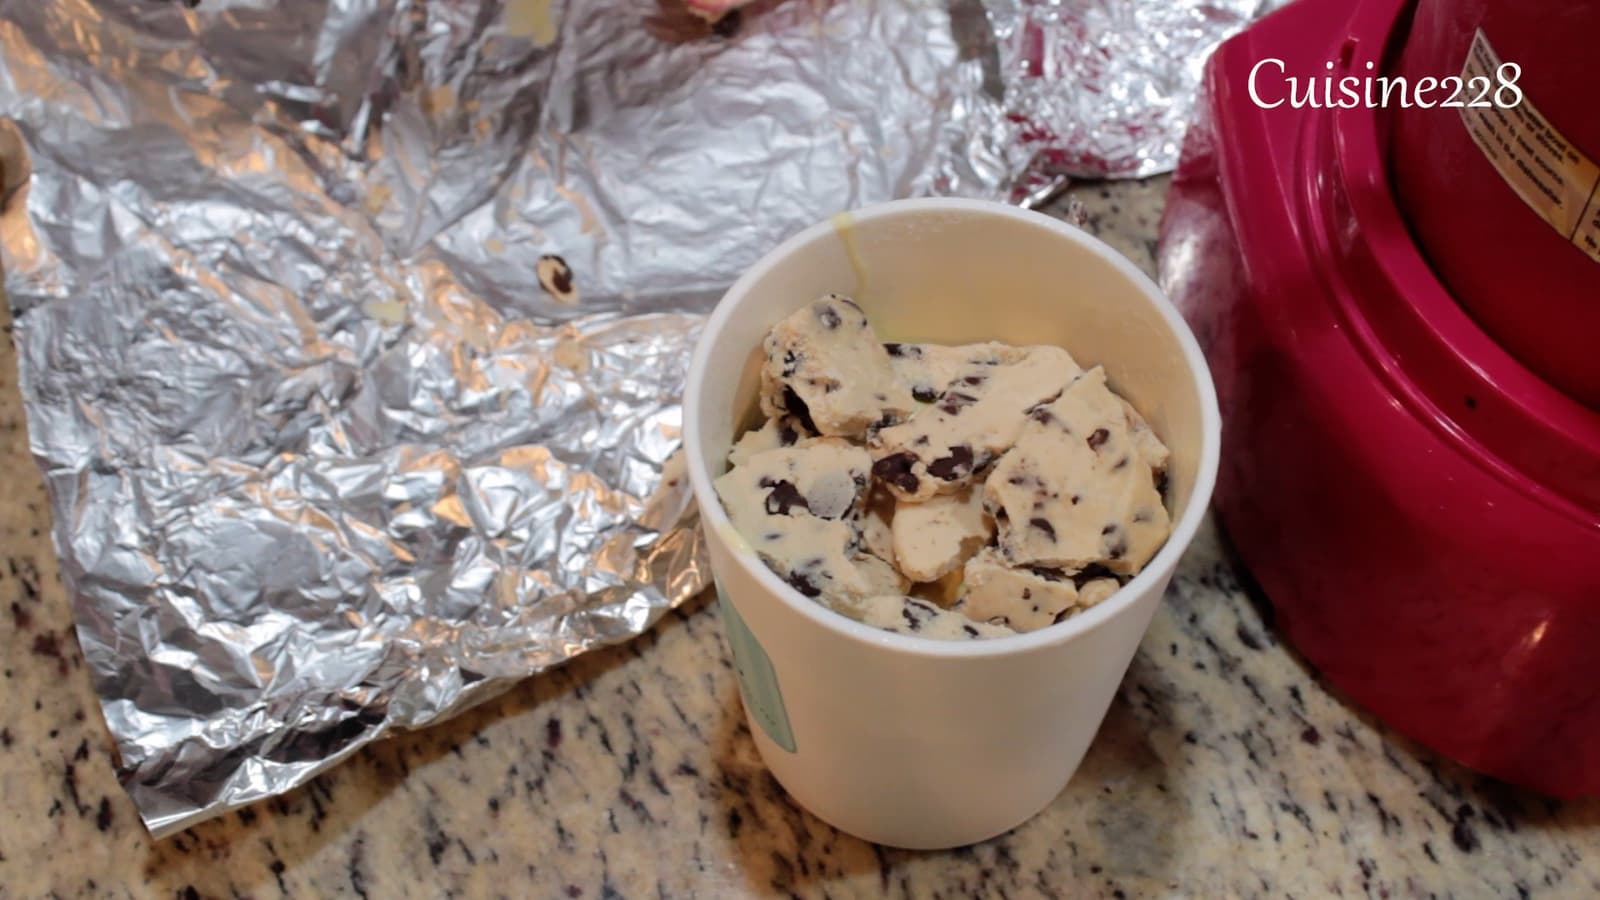
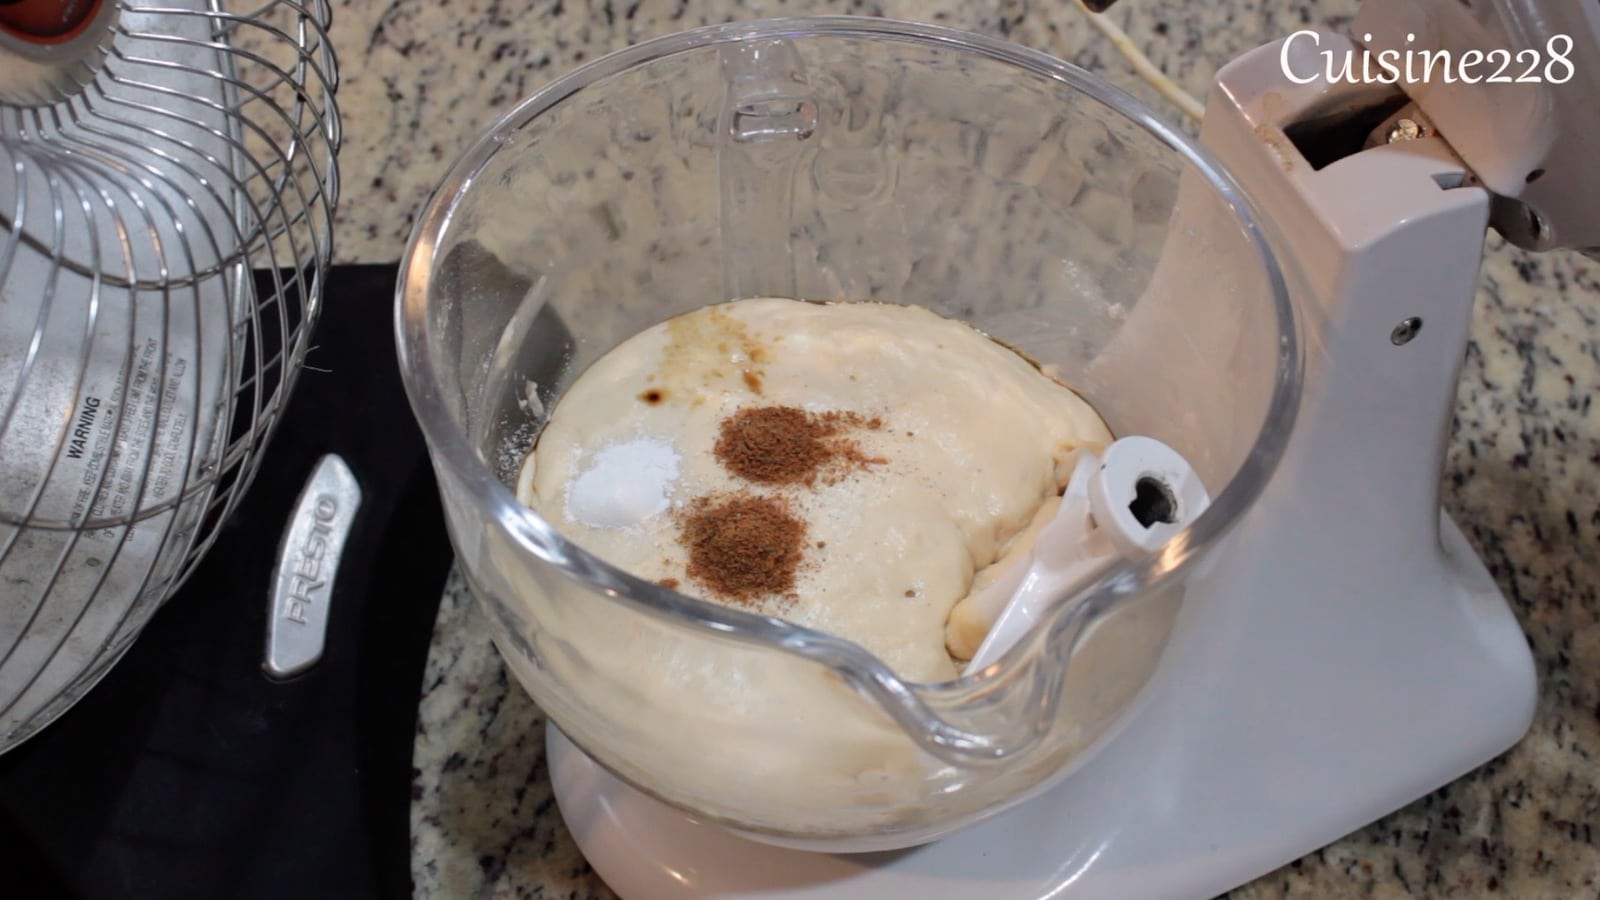
Add nutmeg, sugar and vanilla extract
Pour into bowls, put in the fridge. Serve as Cold