This recipe of One-pot Baked Chicken and Jollof Rice start on the stove and finishes cooking in the oven. This One-pot Baked Chicken and Jollof Rice is also a combination of west African and Indians of terrific aromatic, spices and flavors. The little thing that makes all the difference in this recipe is the fried anise, allspice pepper, bay leaf, cinnamon and cloves before adding the rice and well-seasoned chicken. This recipe of One-pot Baked Chicken and Jollof Rice is outrageously delicious!
One-pot Baked Chicken and Jollof Rice Secret: “fried anise, allspice pepper, bay leaf, cinnamon and cloves”

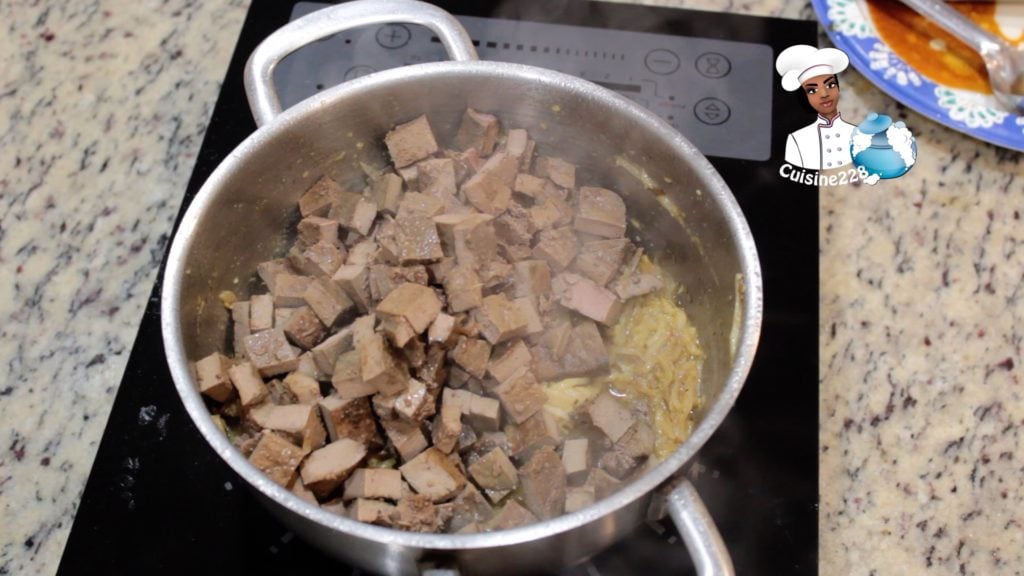
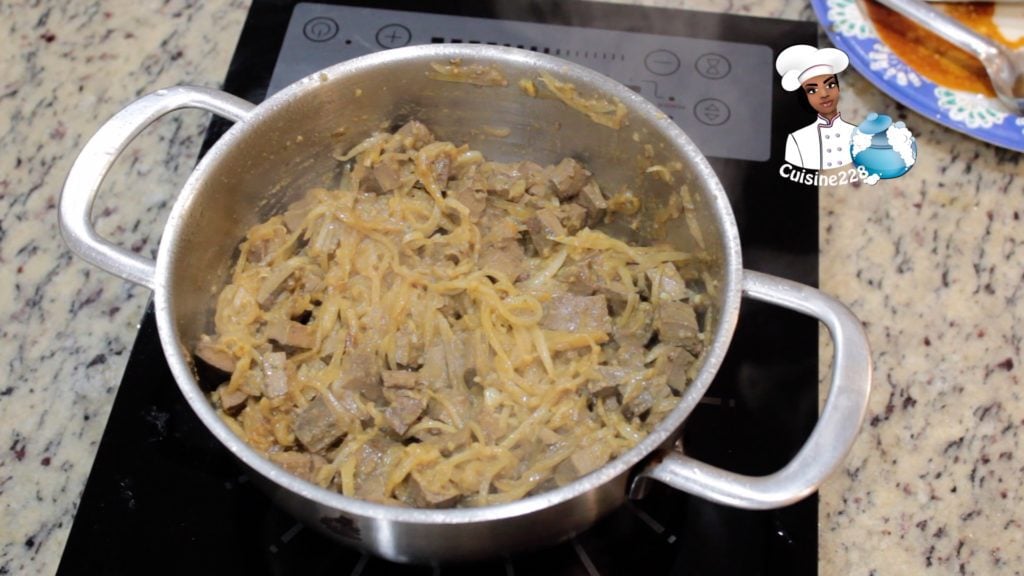
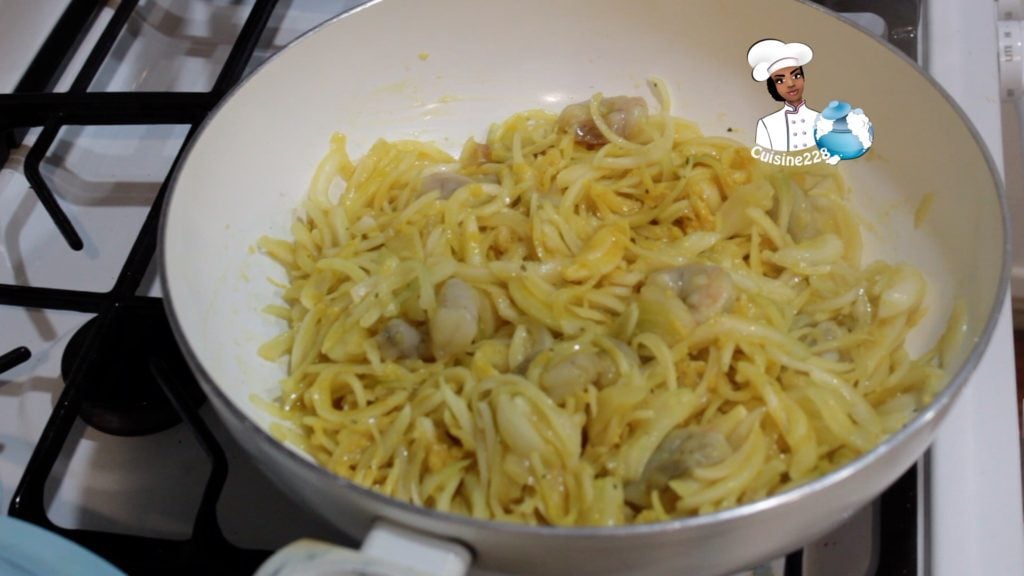
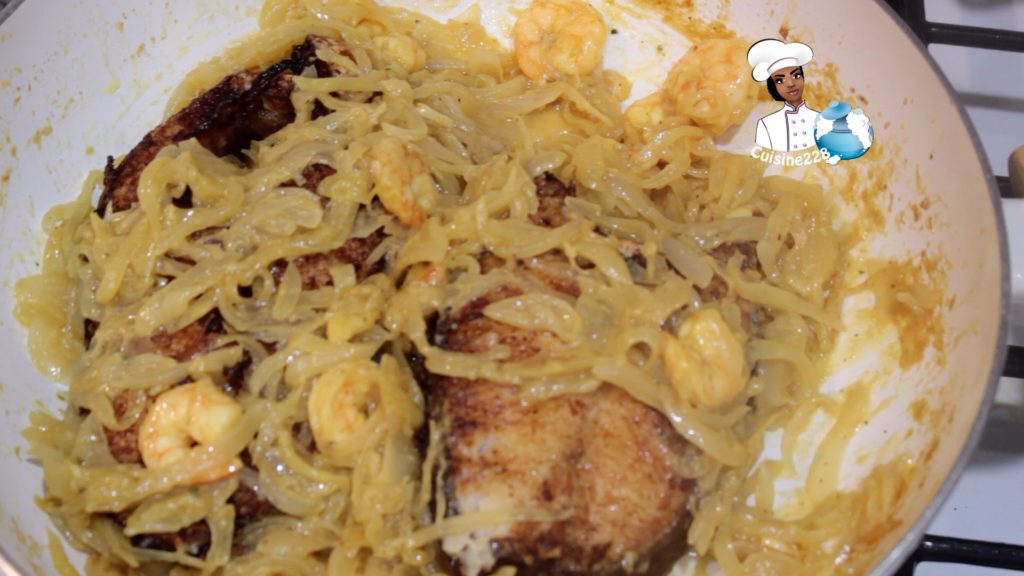
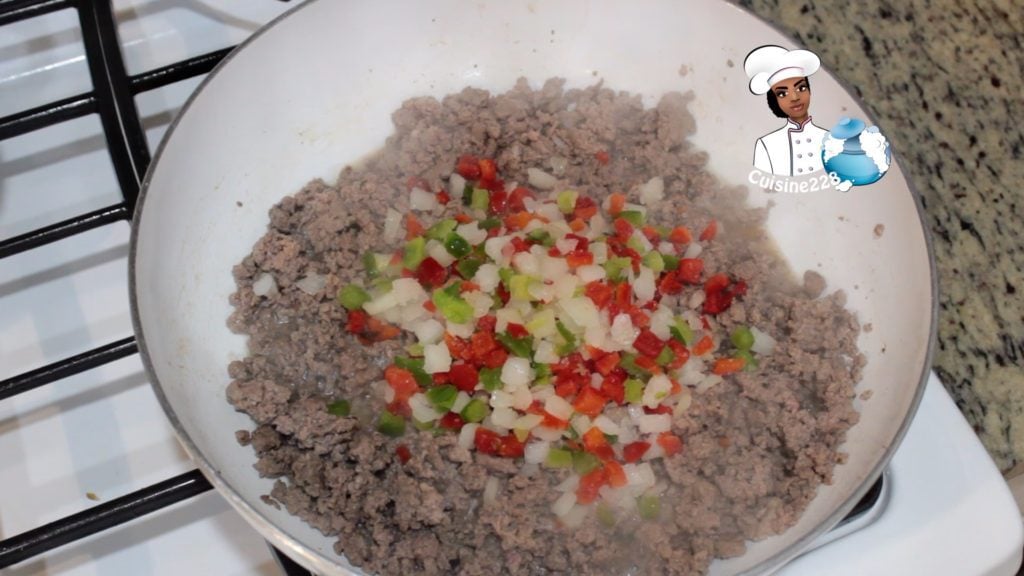
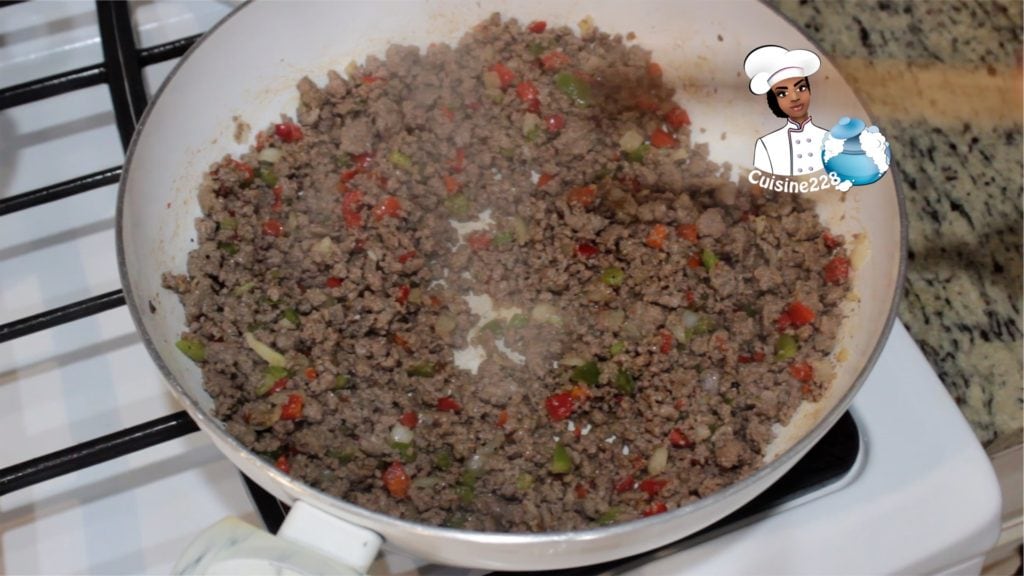
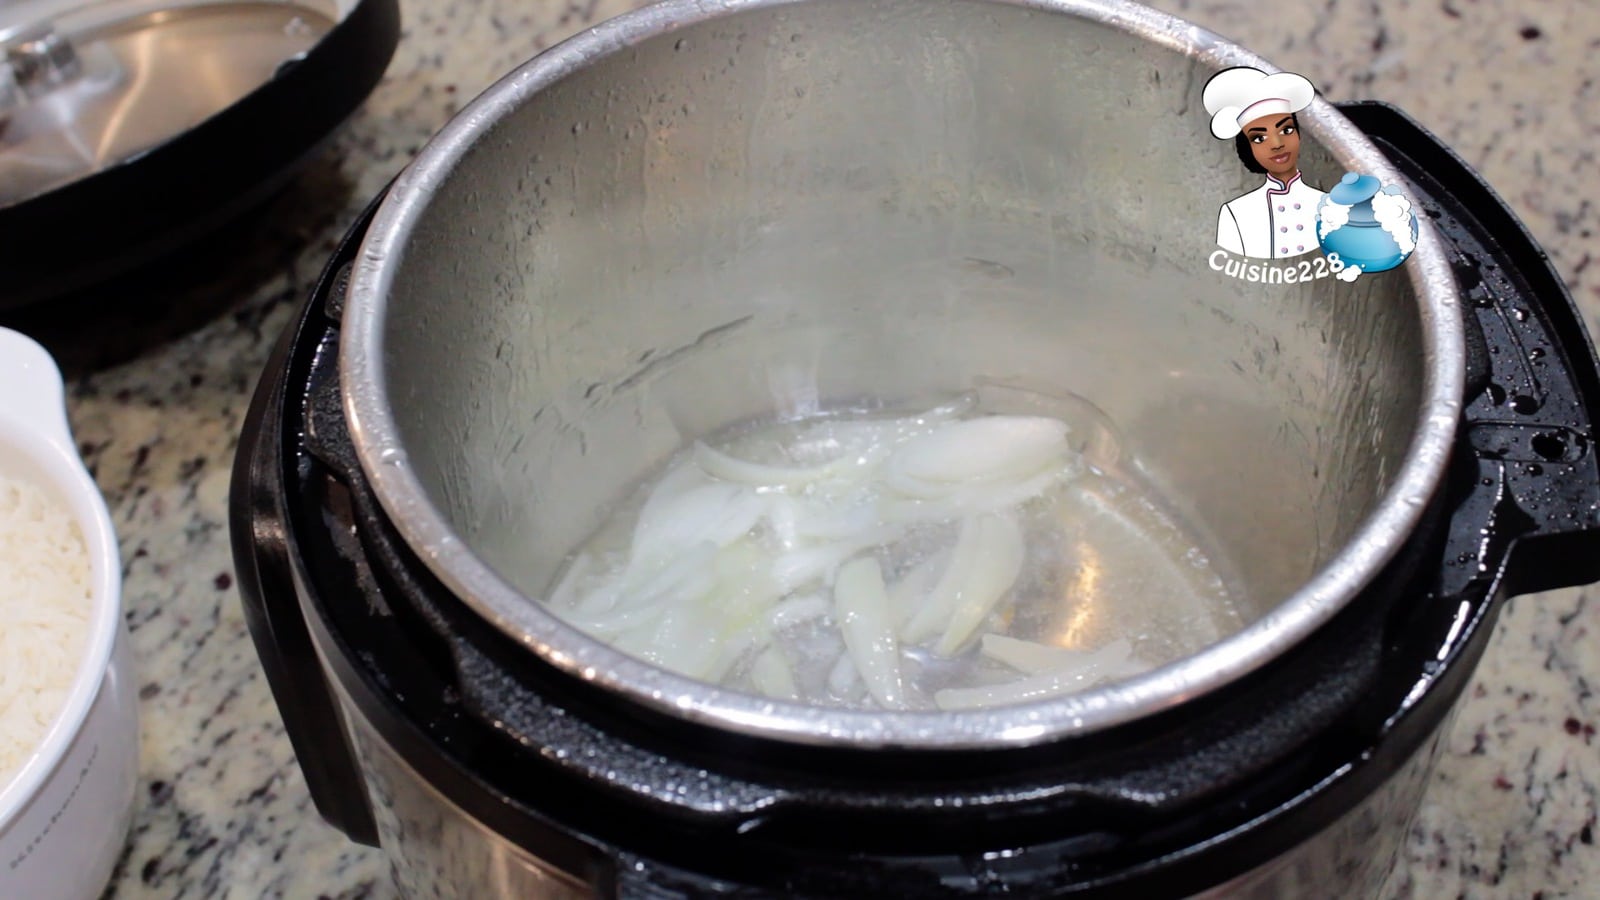
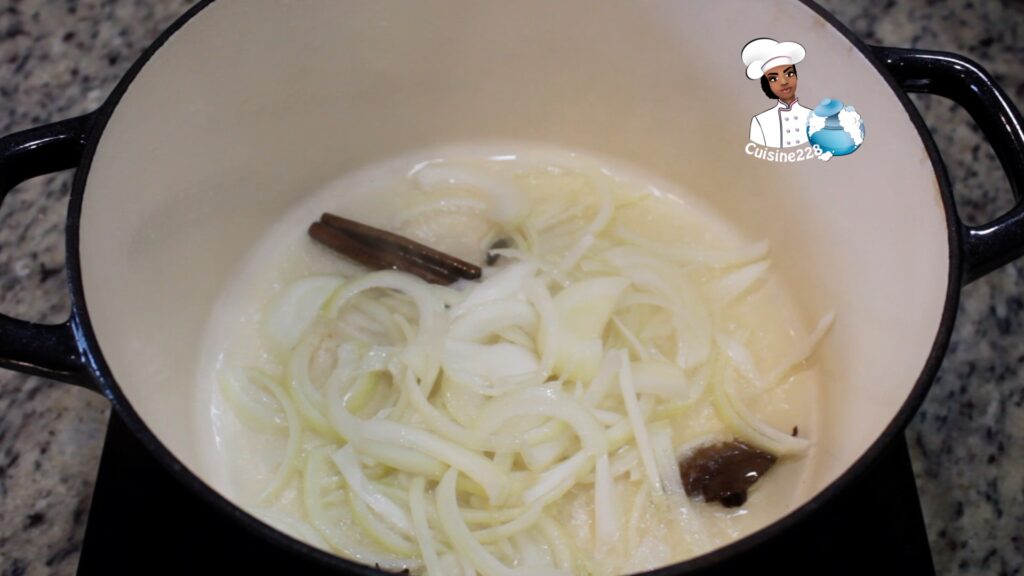
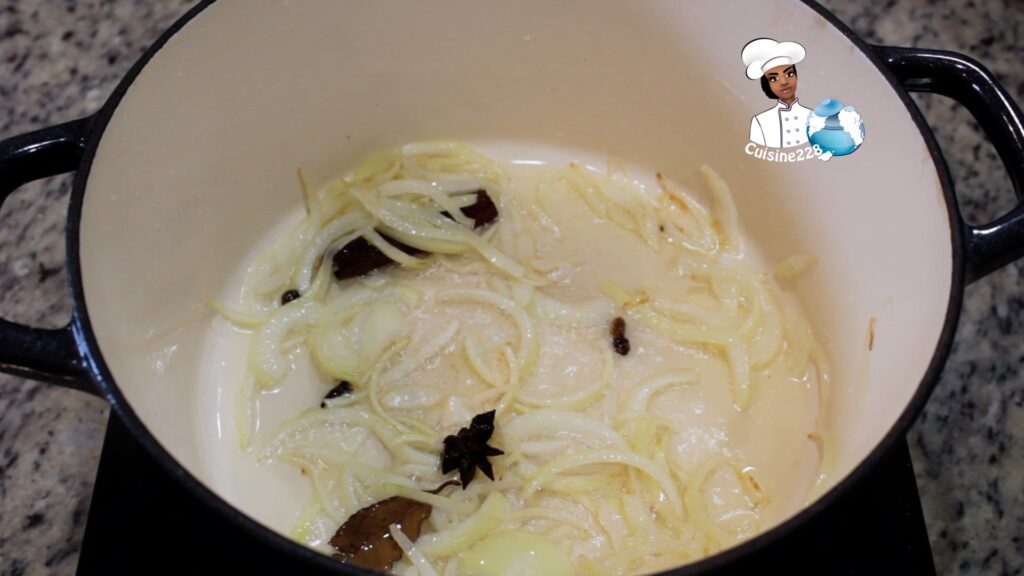
This One-pot Baked Chicken and Jollof Rice starts on the stove because frying the anise, allspice pepper, bay leaf, cinnamon and cloves ensure the best flavors possible in the most effective way. If your oil begins to smoke, it is too hot and should be either removed from the heat source or the heat source should be turned down. Once they become aromatic, add the onion and cook until the onion is softened. Then, continue to add your other ingredients as desired. When frying spices, it is extremely important to pay close attention to them. Even if a single spice burns, the whole batch will be tainted with that bitter, burned flavor. Stir the spices frequently and mind the heat.
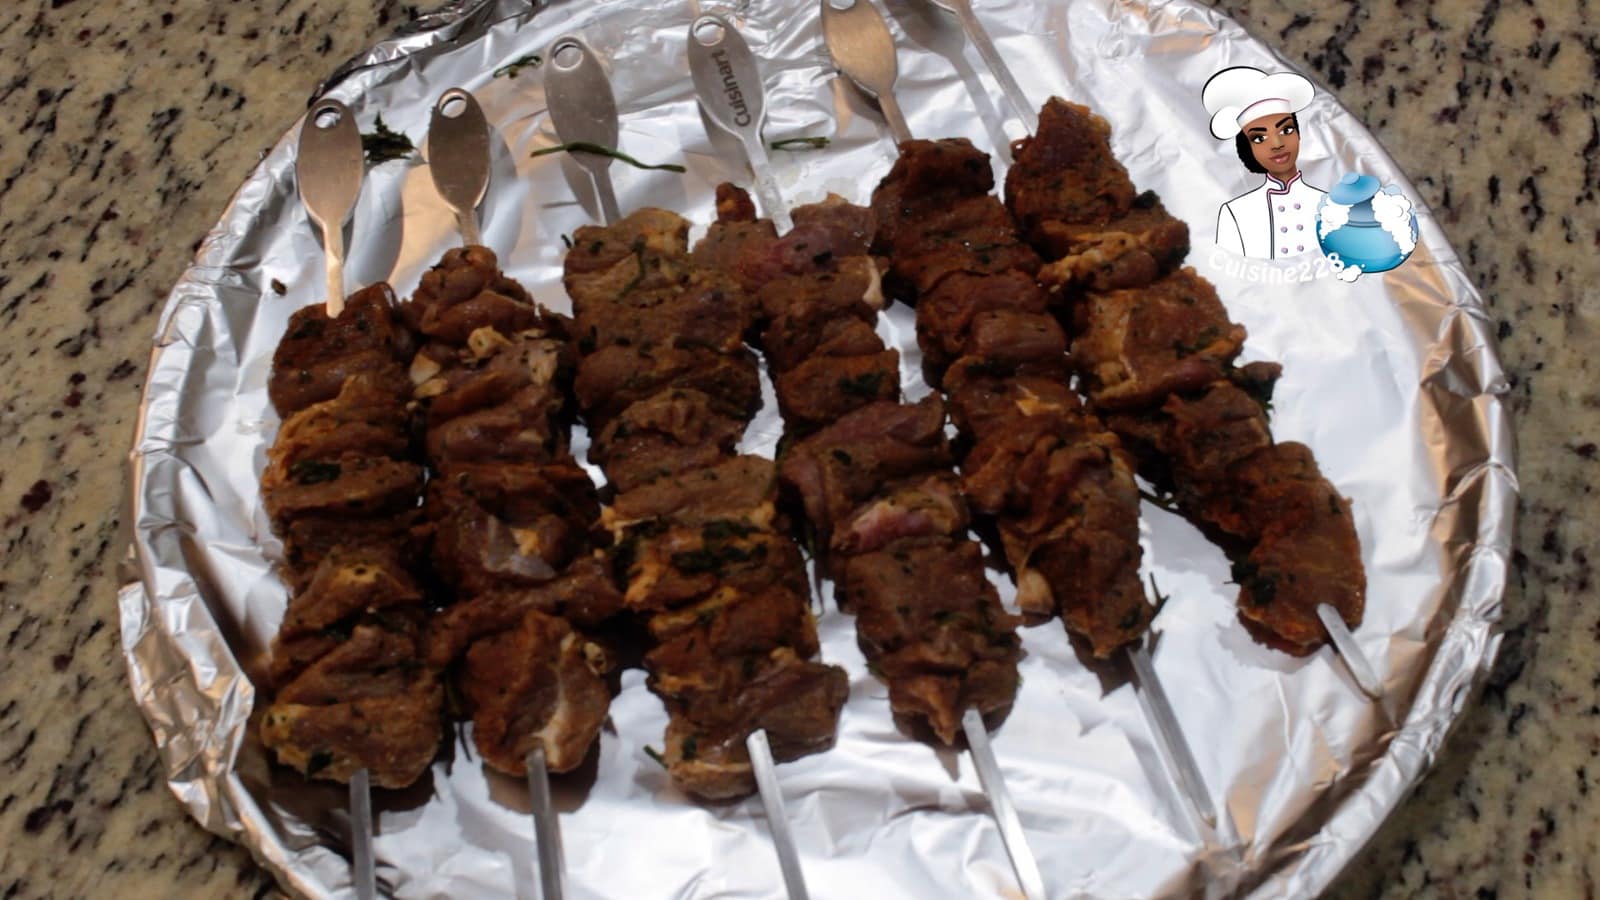
How to perfectly season the baked chicken?
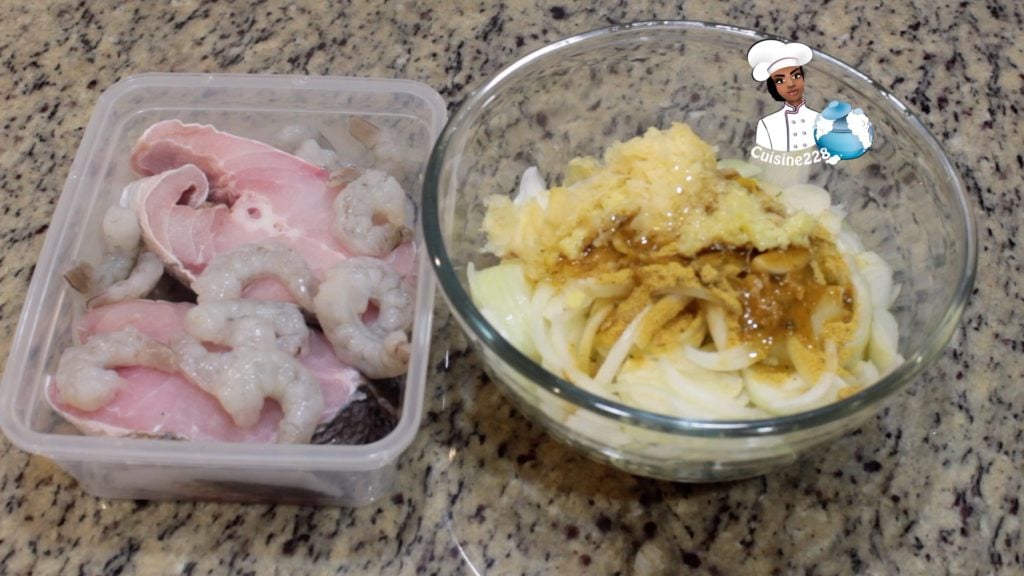
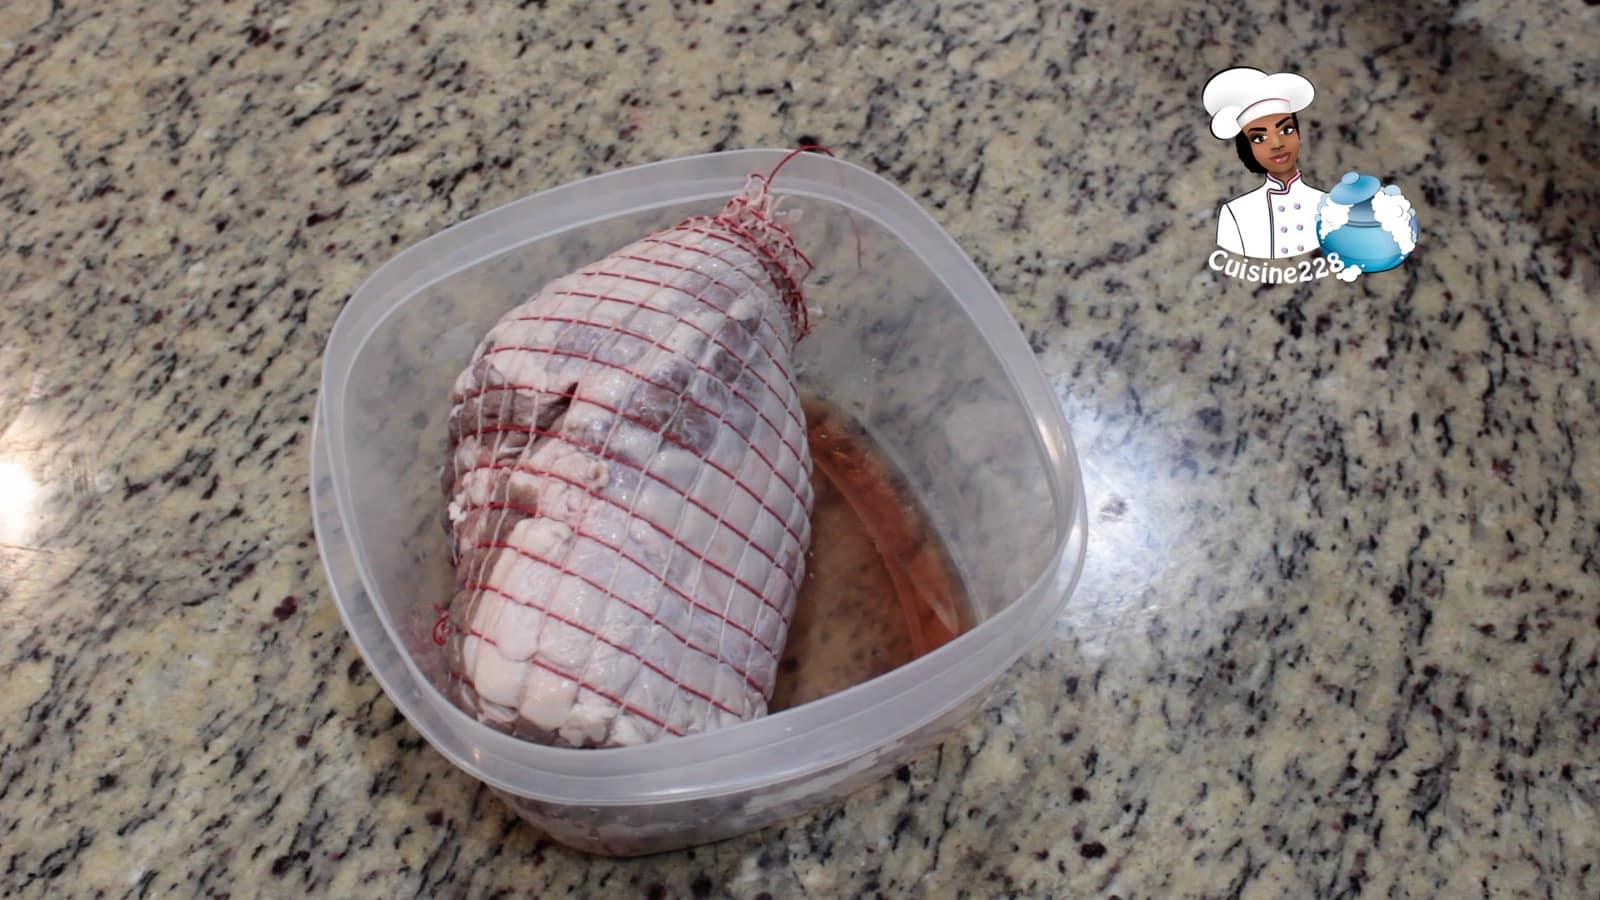
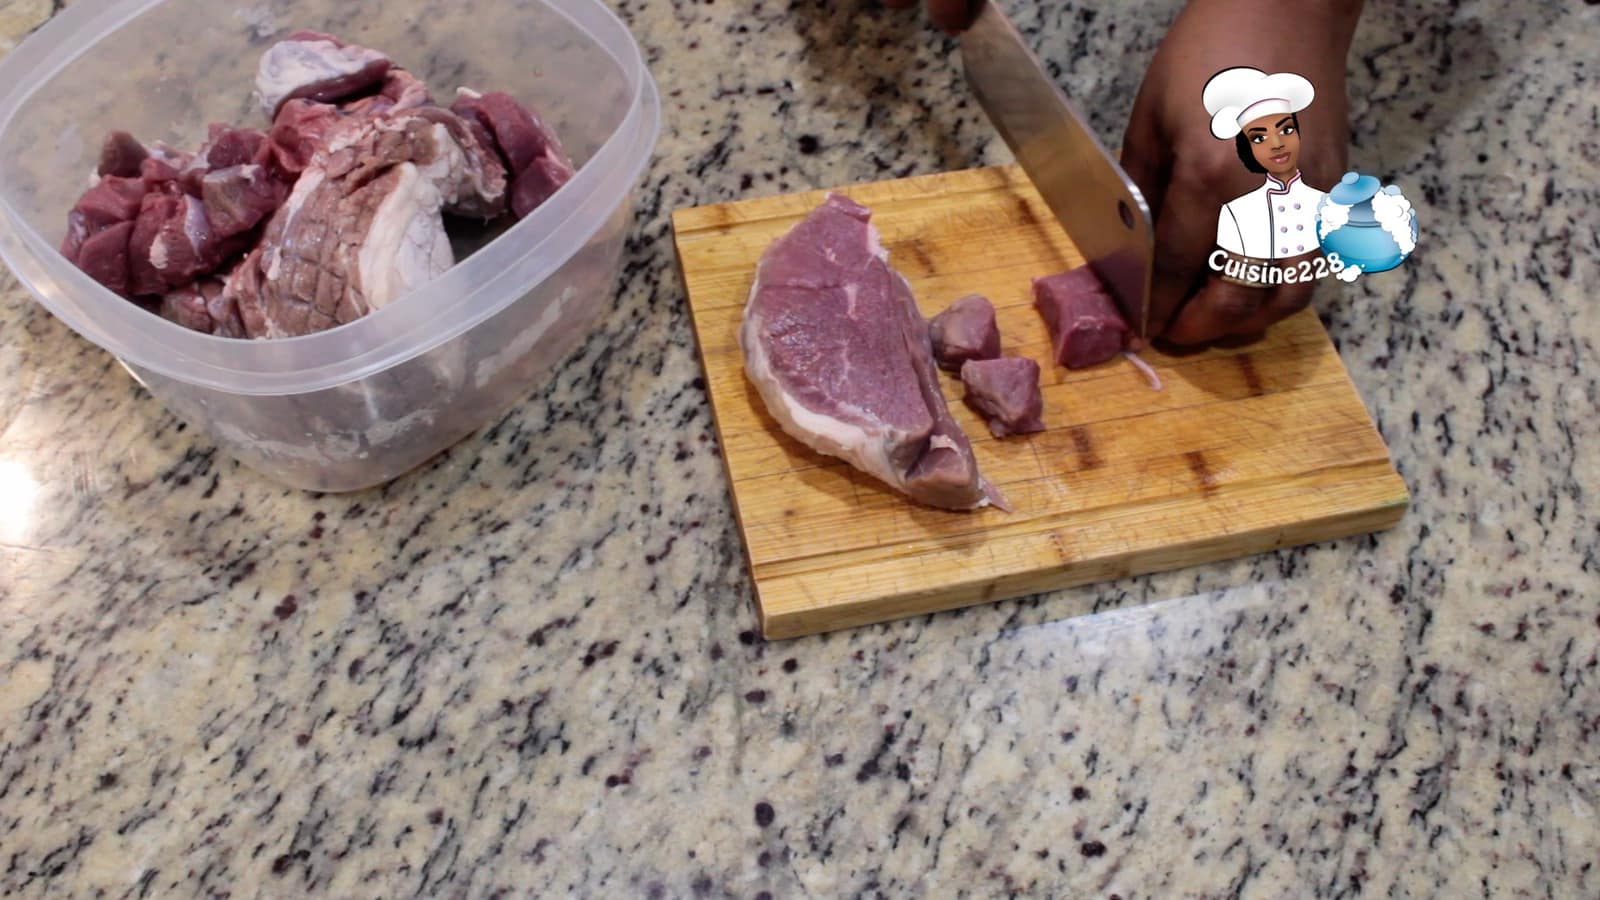
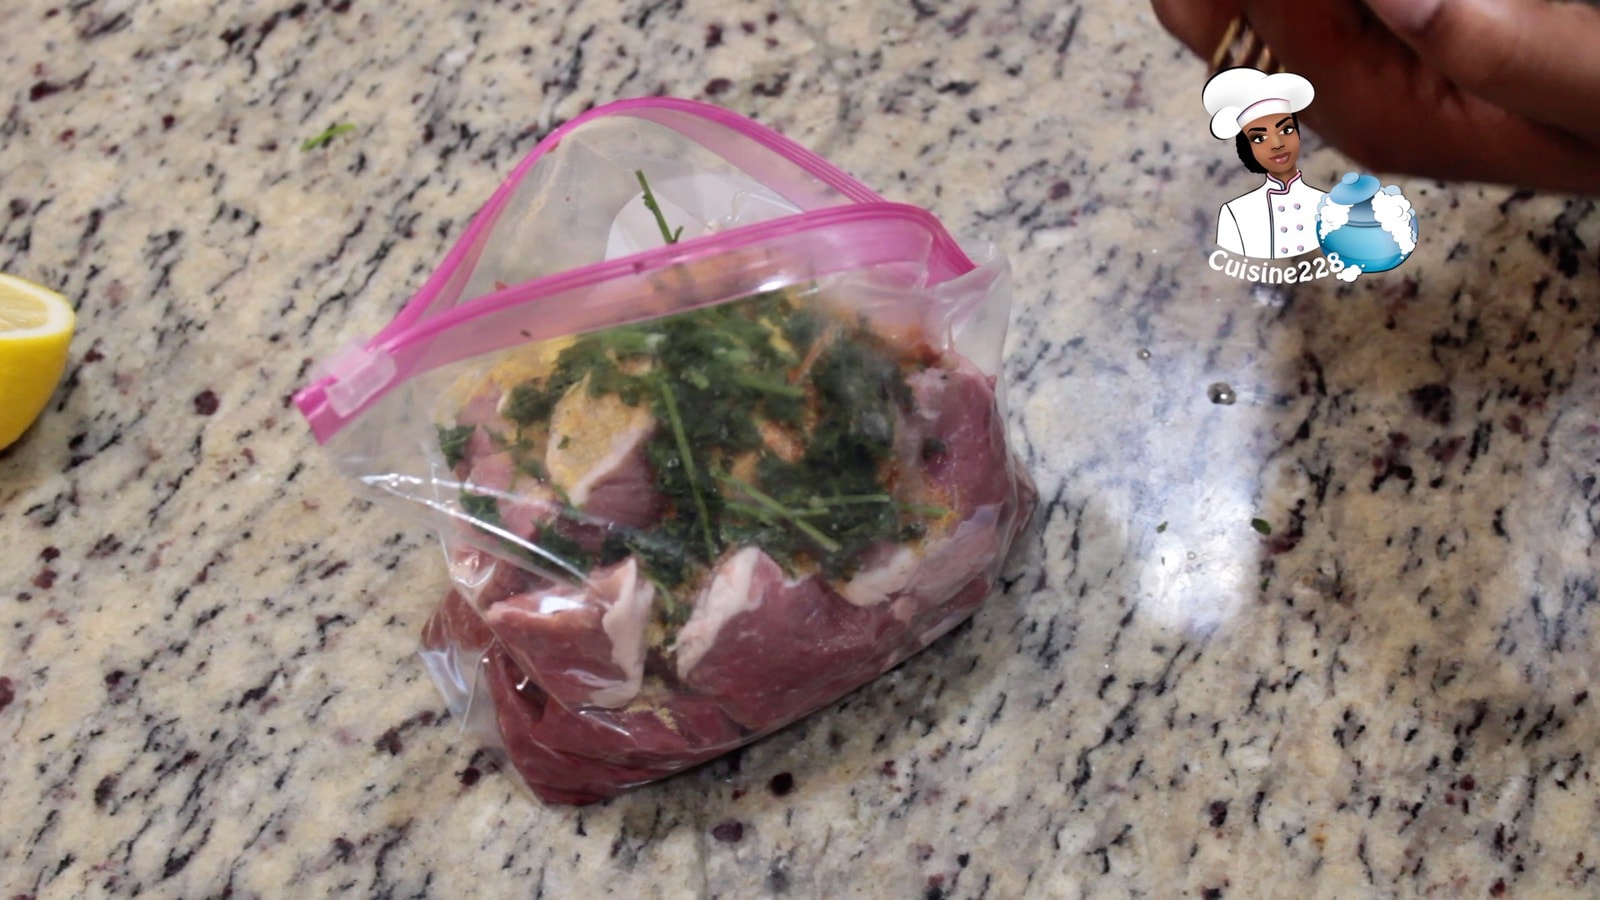
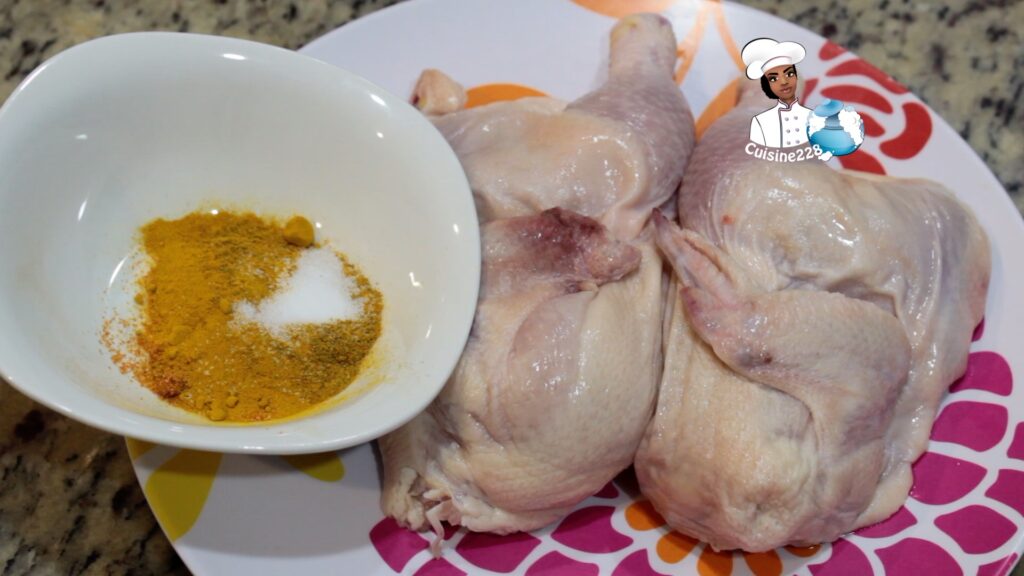
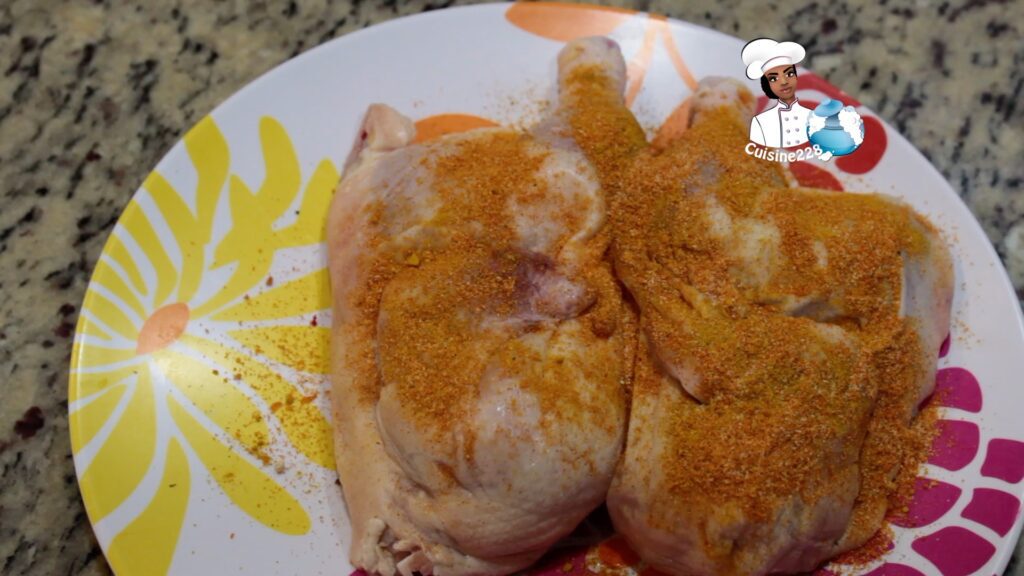
For this recipe of One-pot Baked Chicken and Jollof Rice, I use a whole chicken, but other part of the chicken can be used (like the thigh, leg or wing). You can never go wrong with my combination of spices (1/2 teaspoon paprika, 1/2 teaspoon turmeric, 1 tablespoon garlic, 1/2 teaspoon ginger, 1/2 teaspoon curry, 1 teaspoon bouillon cube, Salt and pepper) because you get maximum depth of flavor for minimum number of spices. Plus, I always have these spices on hand.
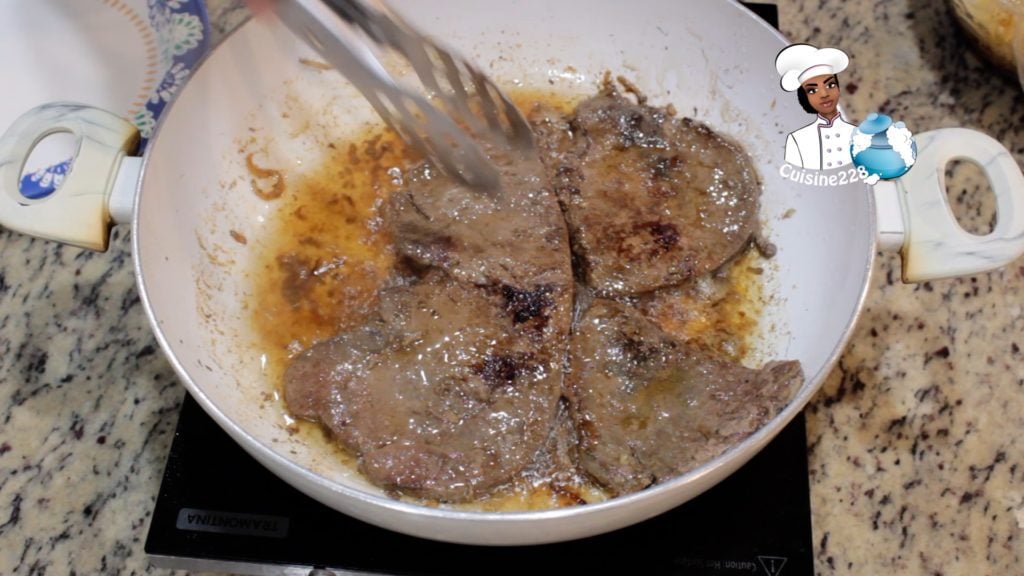
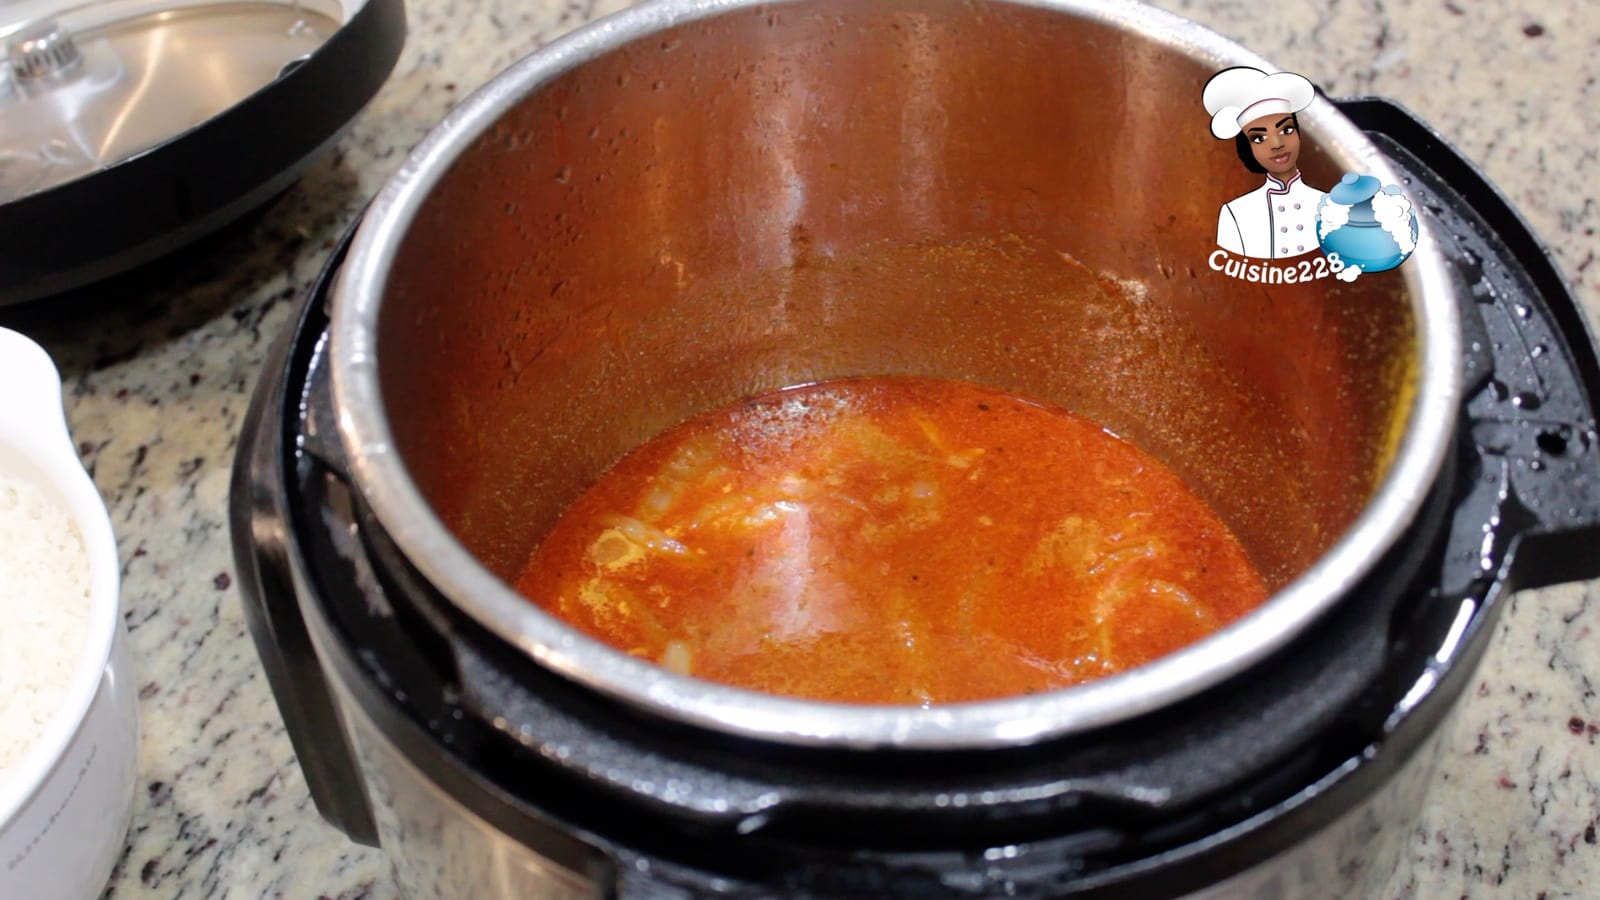
How did I partially cook it on the stove?
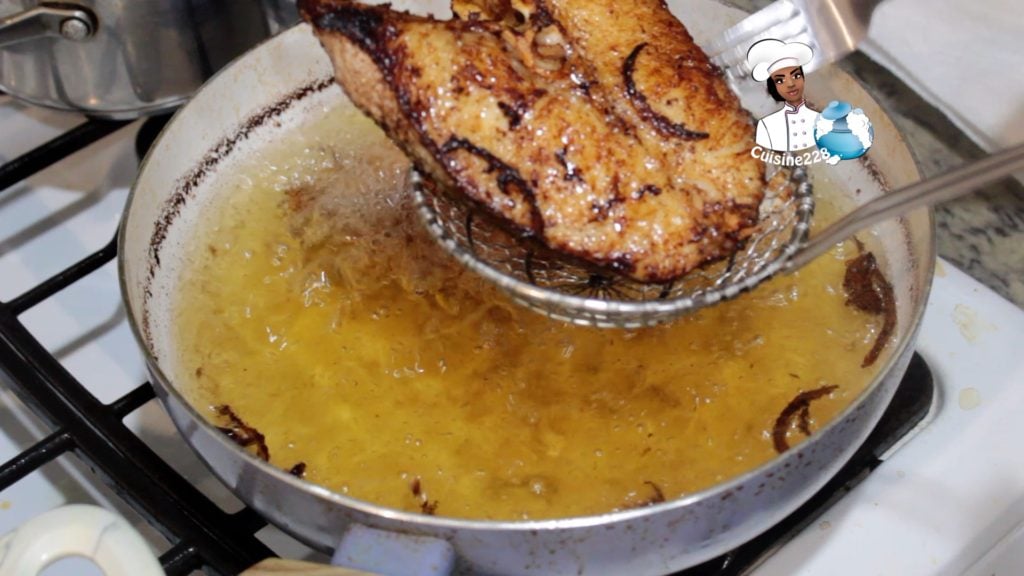
By partially cooking the One-pot Baked Chicken and Jollof Rice on the stove to first bring out the maximum flavor out of the spices and also allows me to bring the liquid to a boil before putting it in the oven. The flavor is so much better because of the fried onion.

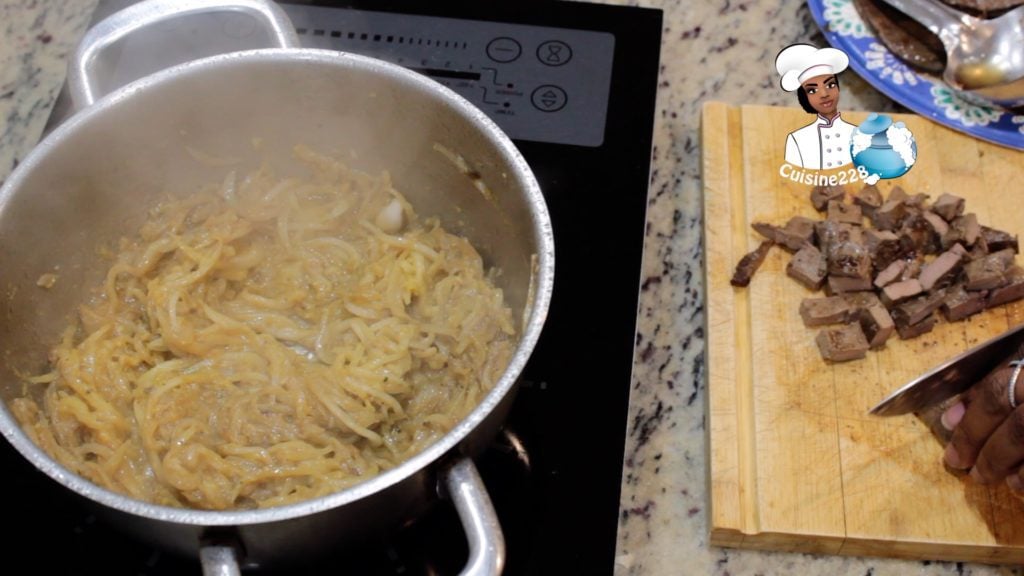
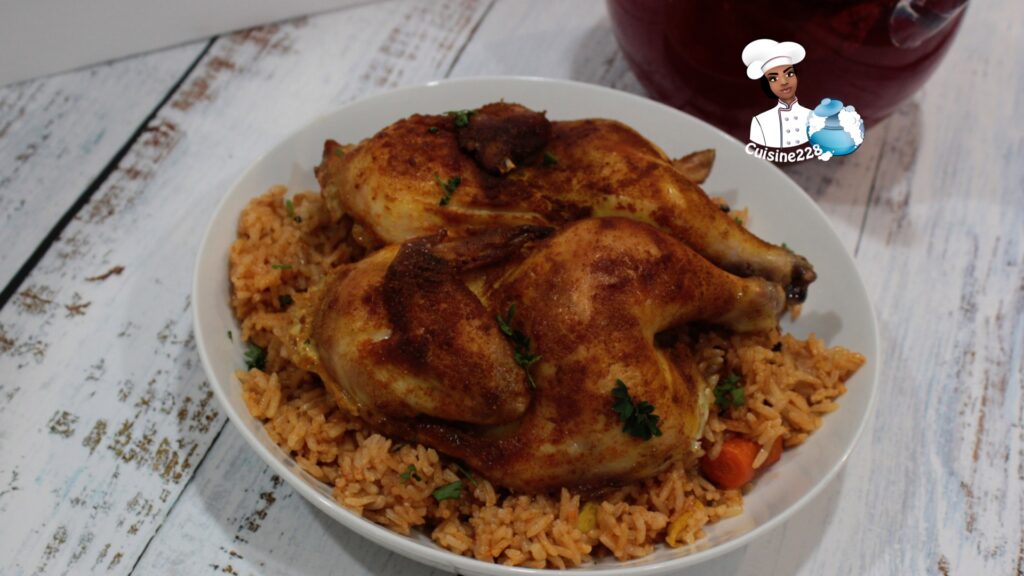
Why add the chicken over the rice?
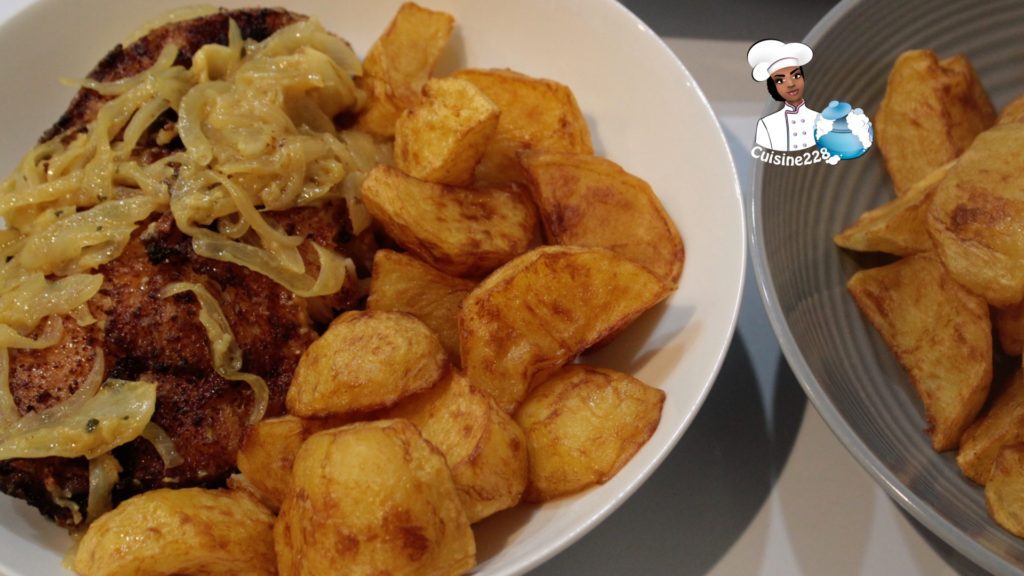
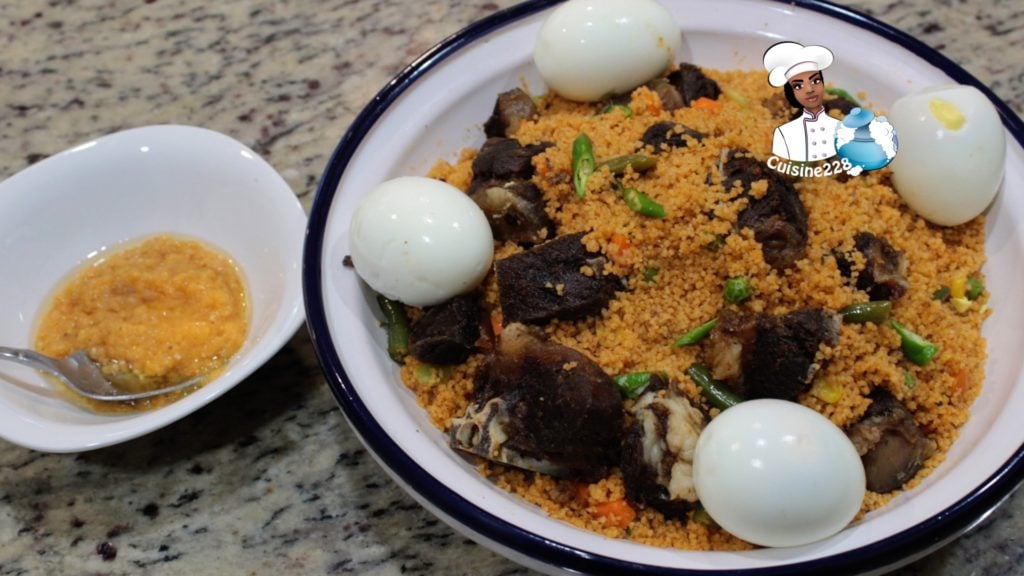
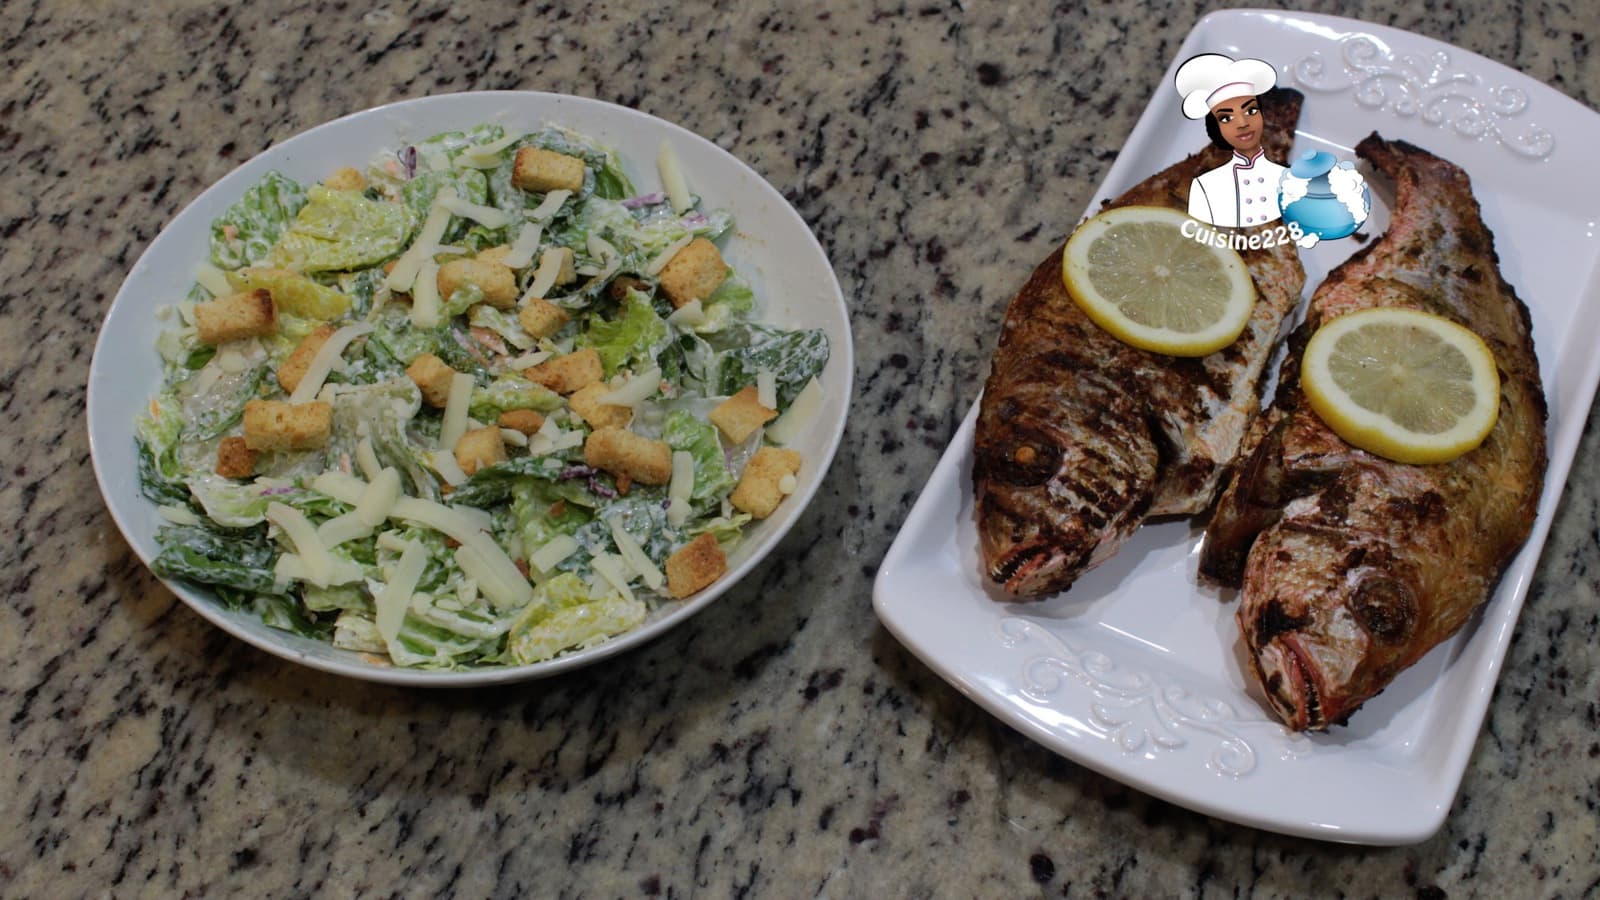
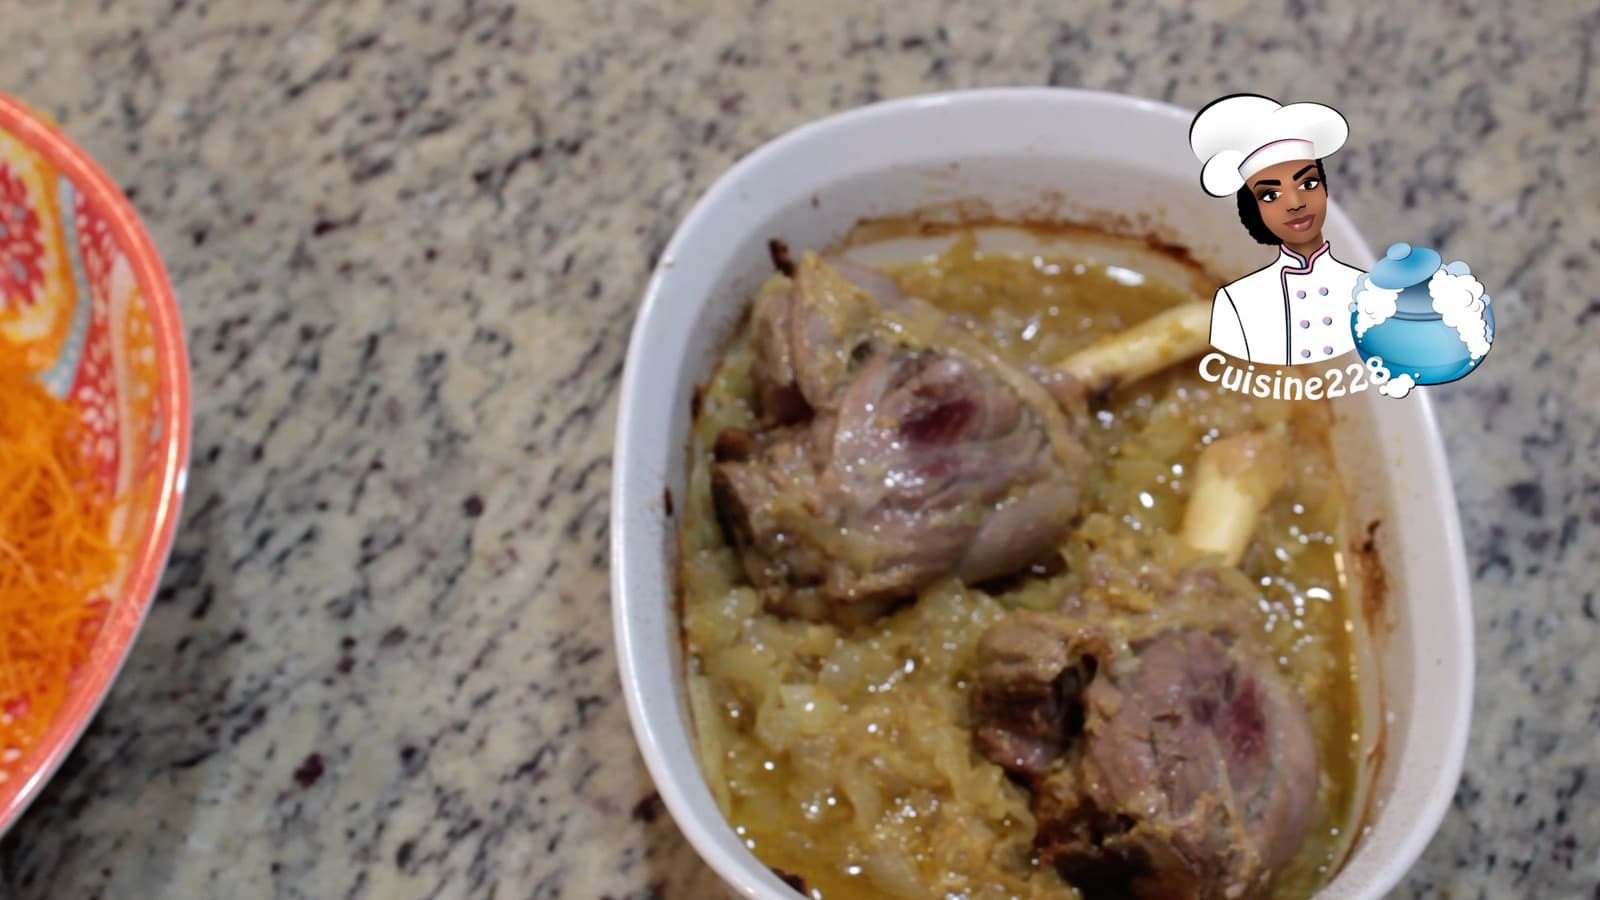
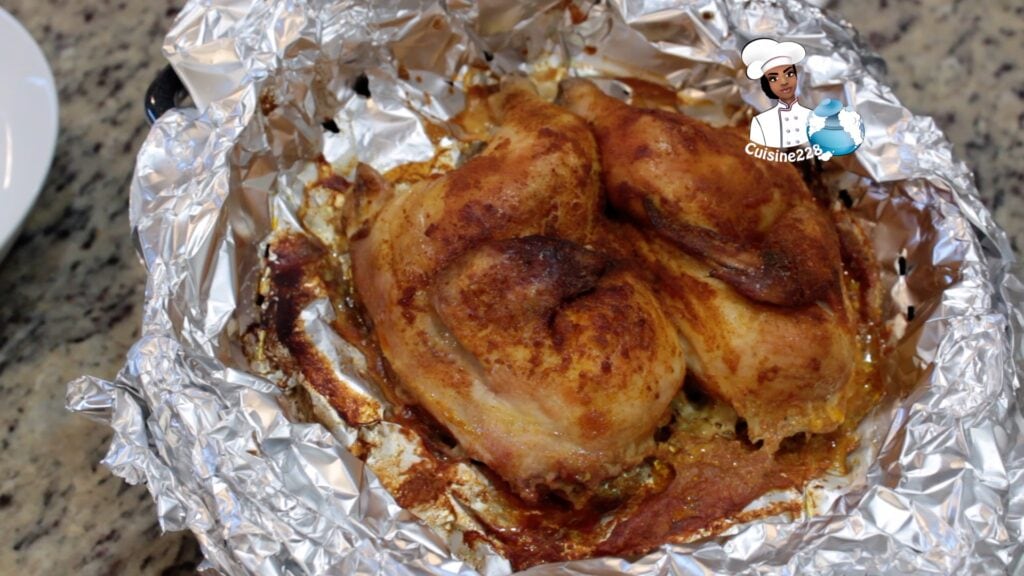
I added the perfectly seasoned chicken over the rice because the dripping of the chicken add so much more flavor to the rice. The result is a mouthwatering baked chicken coated in a beautiful rub, baked on top of fluffy soft rice. Oven Baked Chicken and Rice all cooked together in one dish is possibly one of the MOST loved family favorite dinners on the planet. I know in my heart of hearts this will become your new favorite.
How to make One-pot Baked Chicken and Jollof Rice
Ingredients
For chicken
- 1 Chicken
- 1/2 teaspoon paprika
- 1/2 teaspoon turmeric
- 1 tablespoon garlic
- 1/2 teaspoon ginger
- 1/2 teaspoon curry
- 1 teaspoon bouillon cube
- Salt and pepper
For Rice
- 1 anise
- 2 allspice pepper
- 1 bay leaf
- 1 cinnamon
- 2 cloves
- 4 tbsp vegetable oil
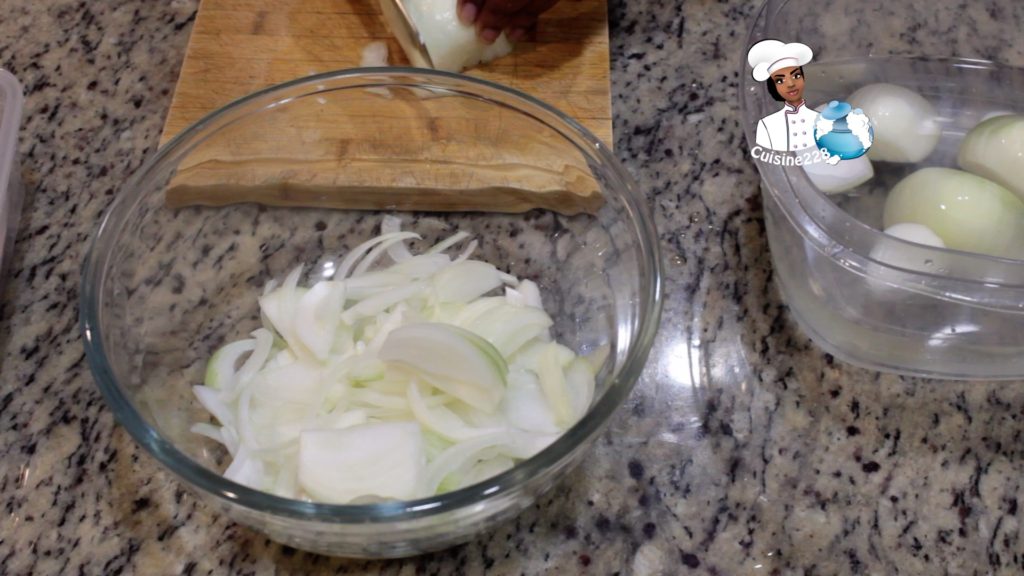
- 1 small onion finely chopped
- 2 tomatoes
- 2 tablespoon tomato paste
- Scotch bonnet chilli to taste (optional)
- Vegetables: 1 eggplant, 1 zucchini, 1 Summer squash, 2 carrots
- 1 teaspoon bouillon cube
- Salt and pepper
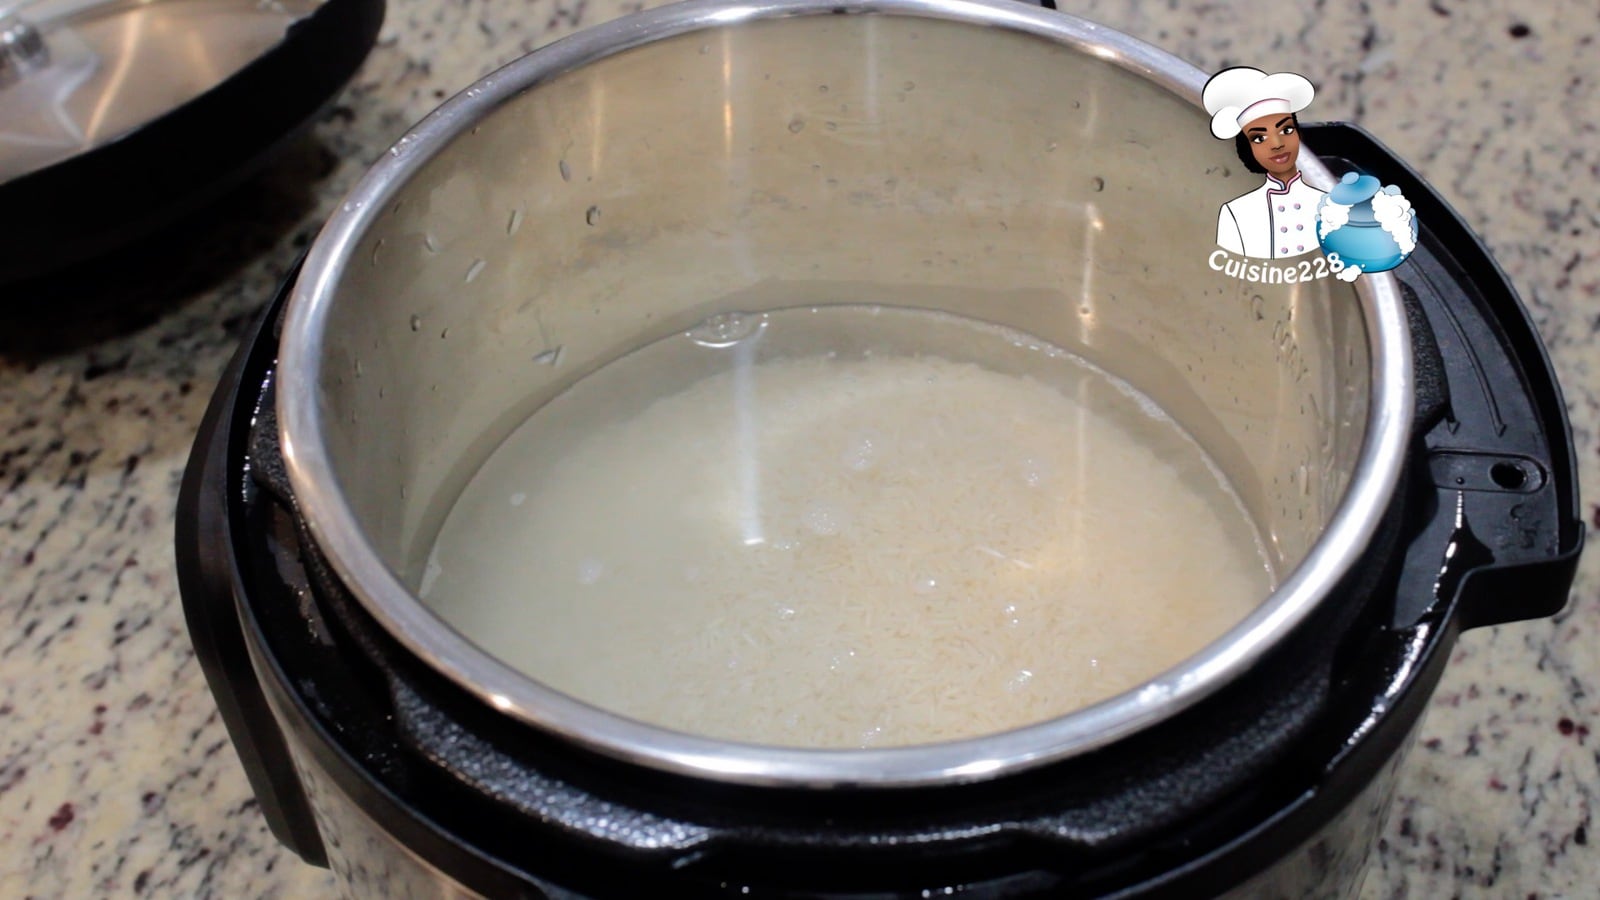
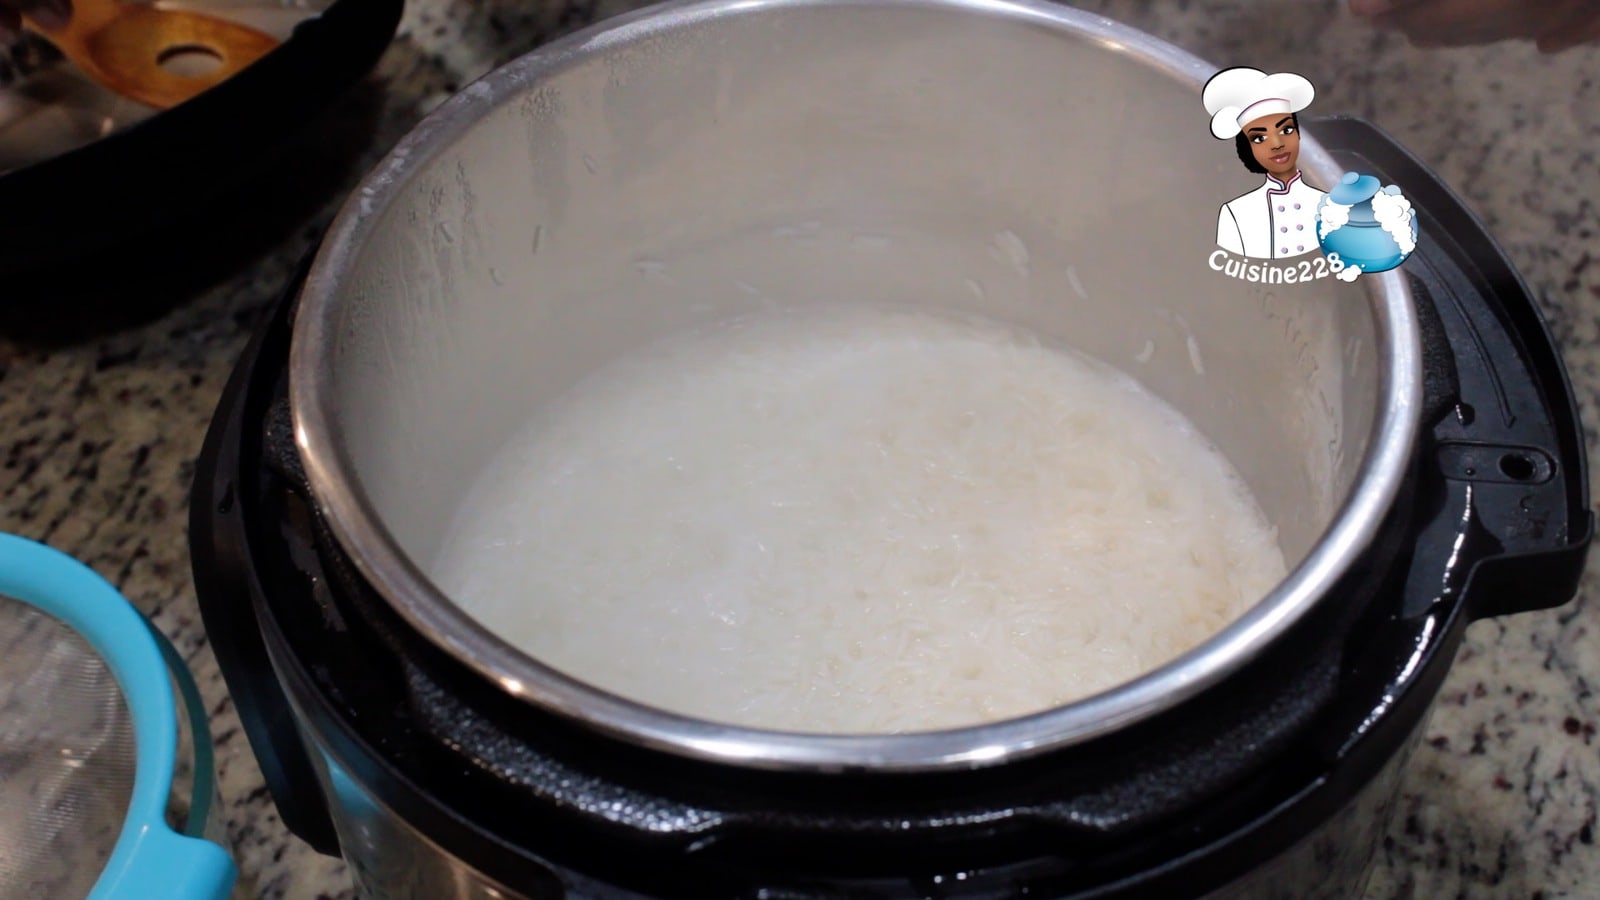
- 400 g (14oz) rice
- 925 ml (3.9 cups) warm water*
Instructions
Preheat oven to fan assisted 180C / 350F / gas 4.
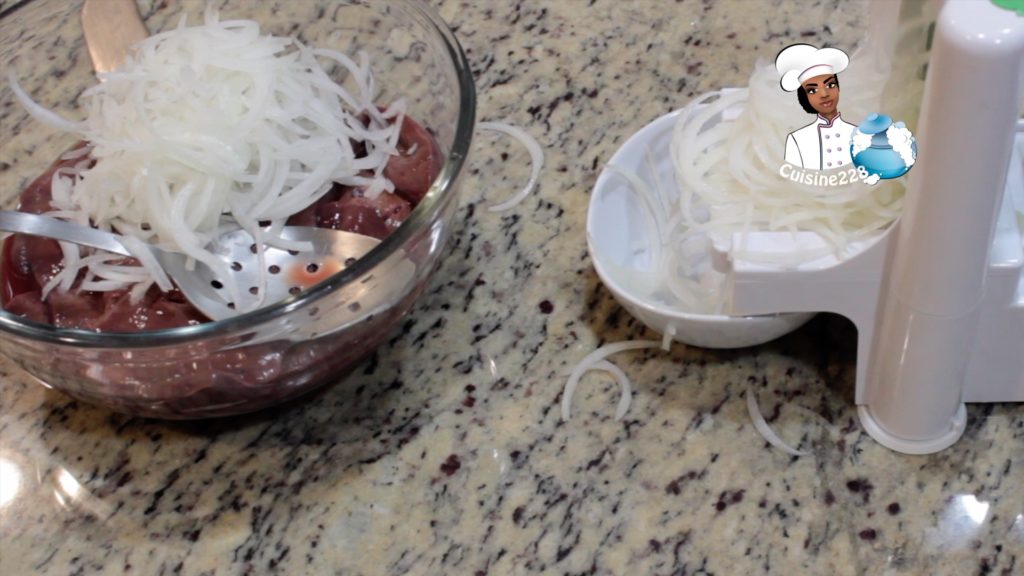
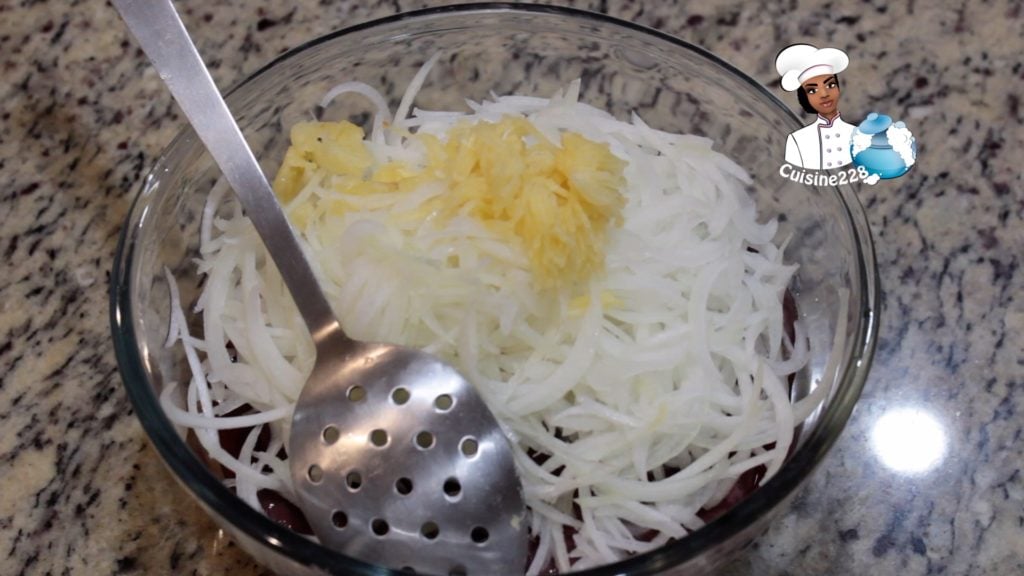
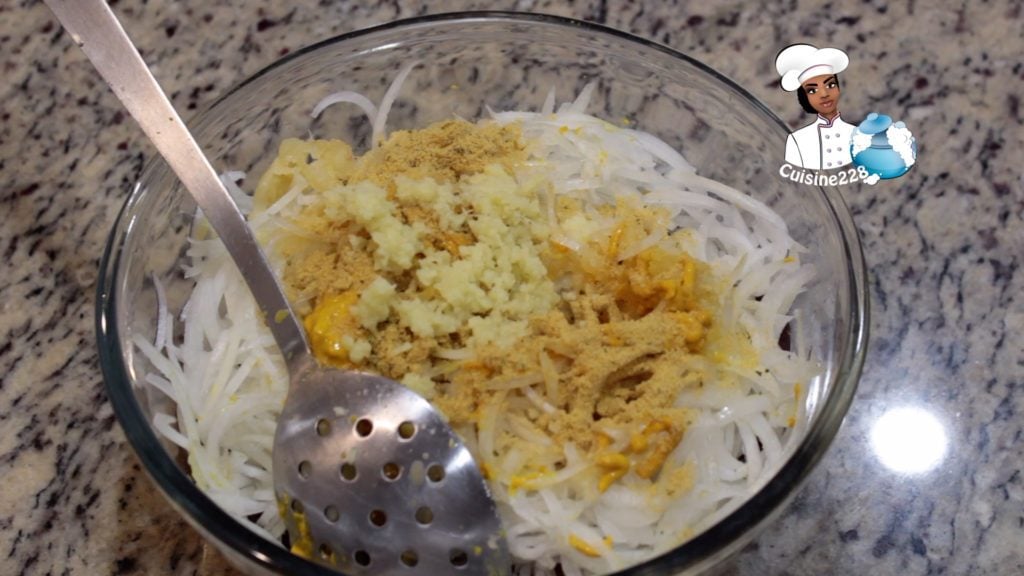
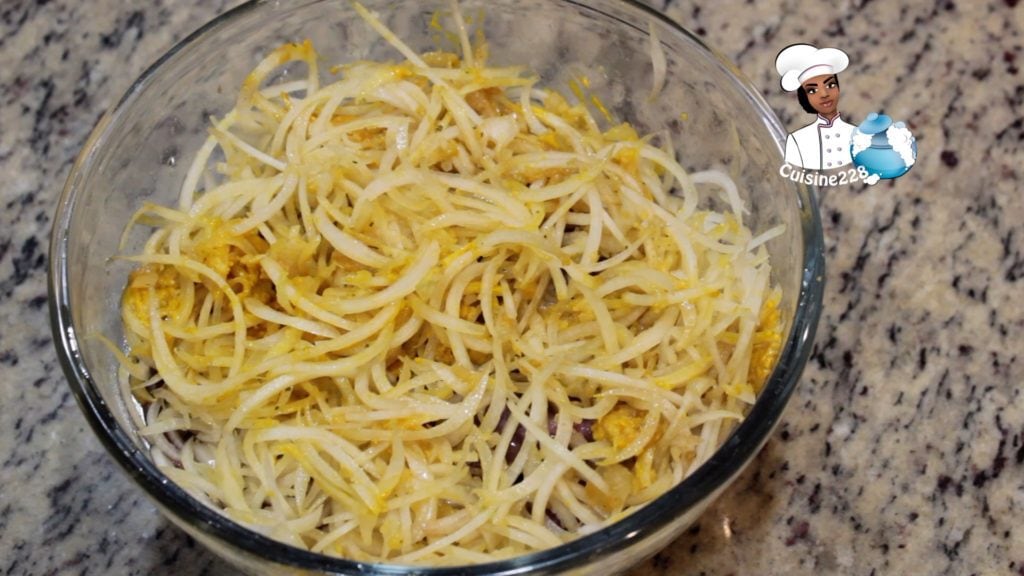
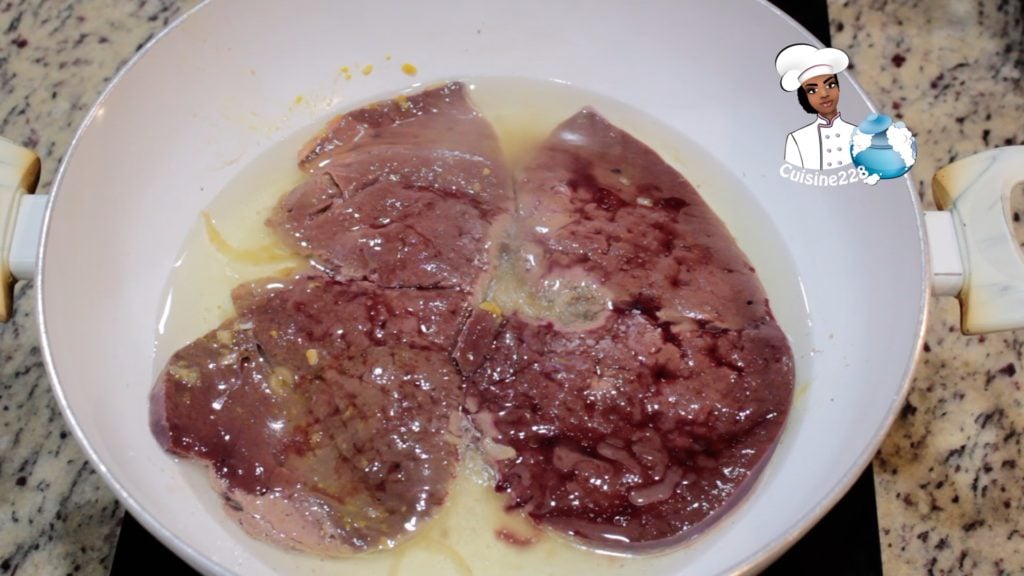
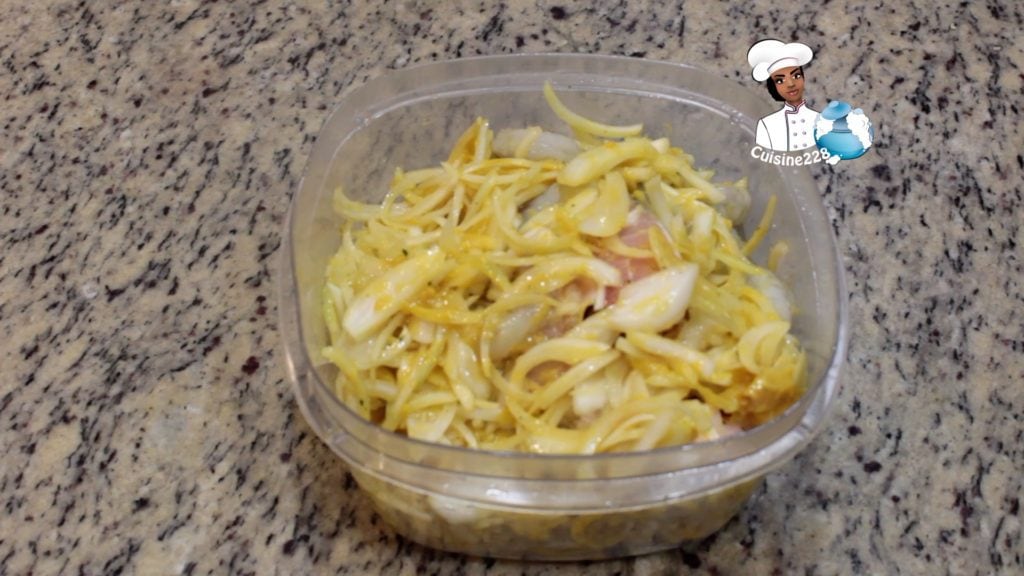
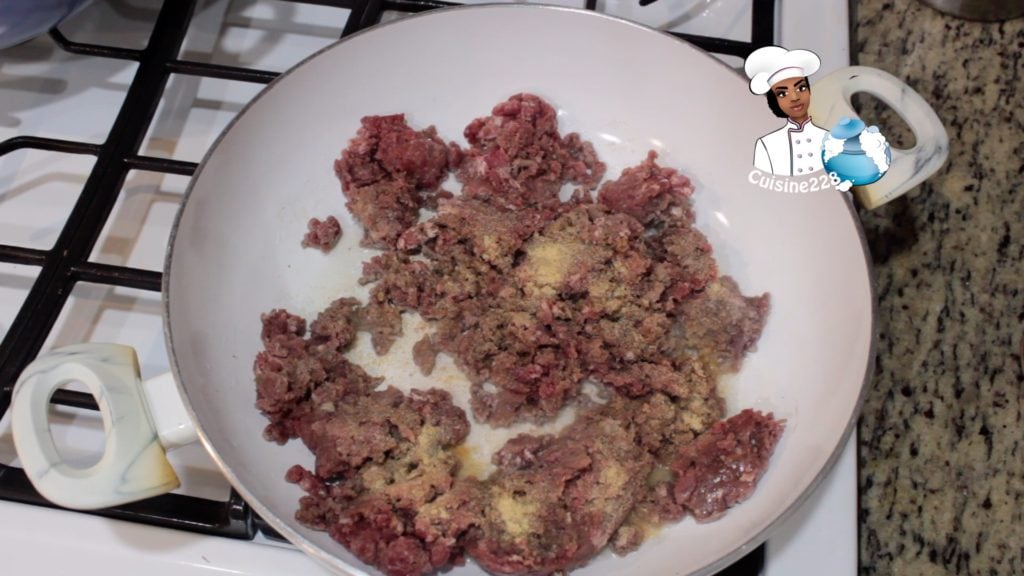
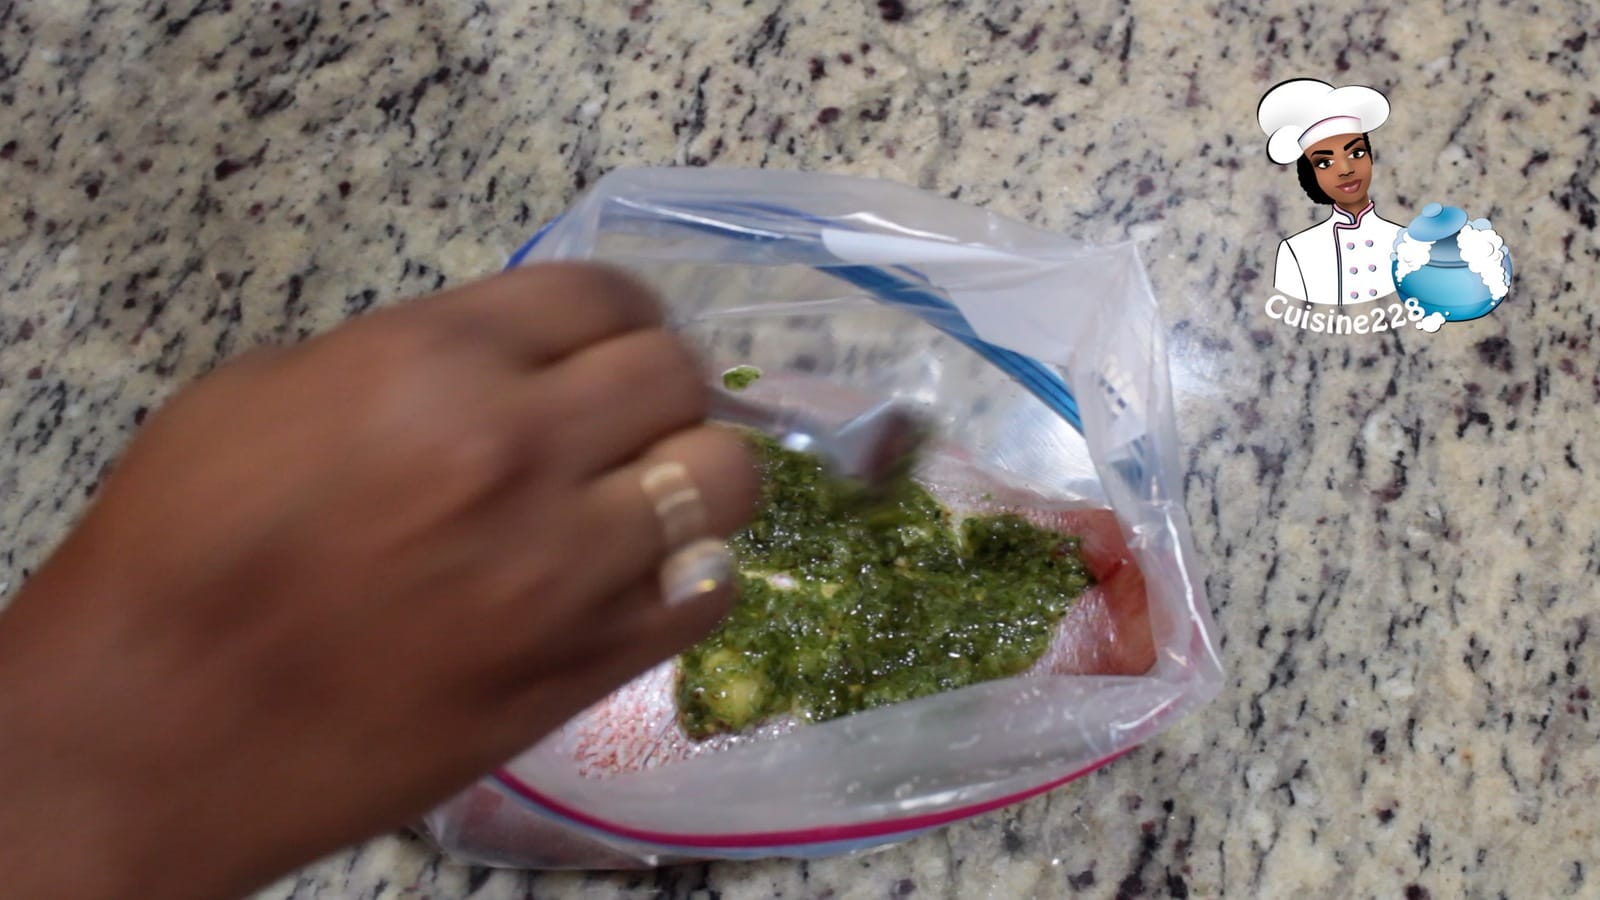
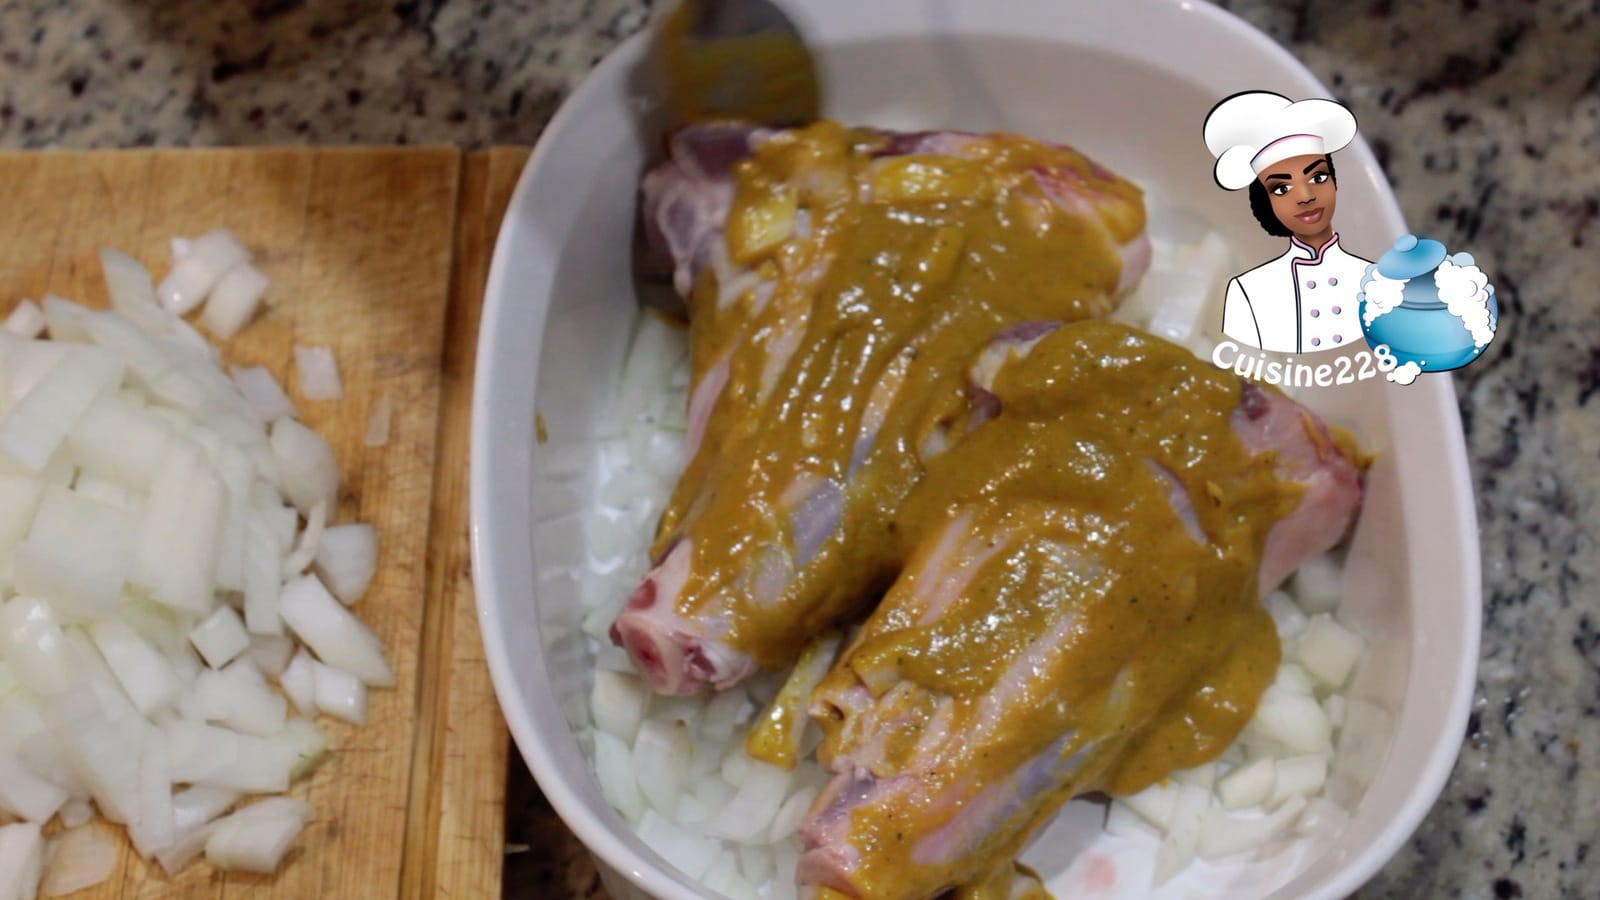
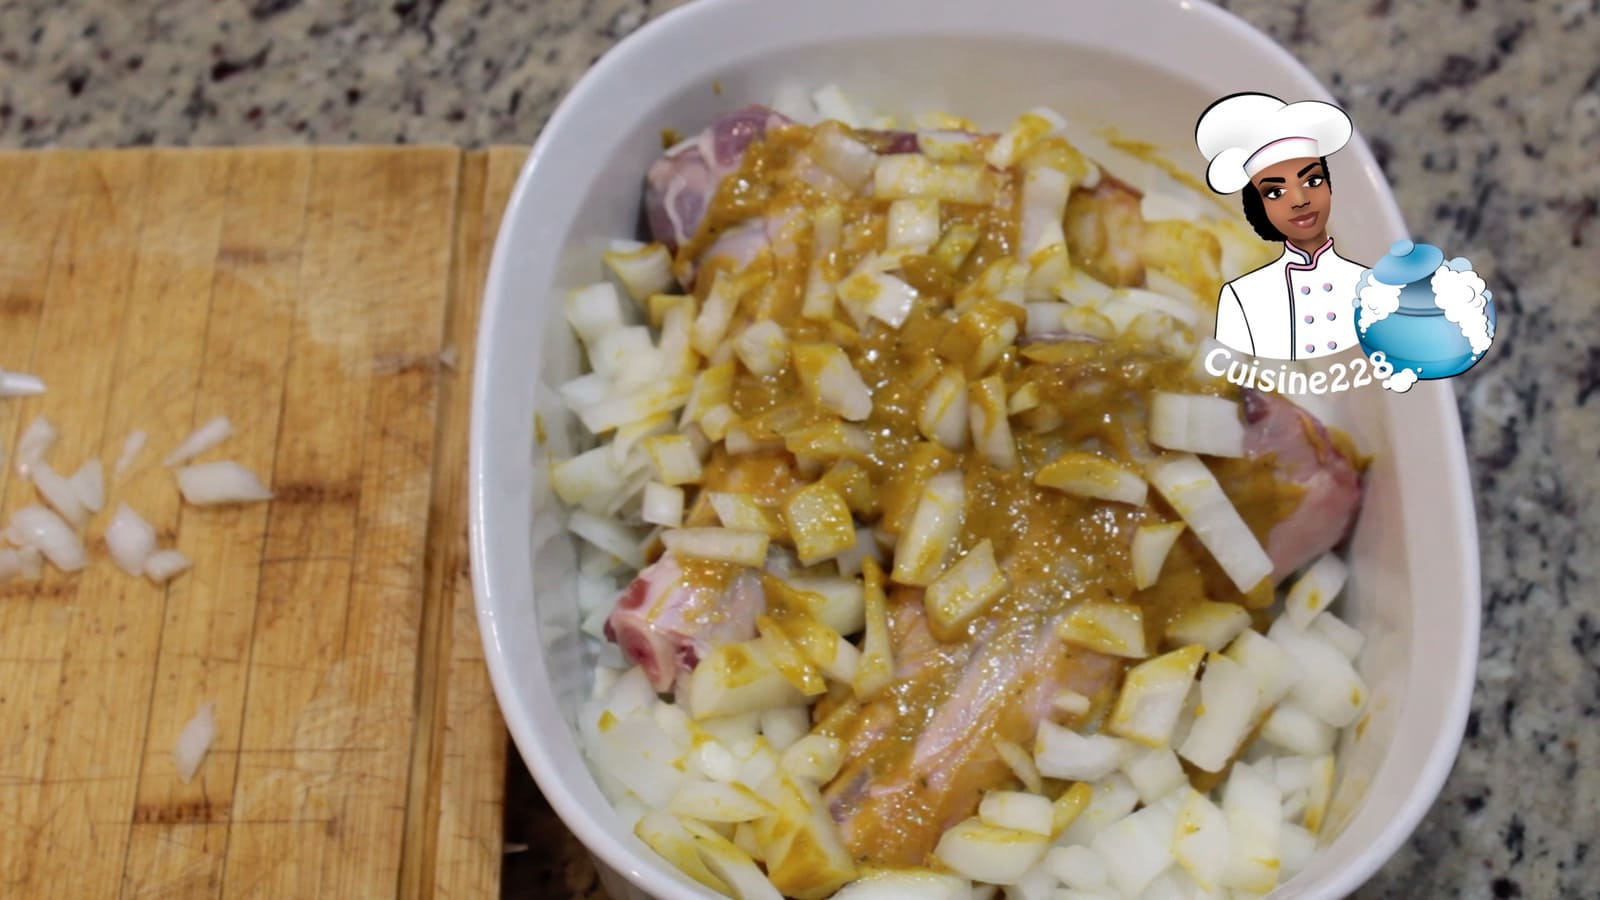
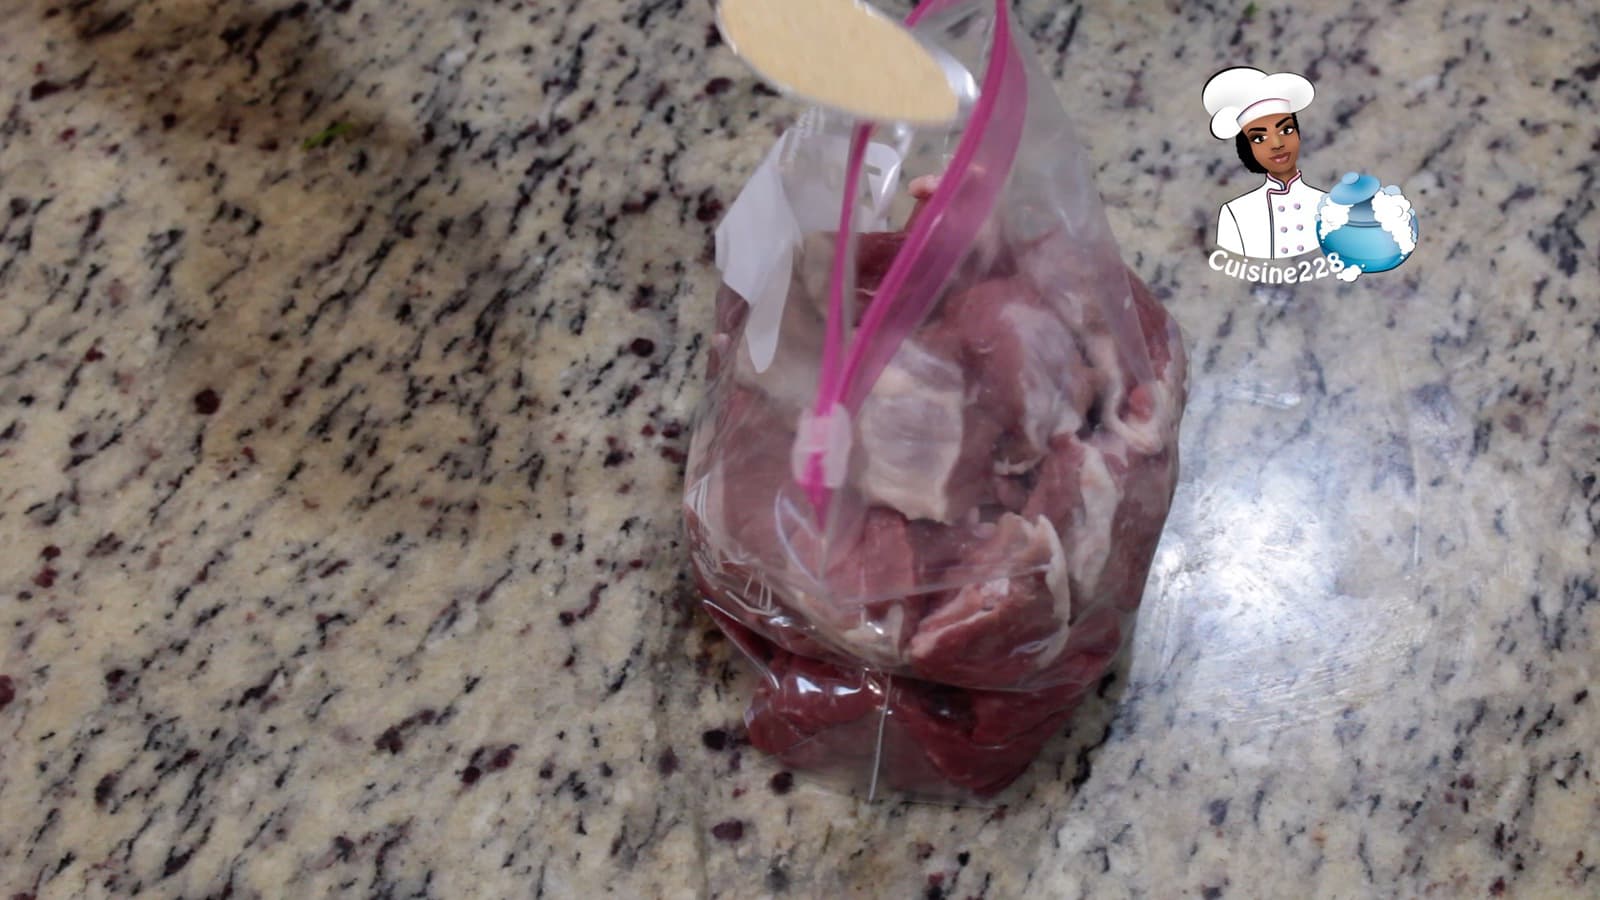
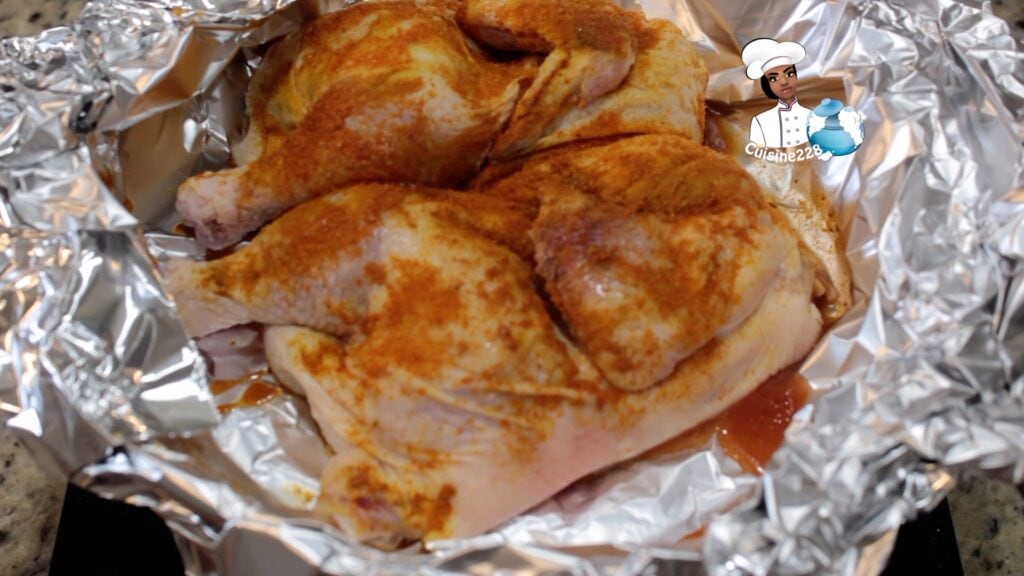
Season the chicken with teaspoon paprika, turmeric, garlic, ginger, curry, bouillon cube, Salt and pepper and set aside.
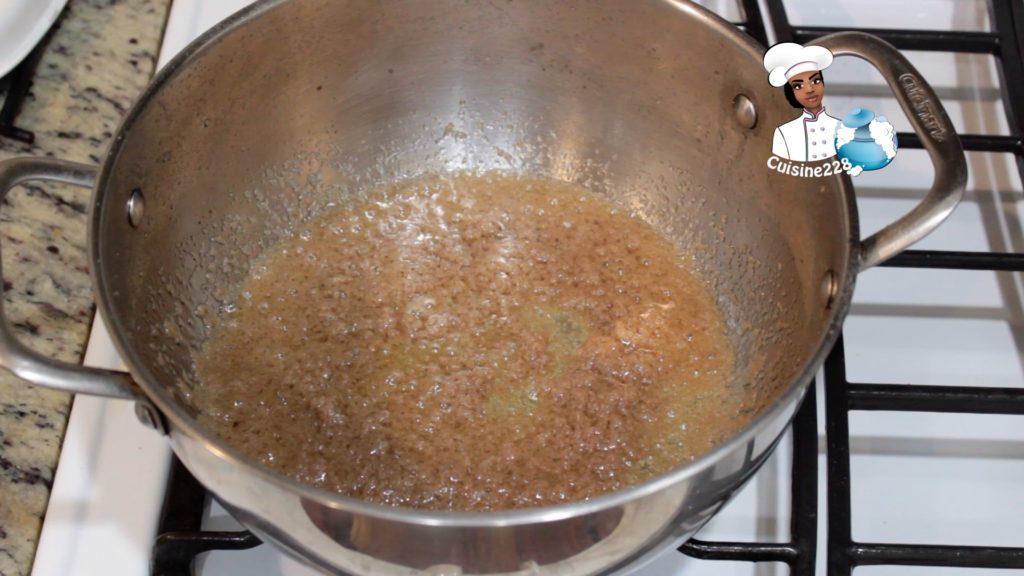
Heat a frying pan with the oil over medium heat and add the anise, allspice pepper, bay leaf, cinnamon and cloves. Cook for a minute
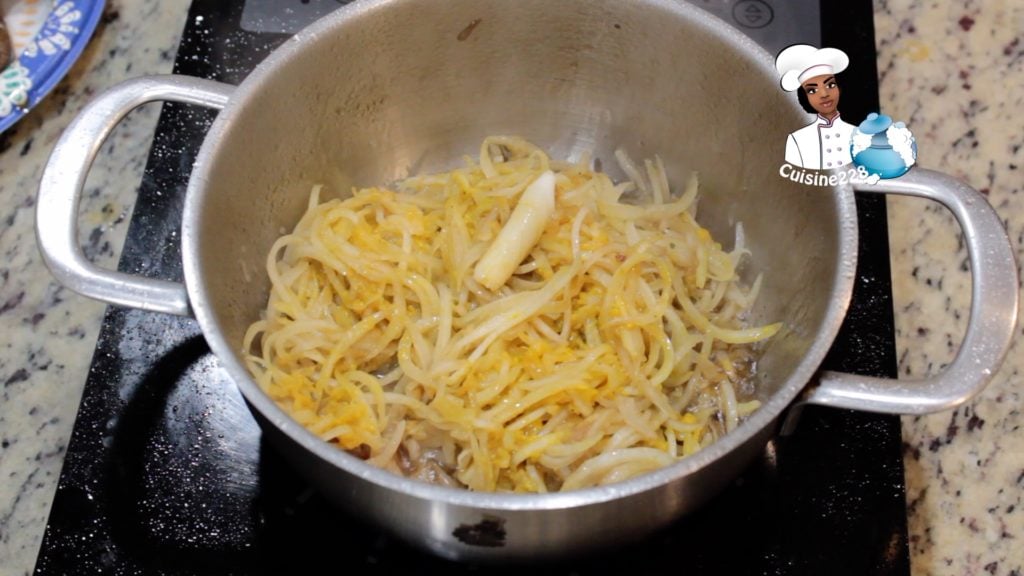
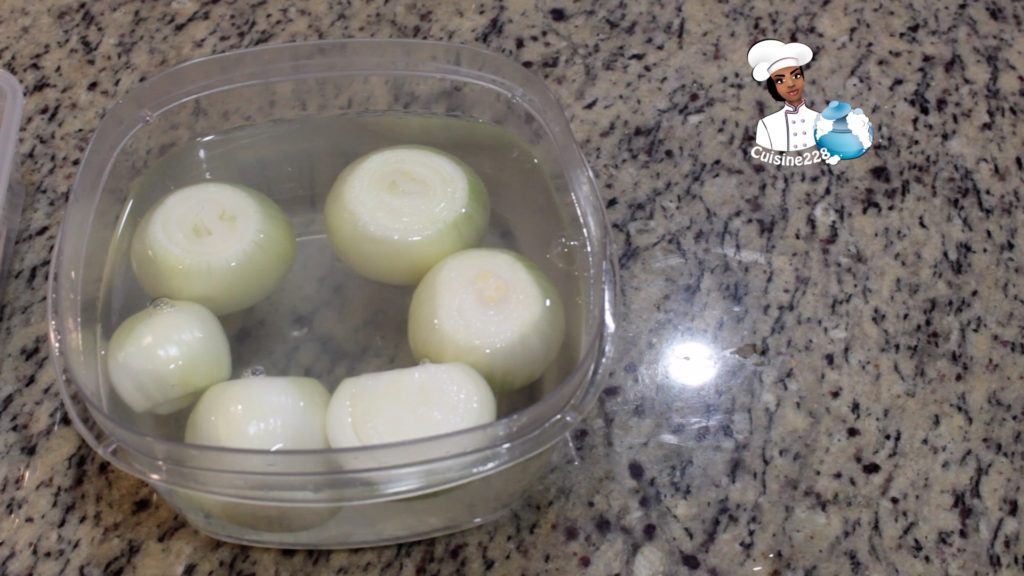
Add and fry the onion for about 7 mins until soft.

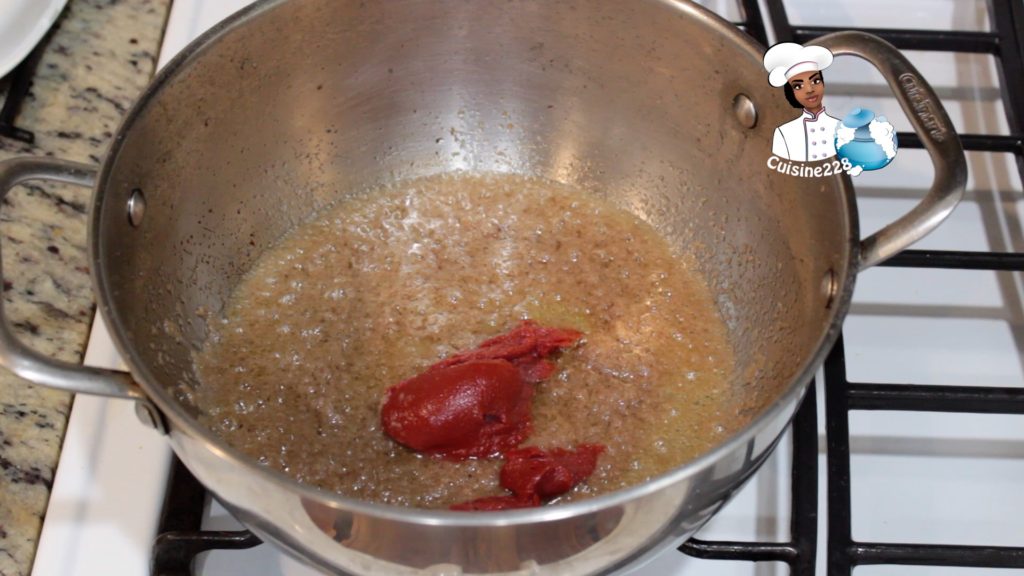
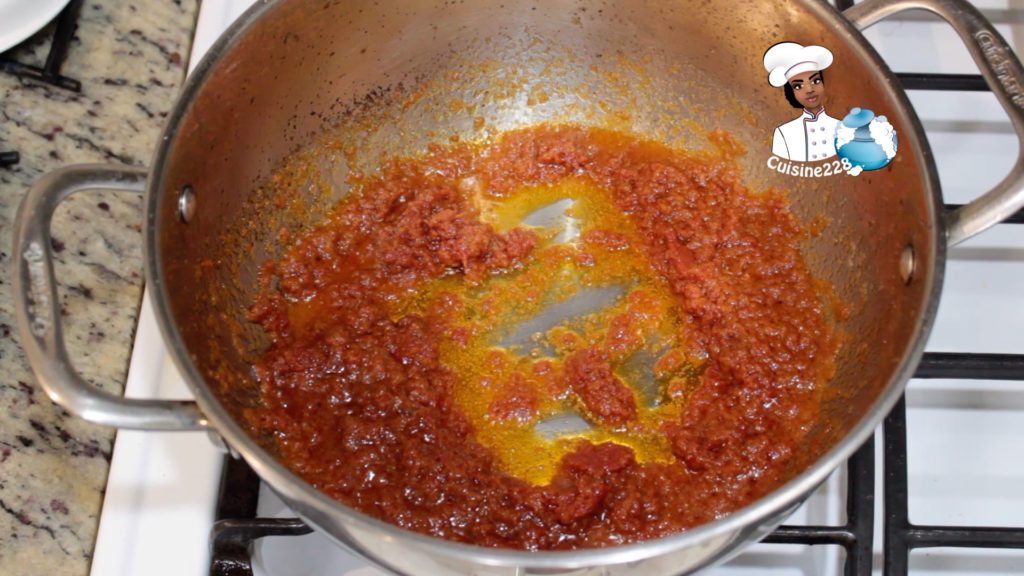
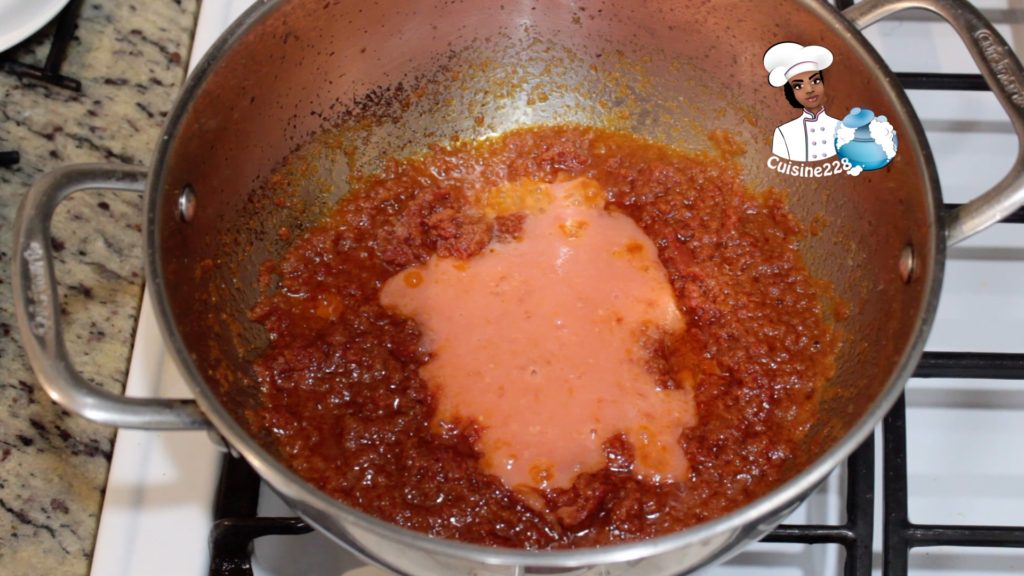
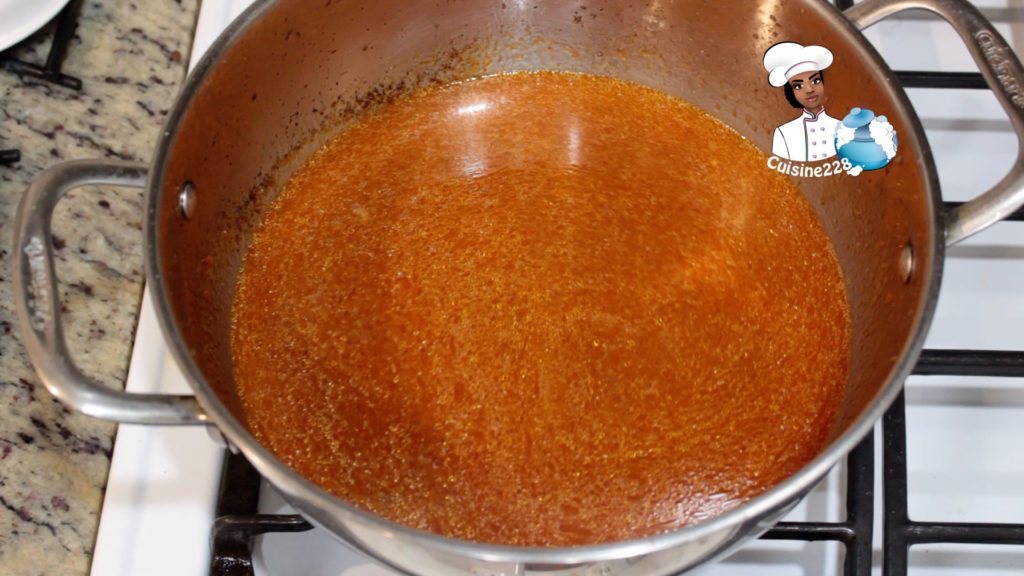
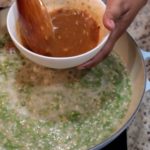
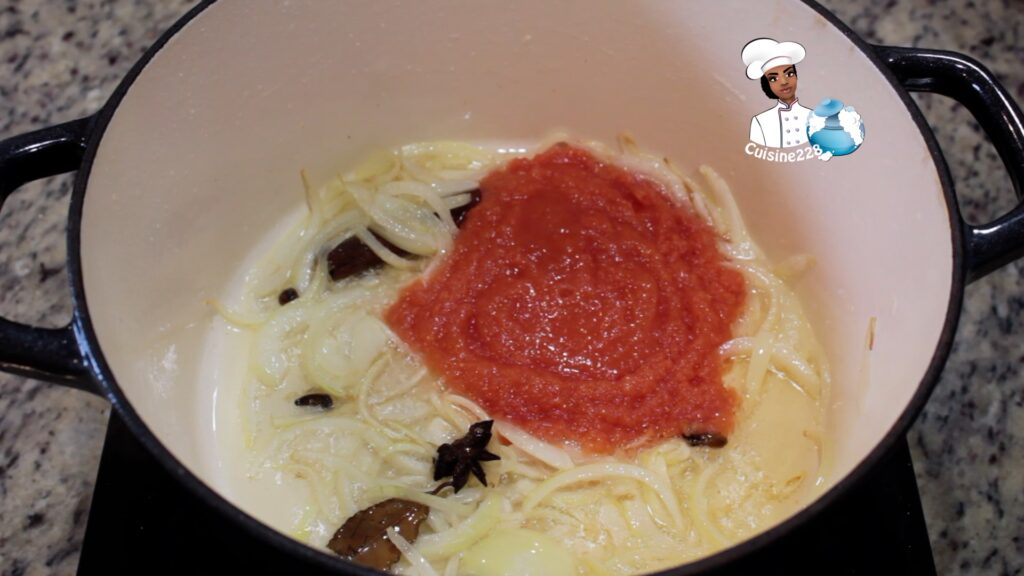
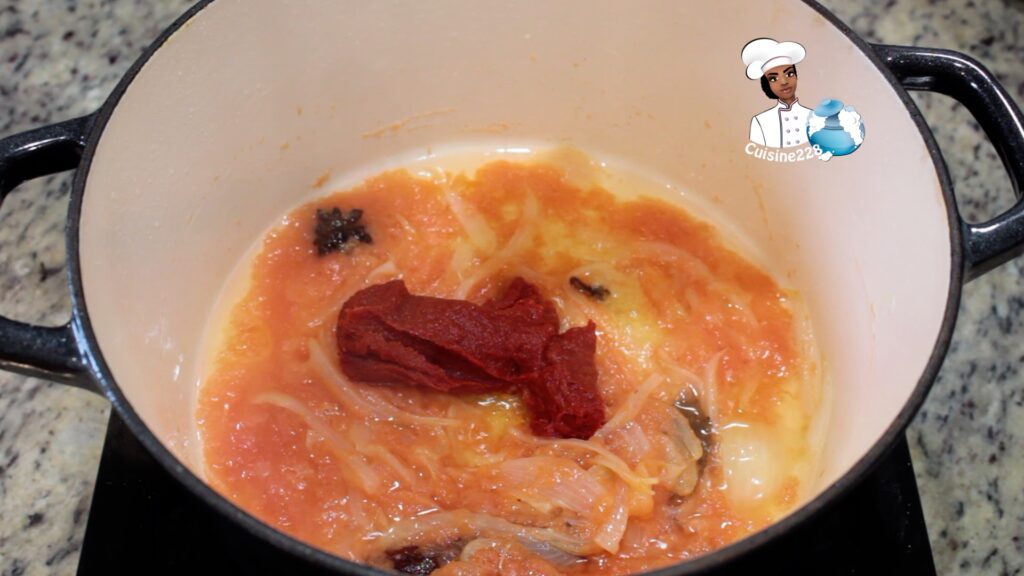
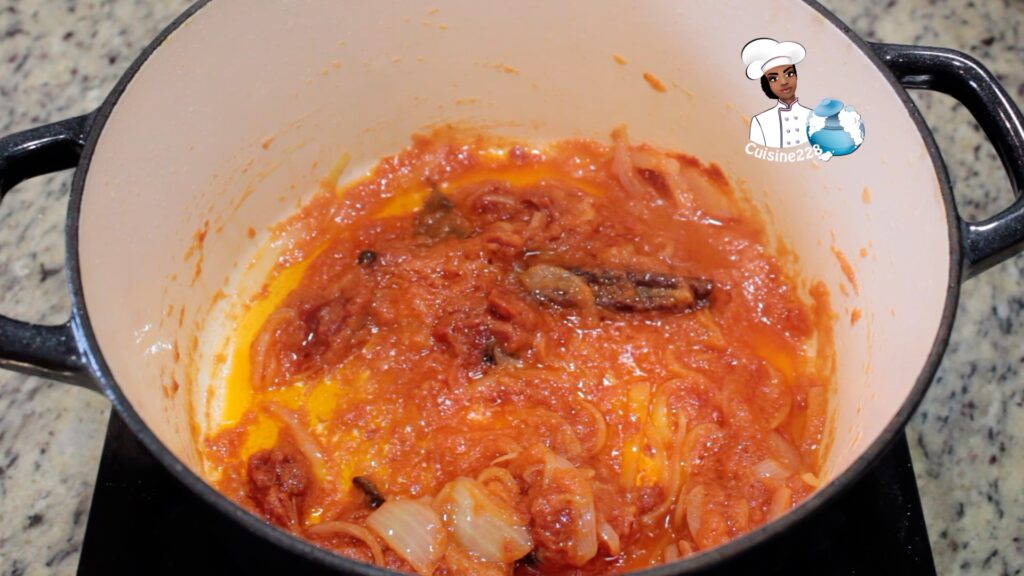
Stir in the tomato purred and the tomato paste, cook for 5 minutes.
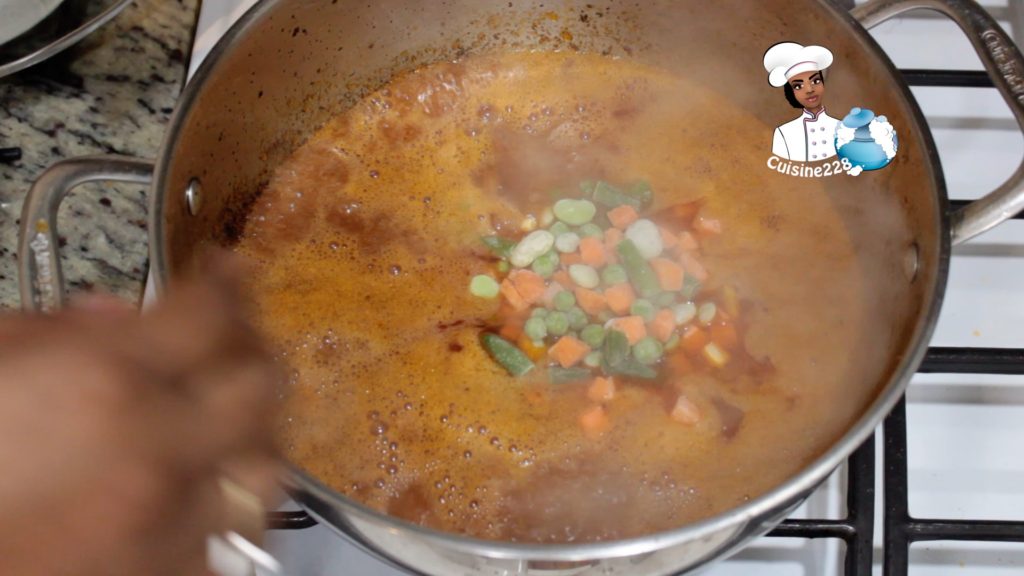
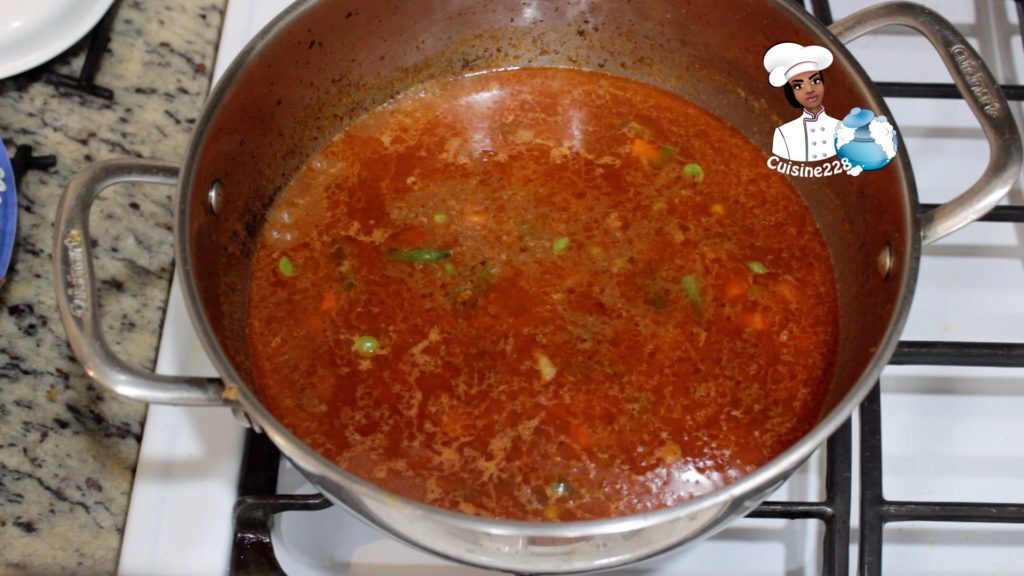
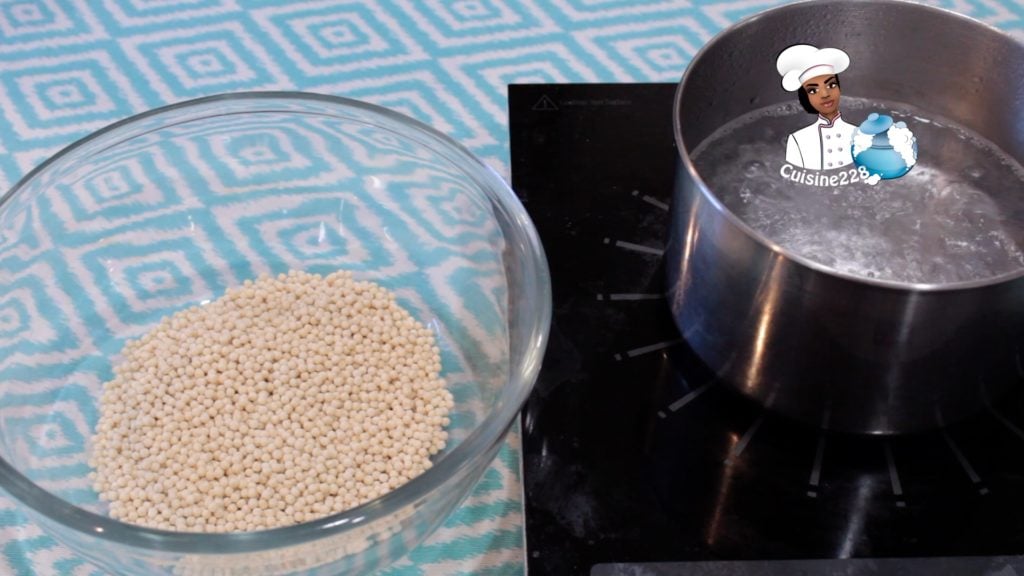
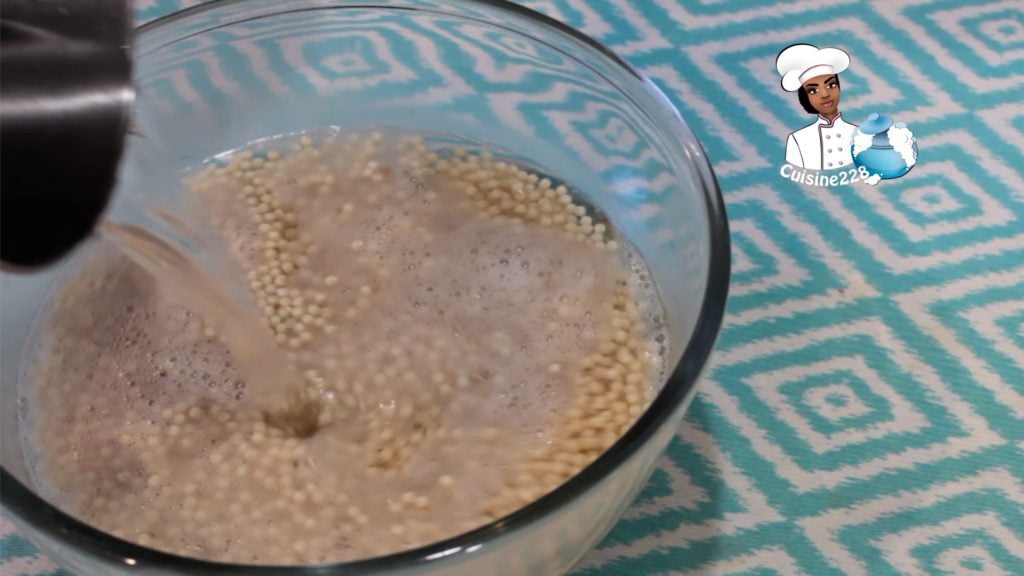
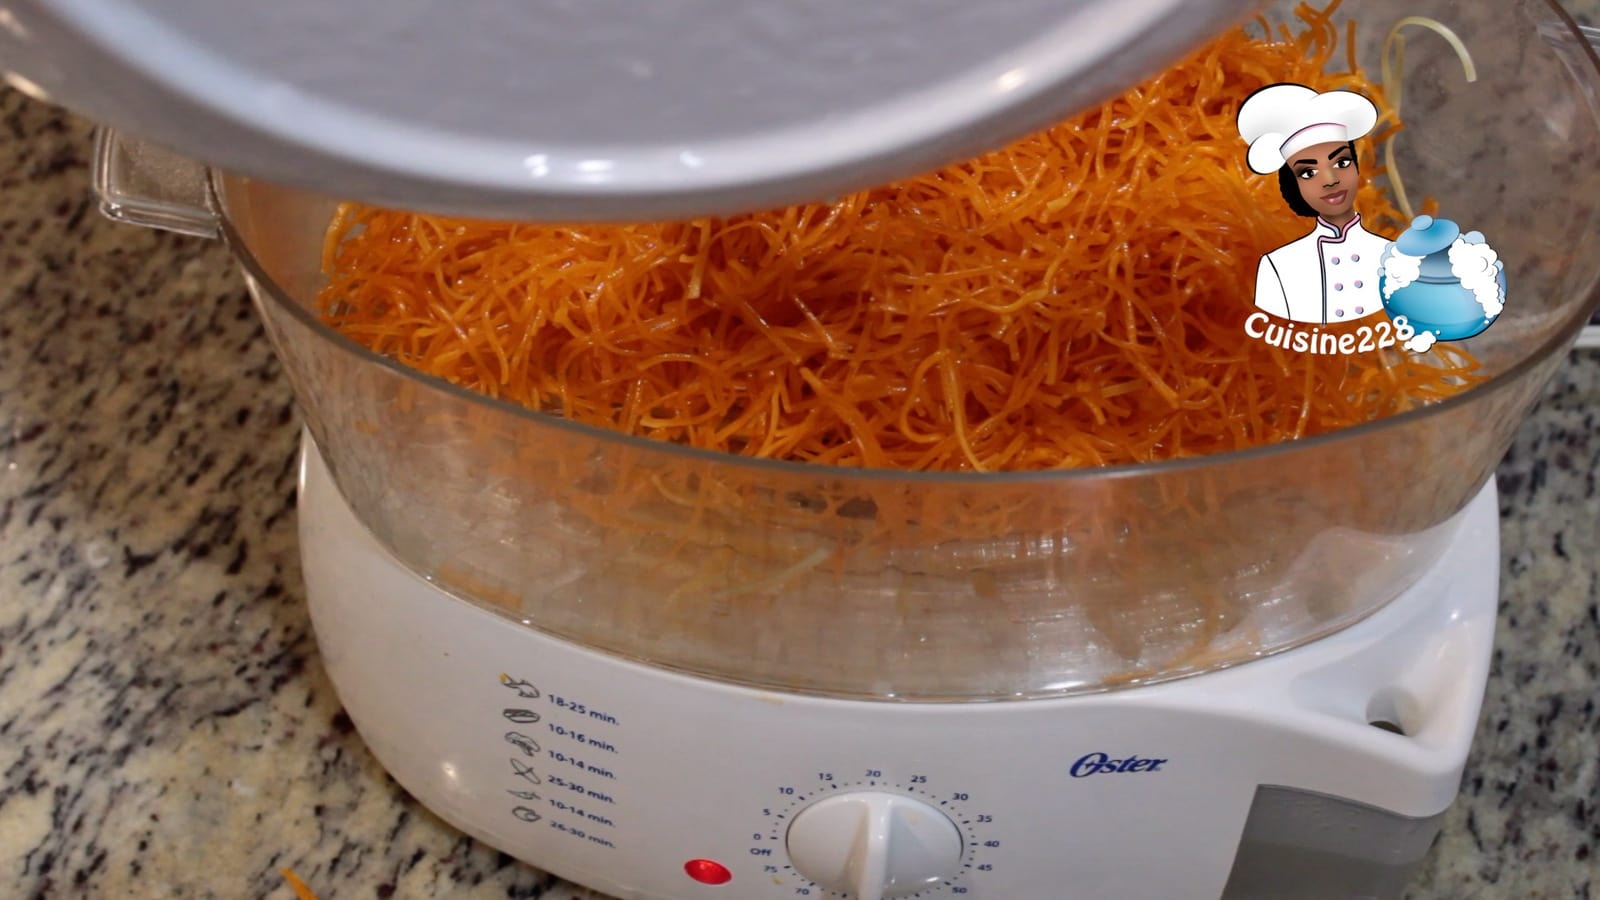
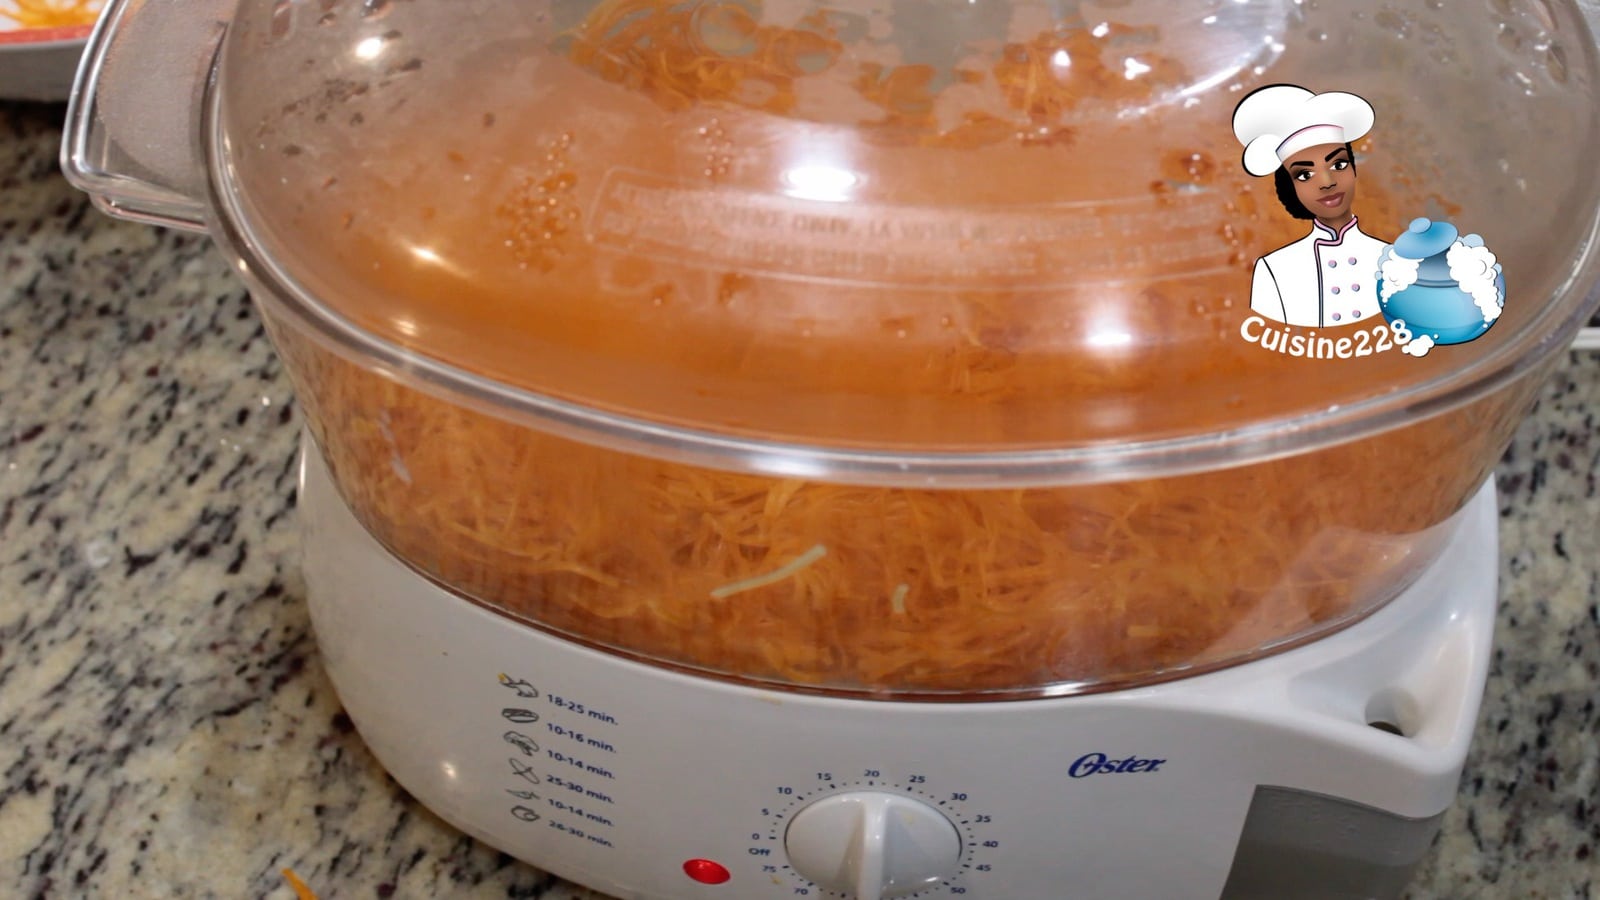
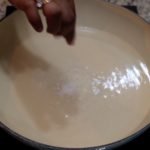
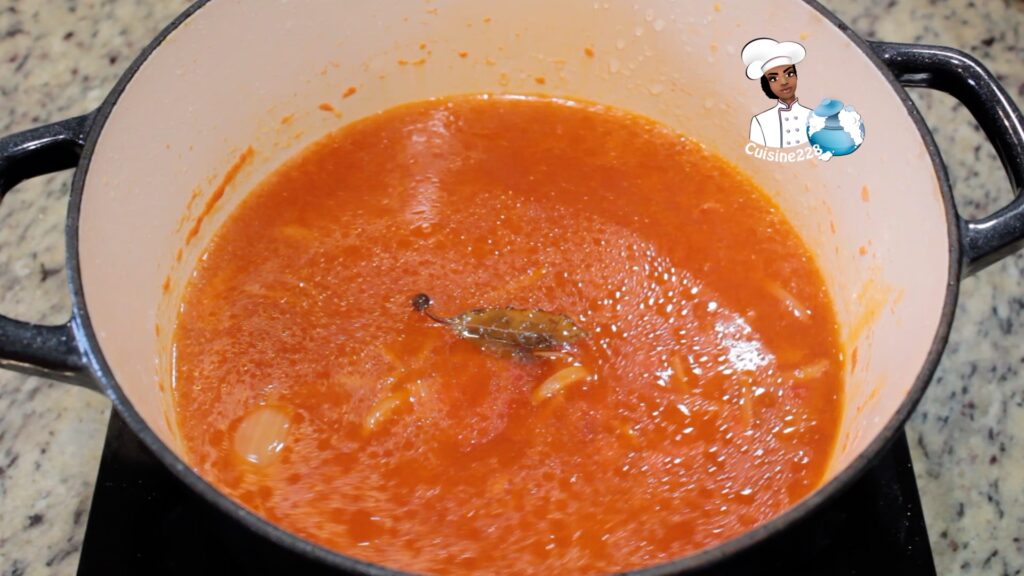
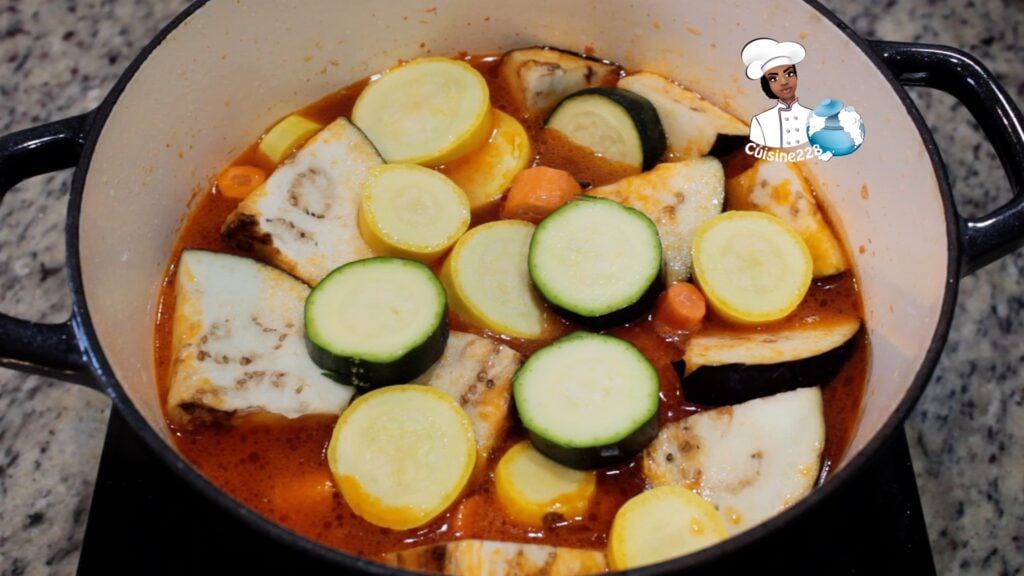
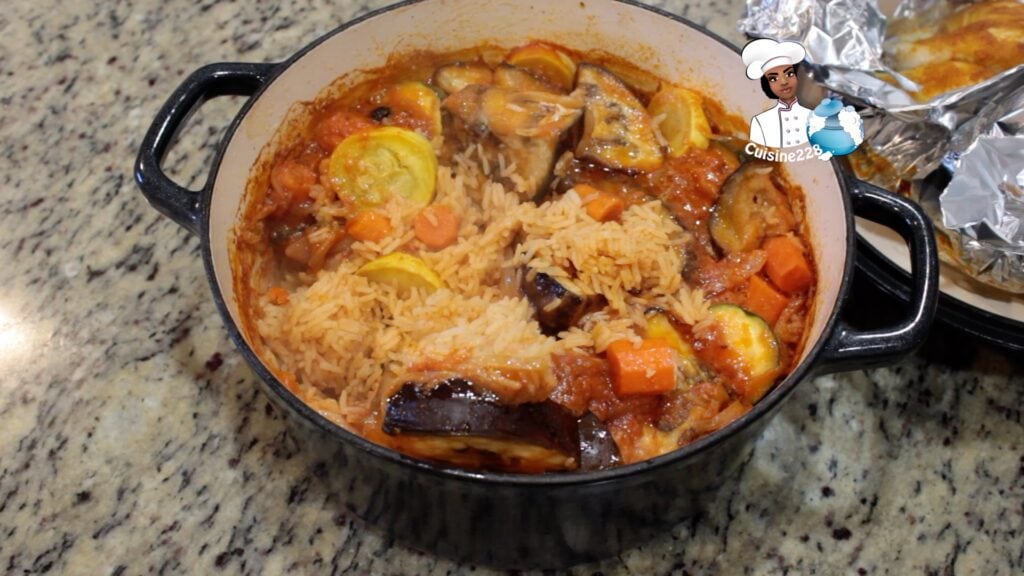
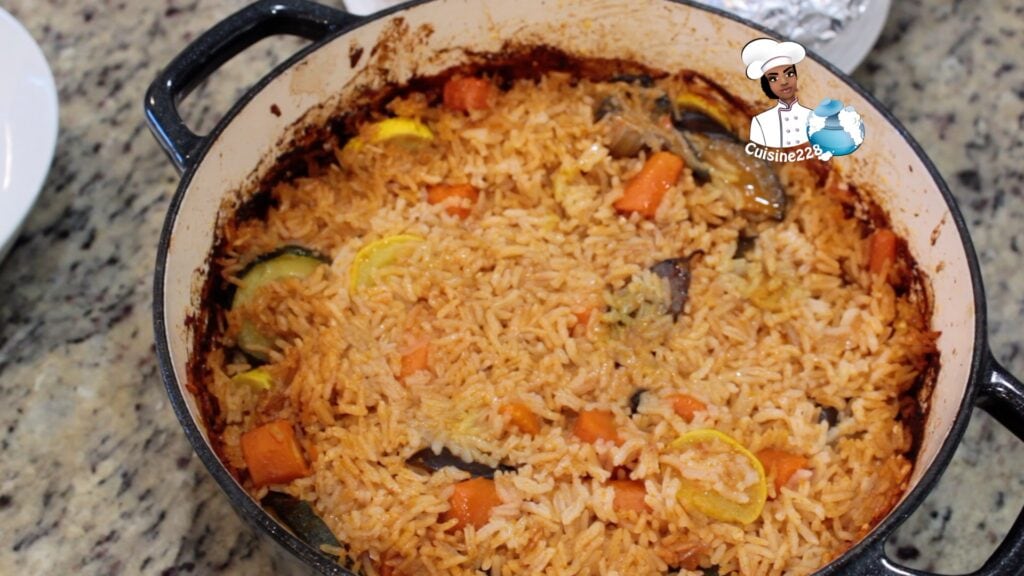
Add the water, vegetables (1 eggplant, 1 zucchini, 1 Summer squash, 2 carrots) and bring to a boil.
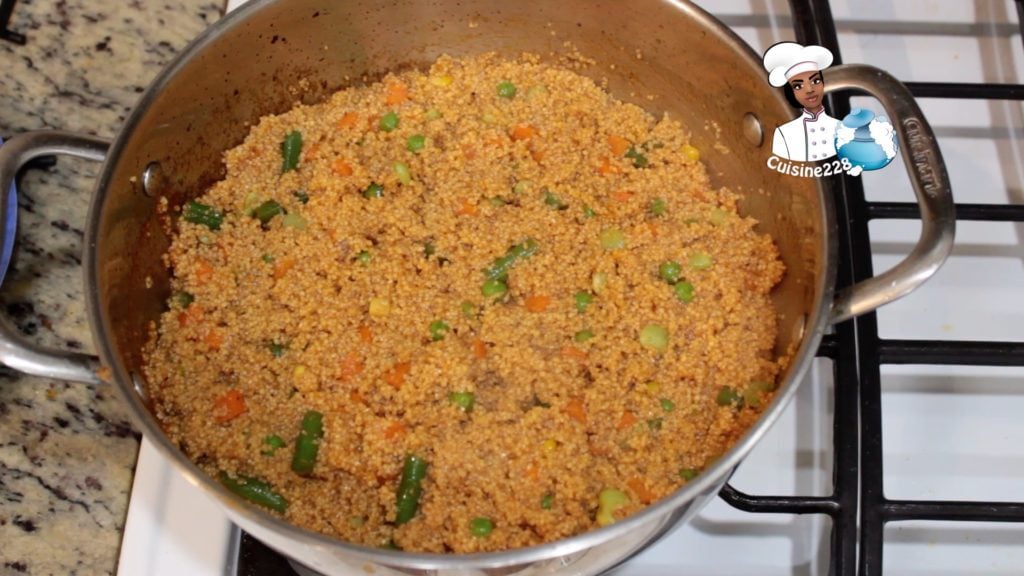
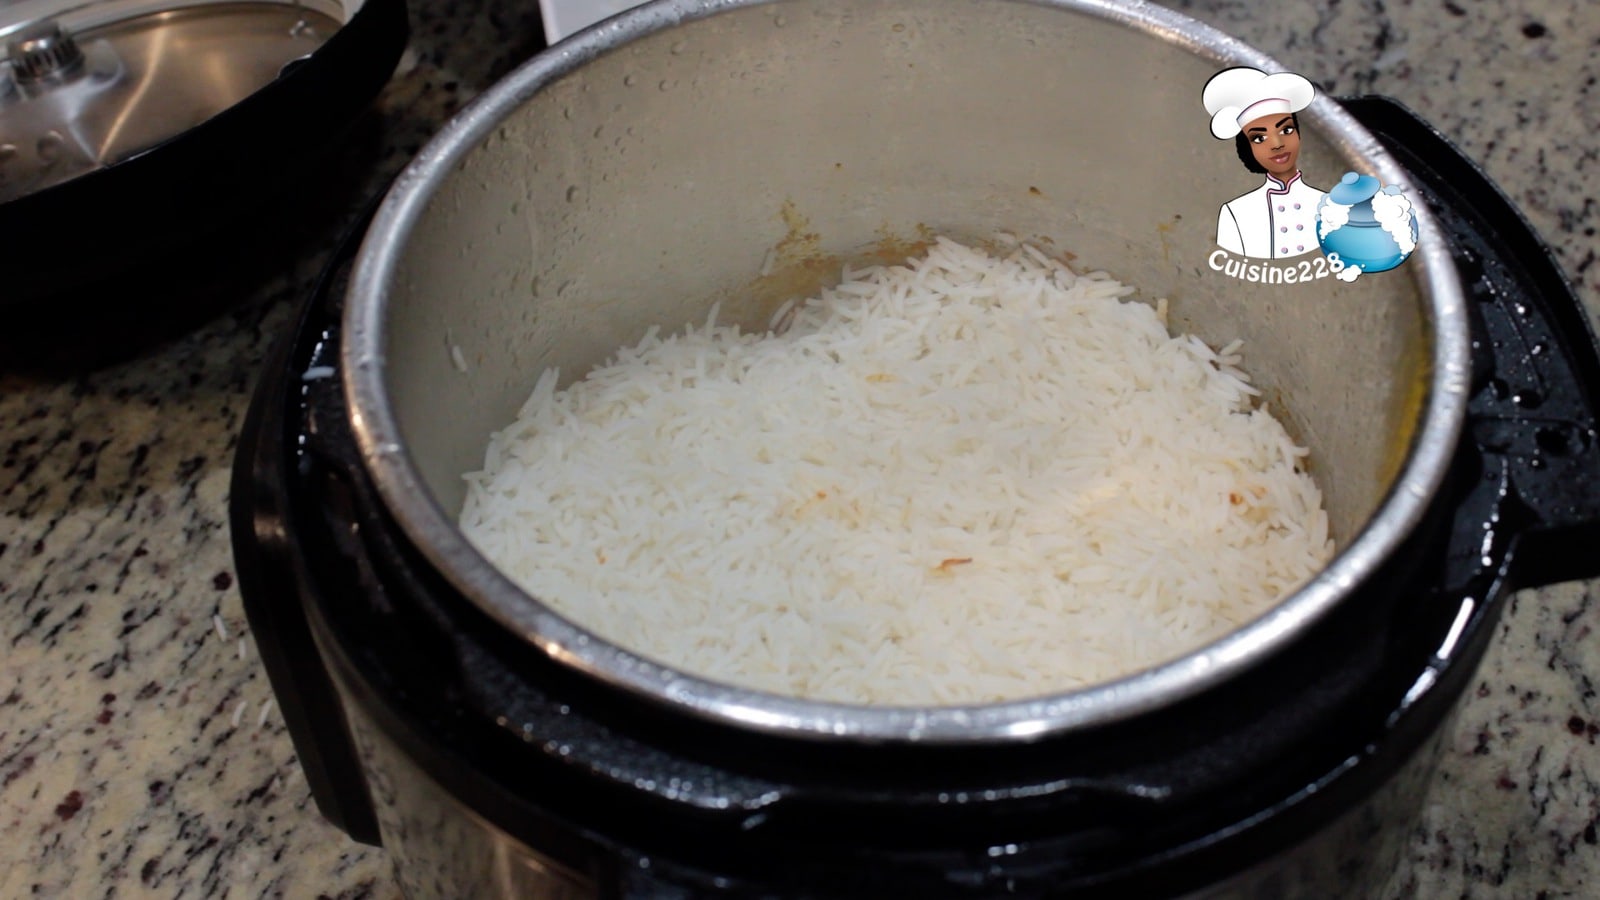
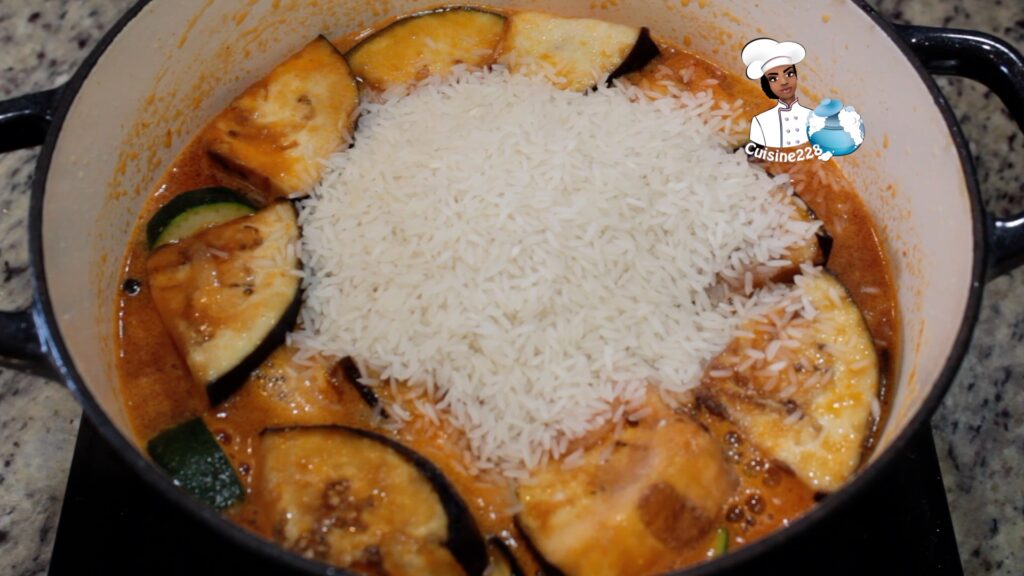
Mixing in the rice and mix until well.
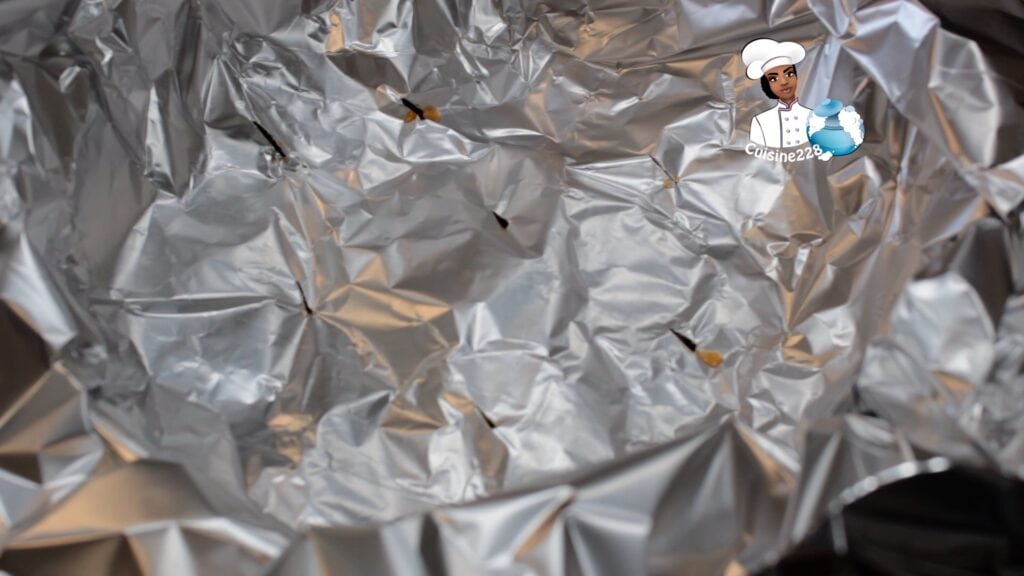
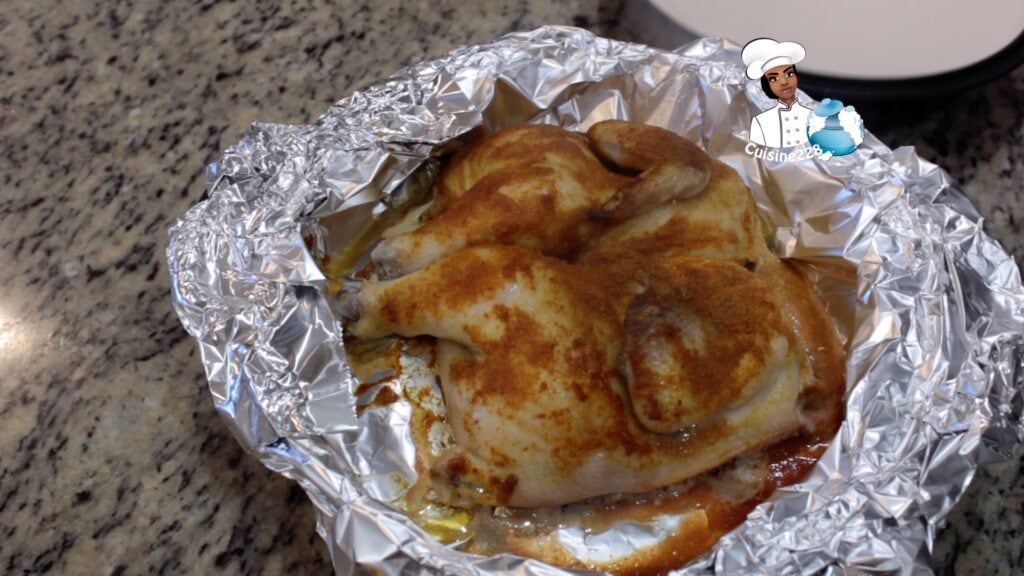
Add a layer of aluminum foil and make small incisions. Add the chicken and cover (Make sure the cover is over safe)
Transfer the Jollof rice mixture into the oven for about 20 minutes.
Remove from the oven stir and put back in the oven without the lid for 15-20 minutes or until the rice is soft and done.
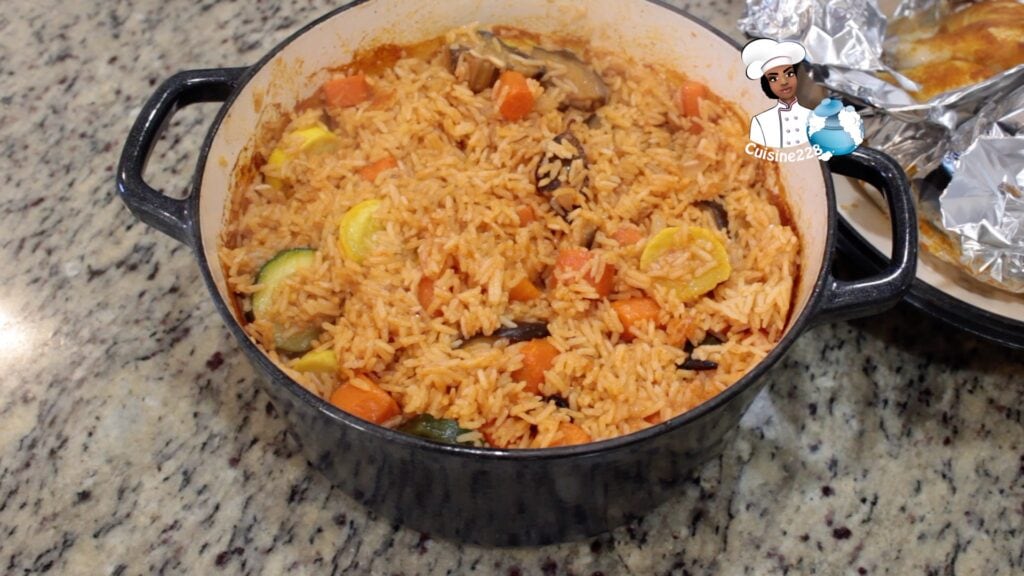
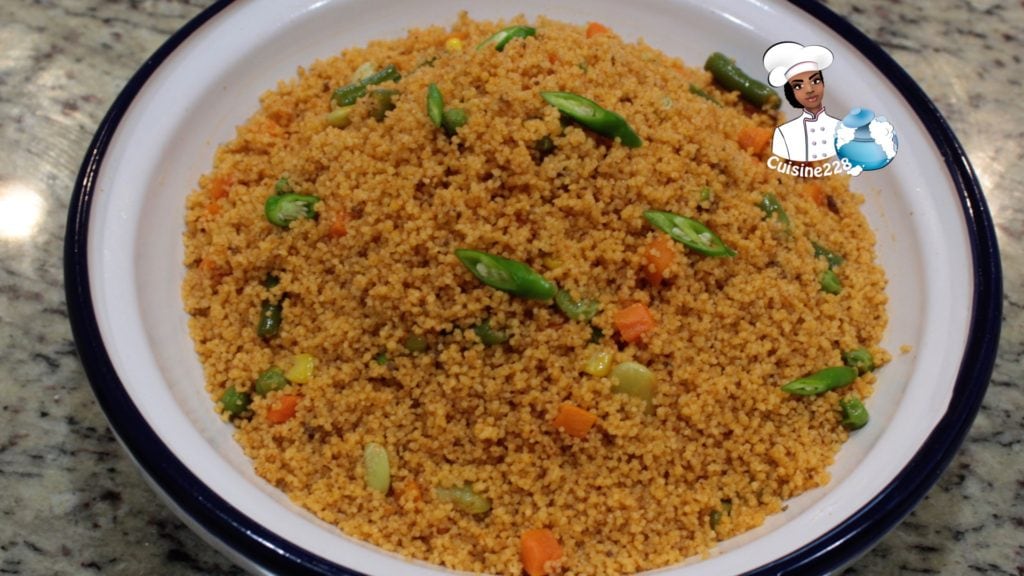
When done take the rice out of the oven, fluff it and serve.
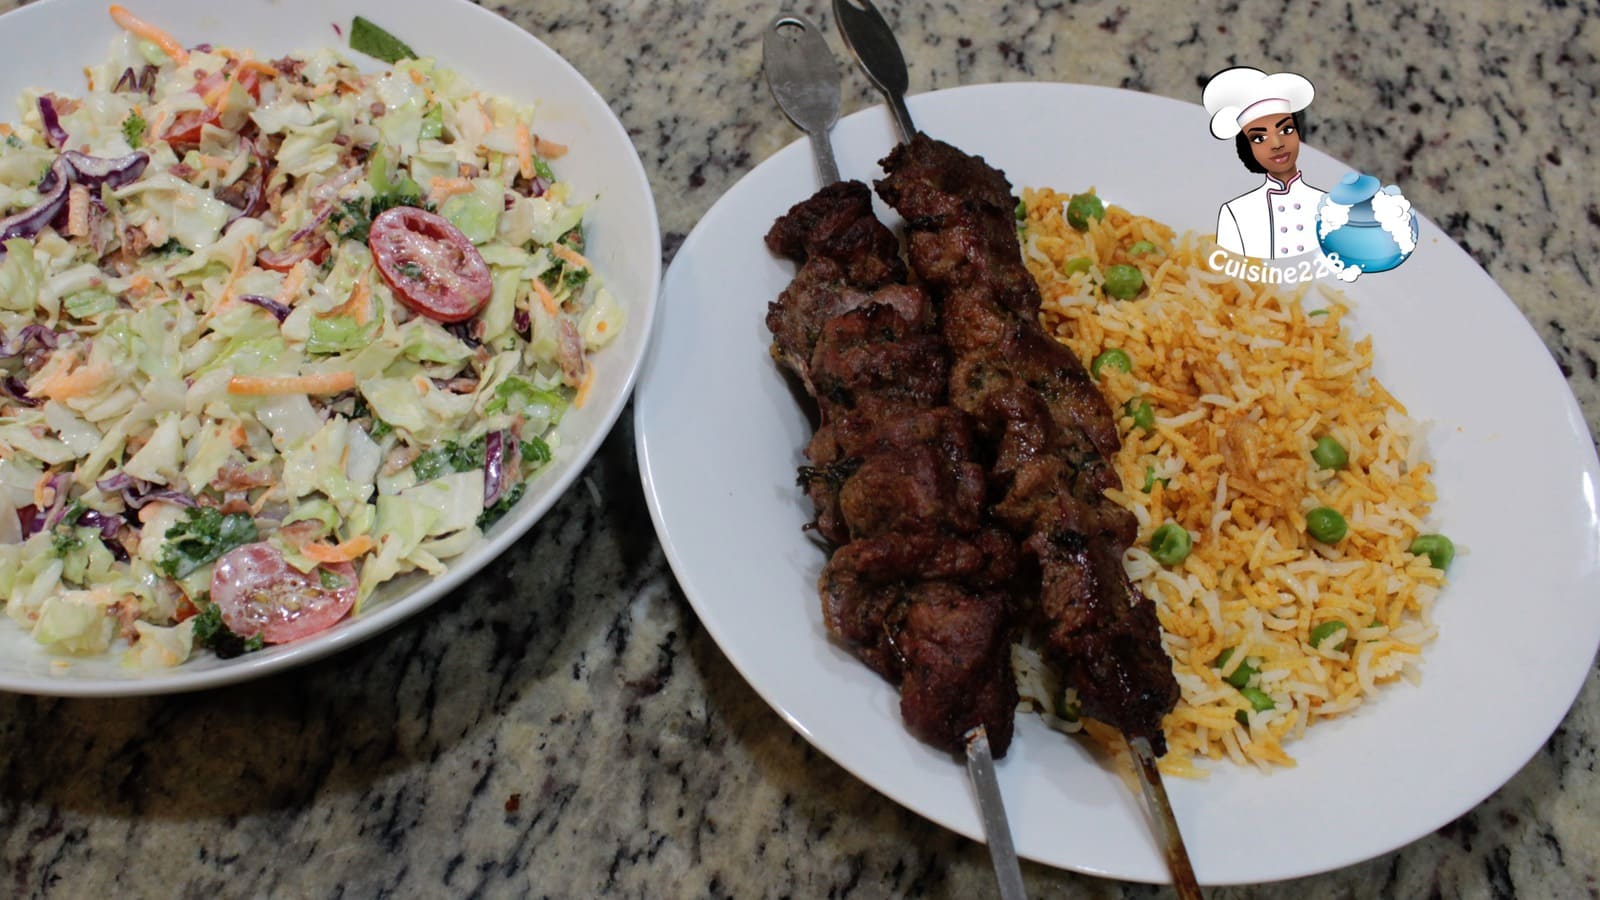
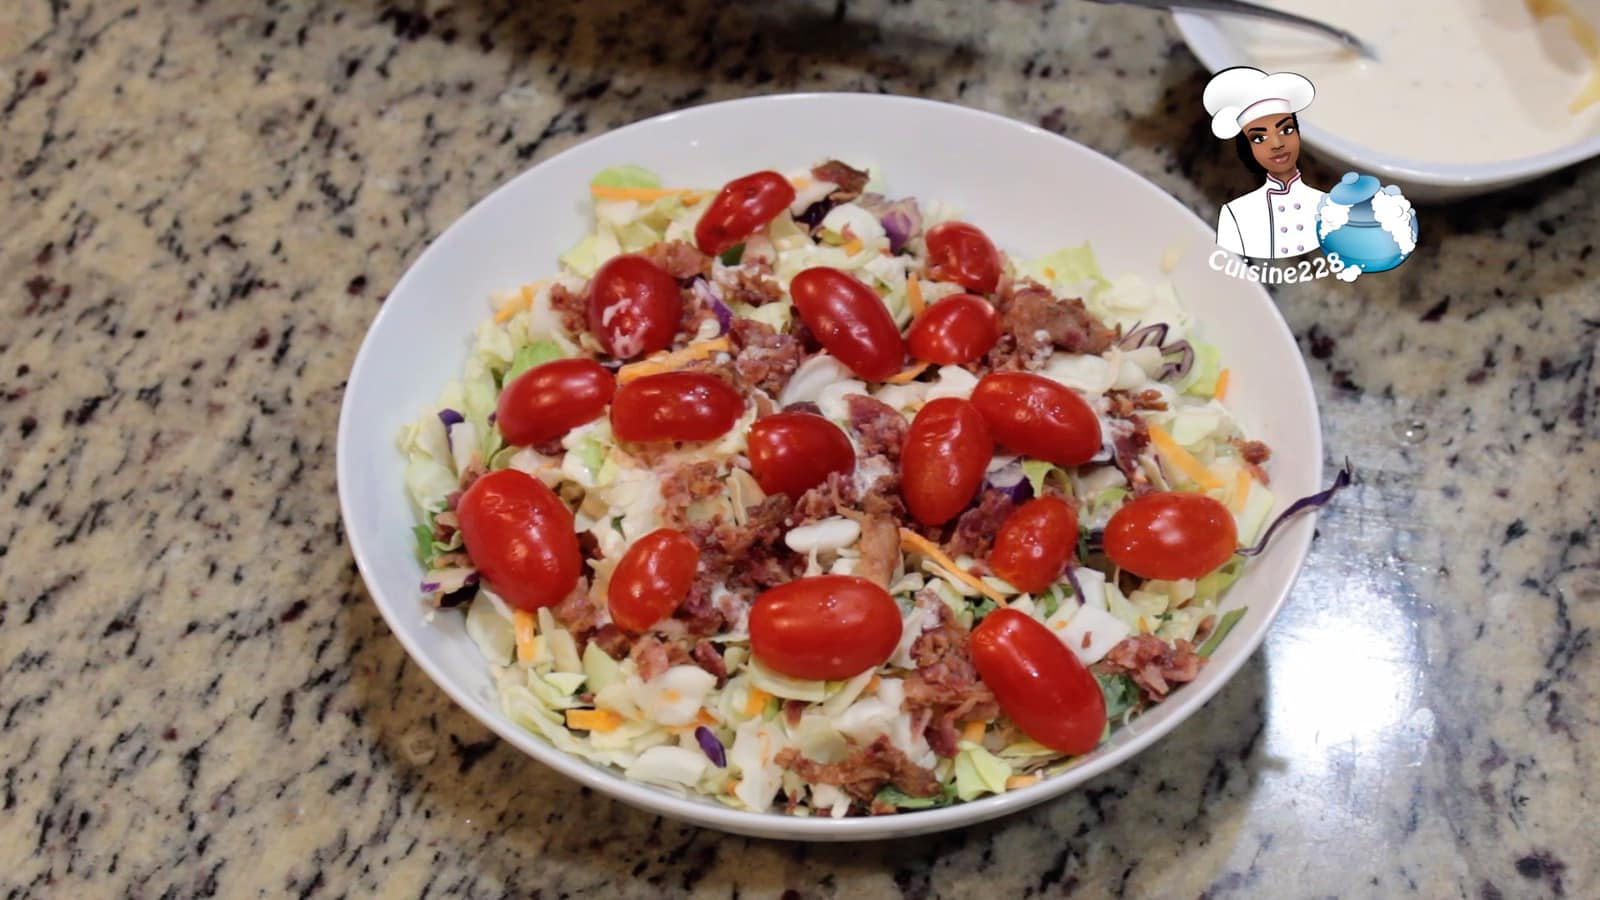
Serve hot
Tips to make perfect oven baked chicken and rice
- For this recipe I recommend long jasmine rice. Basmati rice or Jasmine rice can be substituted with the same liquid ratio and cooking time. Please do not use short grain rice, medium grain rice, risotto, paella or minute rice.
- If the rice cooks before the chicken, remove the rice from the oven, and transfer the chicken in an oven safe dish and put the chicken back in the oven.
- For a better color on the chicken, it can be broiled for an extra 2-3 minutes just to get your chicken golden and browned with crisp edges, and an amazing buttery, crunchy crust on the top of your rice!